In the professional audio world, the term gain staging is incredibly common and generally well-recognized. However, within the realm of home studios and bedroom producers/musicians, it’s a concept that often goes overlooked. This is one of those fundamental topics that everyone needs to grasp if they want to succeed in the recording/production world. Just like learning basic mixing is essential, understanding the importance of gain staging is equally paramount. This article dives into the concept of gain staging, how to maintain good control over it, and where it applies in both the digital and analogue worlds.
Table of Contents
- What is Gain Staging?
- Steps to Gain Stage When Recording
- How to Gain Stage Your Mix
- Gain Staging Before Exporting your Mix
- What Exactly to Aim For
- Conclusion
What is Gain Staging?
Put simply, gain staging involves taking control of the level between every process in your signal chain and adjusting it to prevent unwanted problems. When I refer to problems, I mean clipping (too loud) or noise floor (too quiet). If you’ve ever wondered why certain plugins or pieces of hardware have an output level control, you’ve just found your answer.
I know that for some of you, that might sound like a strange thing to wonder. However, the question “Why does it have an output volume control when I can just turn down the comes fader?” comes up far too often. Let me take a moment here to break it down for anyone who might be thinking along those lines.
Gain Staging in the Analogue Realm
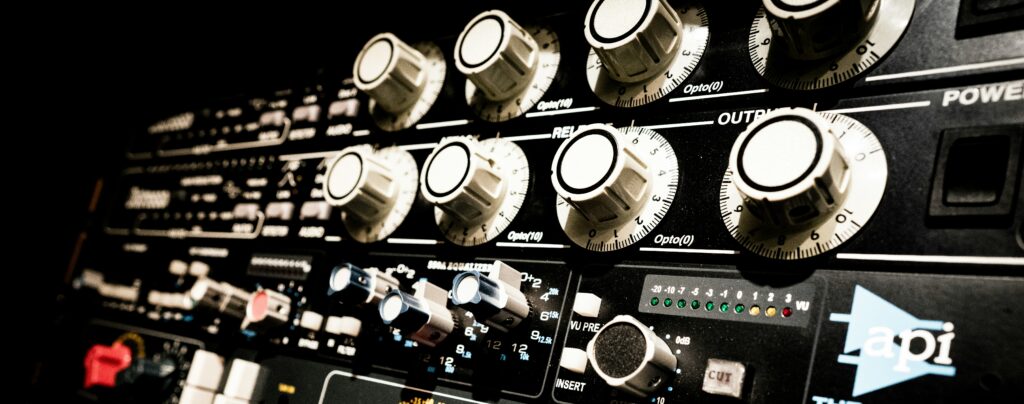
Between every plugin or piece of equipment, we need to have control over the transferring signal. For an analogue example, let’s consider a microphone going into a preamp. In this chain, our two processes are the microphone and the converters in our preamp. To control the level moving from our microphone to our converters, we have a gain knob. This allows us to implement gain staging by setting the level at which the sound moves between the two processes.
Why is this helpful? Well, besides the obvious point of being able to hear what’s happening, it allows us to manage the problems we discussed earlier. If we have no control over the gain, our microphone hits the converter too hot, and we end up with potentially nasty distortion ruining our recordings. Conversely, if we hit the converters too softly, there is likely to be electrical noise added to our signal. This means that when we turn it up in the mix to an acceptable level, it’ll sound fuzzy and generally unpleasant. You can now see the importance of setting correct recording levels and having control!
So How About Digital Gain Staging?
Well, the same principles apply when mixing in the box. Let’s say you’re mixing that vocal you just recorded with perfect analogue gain staging. First, you decide to insert an EQ plugin to make a few boosts here and there. In doing so, you’ve increased the output level of the EQ process and potentially clipped your channel. If you were to immediately throw in a compressor afterwards to apply some gain reduction, you would probably see that the signal no longer exceeds 0dB, so all is well, right?
Not so simple, I’m afraid. The signal that is passing from that EQ has already clipped. This means the signal itself is now permanently distorted. If you don’t turn down the output of the EQ plugin before the signal flows into the compressor plugin, you won’t eliminate the clipping. Starting to see the importance of that output volume control now, right? Similarly, (although less common), noise floors can have the same effect. Typical digital applications have such little noise in them that it’s rarely an issue, but let’s say you’re using an emulation of an older piece of hardware. The original noise flaws that this unit had will likely be transferred to its digital counterpart. If you’re working too quietly in one of these plugins and then use a second plugin to turn it back up, all that noise is going to come up with it. Your music is going to start sounding like a broken TV pretty quickly.
Steps to Gain Stage When Recording
In recording, establishing proper gain staging is crucial to capturing clean, distortion-free audio. By setting levels from the start, you ensure enough headroom and avoid clipping that can degrade your tracks. Here’s a concise guide to the key steps that will help you keep your recording chain in check, preserving clarity and allowing flexibility for later processing.
- Set Preamp Levels: Begin by adjusting the input gain on your audio interface or mic preamp. Aim for an average signal around -18 dBFS, with peaks not exceeding -10 dBFS. This ensures you have enough headroom to avoid digital clipping while still capturing a robust signal.
- Monitor Input Meters: Keep an eye on the input meters in your DAW or hardware recorder. If you see consistent red or yellow indicators, back off the gain. Occasional transient peaks are acceptable, but frequent peaks mean you’re likely too hot.
- Use Proper Mic Technique: Position microphones correctly and encourage performers to maintain consistent distance from the mic. Sudden moves or changes in volume can cause spikes, so coach them on mic control, especially during louder sections.
- Check Instrument Outputs: If you’re recording direct sources like guitars or keyboards, ensure their onboard volume knobs aren’t maxed out. An overly hot signal at the source can clip before it even reaches your interface.
- Record a Test Take: Always do a quick test pass at full performance level. Listen back and check waveforms for unwanted distortion. Making small adjustments here prevents re-recording later.

How to Gain Stage Your Mix
Proper gain staging during mixing ensures each track and plugin in your DAW has optimal levels. Here’s a practical step-by-step approach:
Preserve Headroom for Mastering
Aim to have your master output peaking around -6 dBFS by the end of the mix. This ensures you aren’t using up all the headroom, giving the mastering stage room to work. Keeping some headroom (and seeing no clipping indicators) means your mix is clean and won’t distort when exported or processed further.
Set Initial Track Levels
Start by adjusting the gain of each track so that its loudest parts peak around -12 dBFS, with average levels near -18 dBFS. You can use a trim or utility plugin at the top of each channel to do this, allowing you to keep the fader at 0 (unity gain) while achieving the desired level. This provides a healthy signal that’s strong above the noise floor but leaves plenty of headroom.
Gain Match Your Plugins
As you add EQs, compressors, and other effects, check the input and output levels of each plugin. Use the plugin’s output gain or makeup gain to ensure the volume coming out is about the same as going in (unless you intentionally want a change). This avoids accidental volume boosts that could cause clipping and makes sure each processor receives an optimal signal.
Manage Bus and Master Levels
Pay attention to group buses (like a drum bus or vocal bus) and the master output. If a bus is hitting red or the master meter is clipping, lower the channel or bus faders, or insert a gain plugin to trim the level. It’s better to turn things down here than to risk digital clipping.
Gain Staging Before Exporting your Mix
I’m sure by now you’re starting to understand the important role that gain staging plays in the audio world. Another quick example I want to cover is mixing down. This is especially important when it comes to preparing for mastering. You’re nearing the end of a mix session, and everything is sounding really great. Beautifully clear high end and strong, punchy lows. However, your master fader is peaking around +2dB and distorting the track in places. No worries, just turn the master fader down 5/6dB, and we’re all good, right?
WRONG!
In a similar fashion to what we discussed earlier, if your processes (in this example, your processes are each individual channel) are flowing into the master and causing it to peak, then simply turning down or compressing the signal only hides the issue and does not solve it. To rectify this problem, you need to turn down every signal channel that feeds to the master by 5/6dB. This brings the master down, eliminates clipping, and creates plenty of headroom for that all-important mastering stage. Also, for any of you thinking an audio limiter will solve this problem, it will not! The same principle applies. If it’s already clipped before hitting the limiter, then it’s permanently clipped.
If your DAW is working at a 32-bit floating point, you can actually turn down the master fader to avoid clipping. With a floating point bitrate, the 0dB point can move around depending on the signal to avoid clipping. Working this way means that we don’t have to adjust the level of each fader in a mix. Just remember that this only applies to the signal flowing inside the DAW. You will still need to turn down the master fader before bouncing. It’s always best to practice good gain staging when mixing, regardless of bit depth.
What Exactly to Aim For
I’m going to go out on a limb here and say that a large percentage of you reading this are working In The Box and don’t use much analogue outboard equipment. As such, I’m going to focus on metering levels and appropriate gain staging in the digital realm. Most of this can be applied in the analogue world as well. To be perfectly honest if you’re working analogue, you probably understand most of this already.
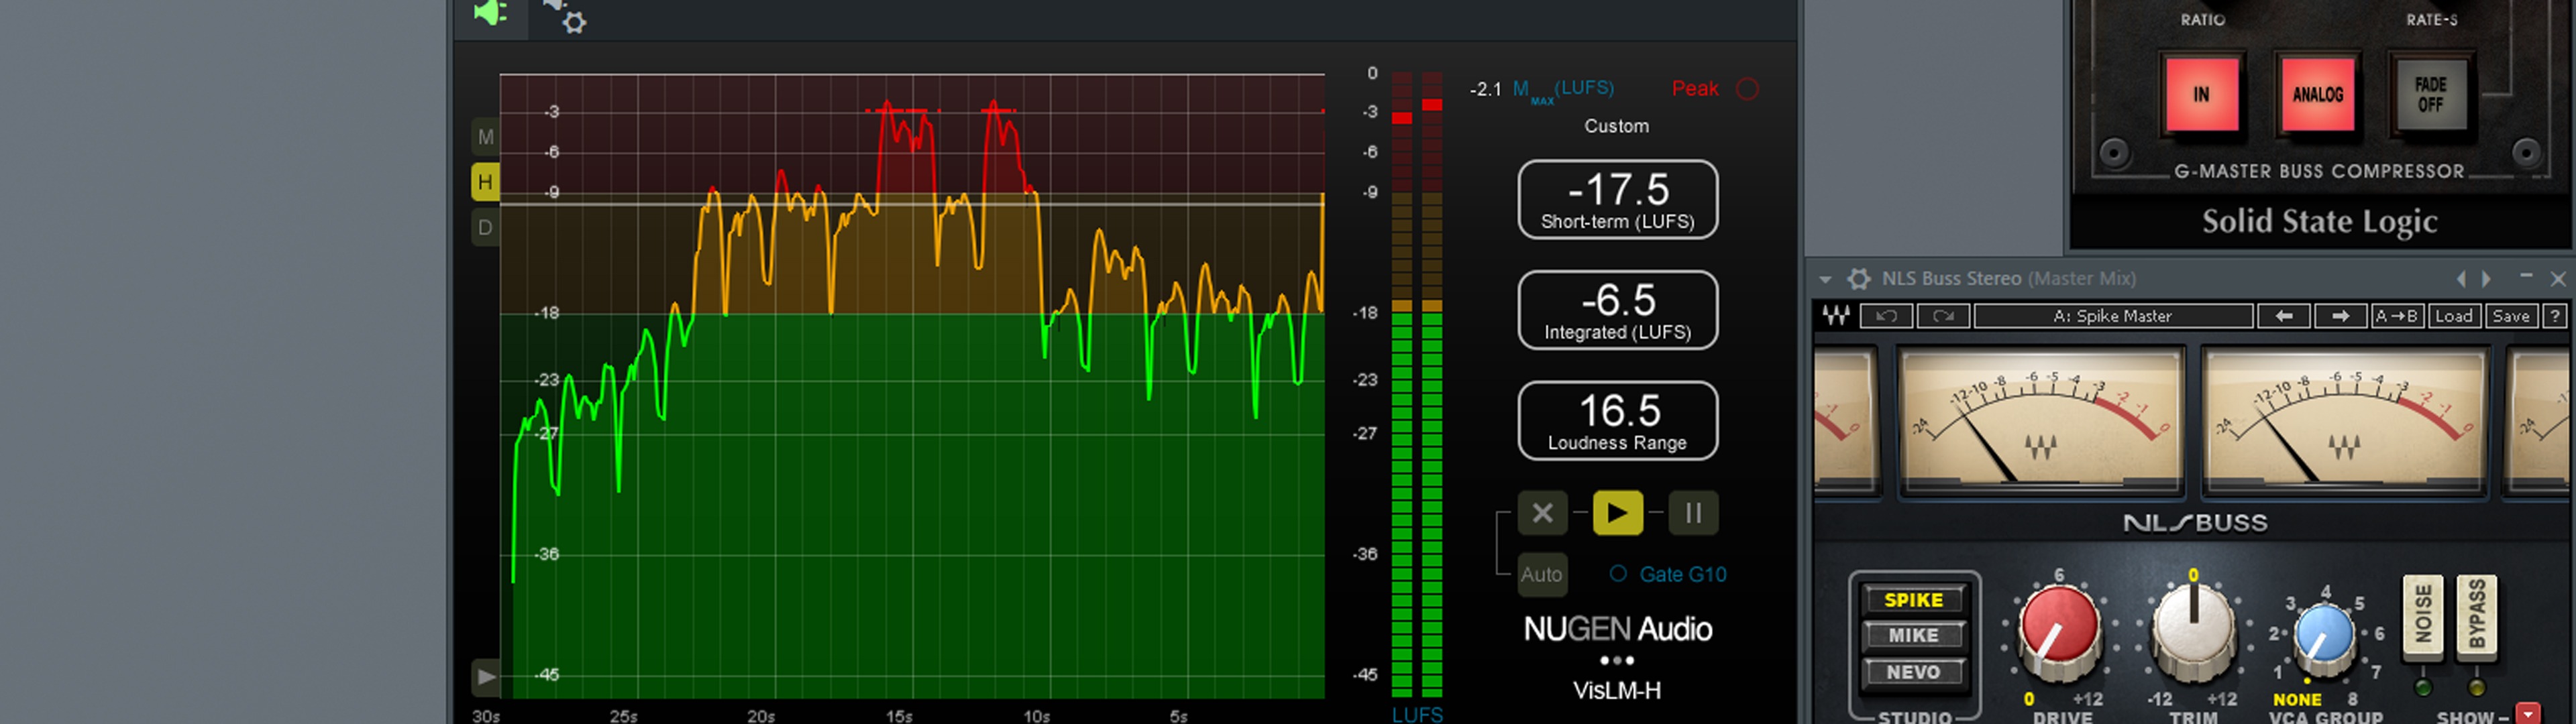
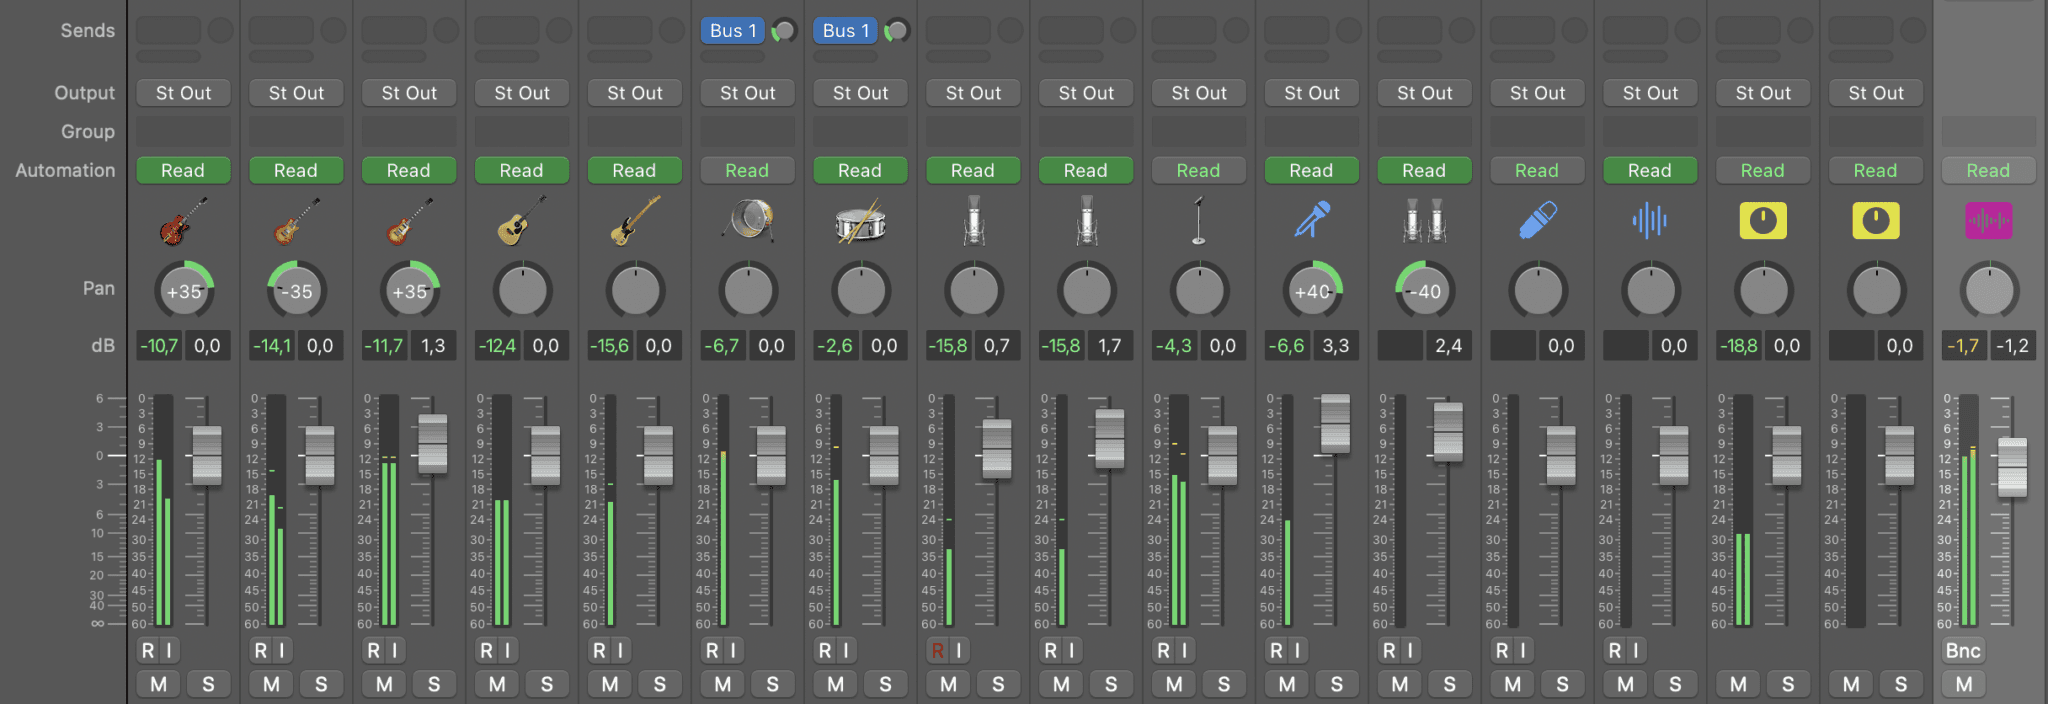
To ensure you’re in a good place in terms of headroom and that you haven’t got too much signal flowing between each process, you’ll need a good way to monitor it. All DAWs have digital faders these days, and they can be great for keeping an eye on things. However, your faders are always at the end of the signal channel in a channel, so they are only ever showing the level of your signal after every process. This isn’t much help for knowing whether you’re too loud or too quiet between plugins. To keep an eye on this, I recommend using some form of VU Meter.
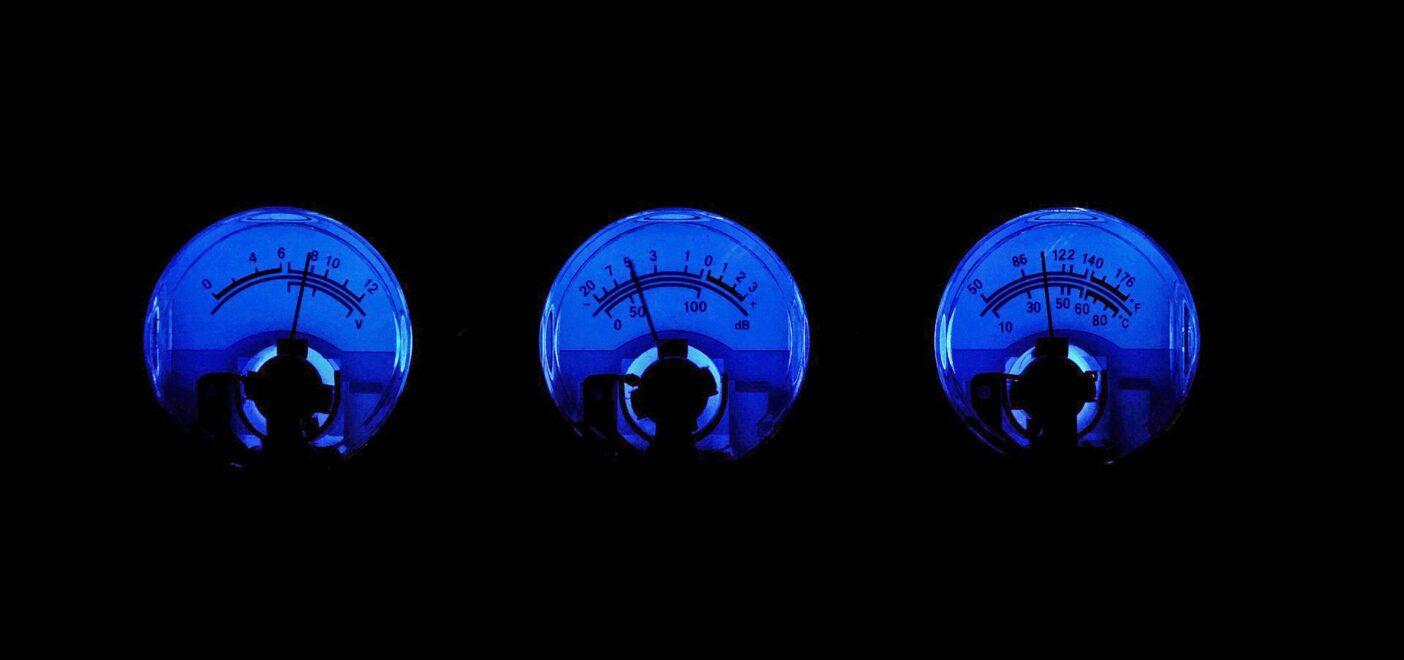
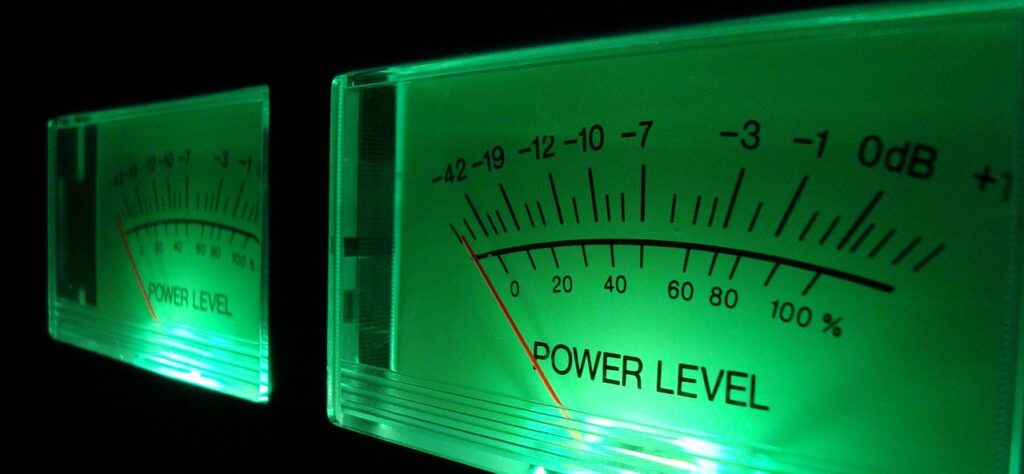
For those of you not familiar with the concept of VU, they are the original ammeter style of tracking loudness using the VU (Volume Unit) measurement signal. This style of metering has a ballistic design that operates on voltage as opposed to signal level. If you don’t have a plugin like this, I recommend checking out StereoChannel by Sleepy Time DSP. This handy free plugin is easy to use and has an adjustable nominal level. This means that if you suspect clipping somewhere in the chain, you can squeeze it in between two other processes and have a look at what’s going on.
Nominal Level?
When I say adjustable nominal level, I am referring to the number of decibels that 0VU is equal to. VU meters can be calibrated to provide any metering system you like. The most commonly recognized and used nominal level for the last 60 or so years is 0VU = -18dBFS. This means that if your VU meter is reading 0VU, your signal is at -18dBFS. Similarly, if your VU meter reads +6VU, you know your signal is -12dBFS, as 1VU is equal to 1dB. Utilizing this scale and the standard settings means you can ensure perfect gain staging between each process without any serious problems. Happy days!
On a side note, an adjustable VU meter is a very handy tool for any of you who are sending your tracks off to be mastered. If you set your nominal level to -6dBFS, then you know that 0VU = -6dBFS. By doing this and placing it on your master fader, you can ensure that the loudest part of your mix peaks at -6dB with accuracy. As long as the needle doesn’t pass that 0VU mark, you’re all good to go!
Conclusion
Whether you’re working in the analogue or digital world, gain staging is incredibly important to ensure correct signal levels. Too much signal will cause clipping and distortion, which can completely ruin your productions. Too little signal, and you risk introducing a lot of noise into your tracks. You just won’t be able to eliminate that. Follow the tips in this article to ensure a consistent balance between each process you make.
Remember that gain staging is also key in routing. If your tracks combine on your master channel and cause clipping, you must turn down the channels and not the master channel. Prevent clipping before it occurs, not afterwards. If you’re struggling to get a good grasp of your gain staging and discover clipping issues in your signal chain, try using a free VU meter plugin. You can insert this between any two steps in your chain to see what level the signal is outputting. This guarantees no clipping and perfect gain staging!
Über die Autorin / den Autor

Tim Dunphy
Audioingenieur und spezialisierter Content WriterÜber 10 Jahre Erfahrung in der Audiobranche, von der Kabelaufwicklung bis zum Mastering von Alben. Ich bin ein Selfmademan und halte meine Vermögenswerte in Bitcoin. Was gibt es mehr zu wissen!?
Hinterlasse einen Kommentar
Einloggen, um zu kommentieren