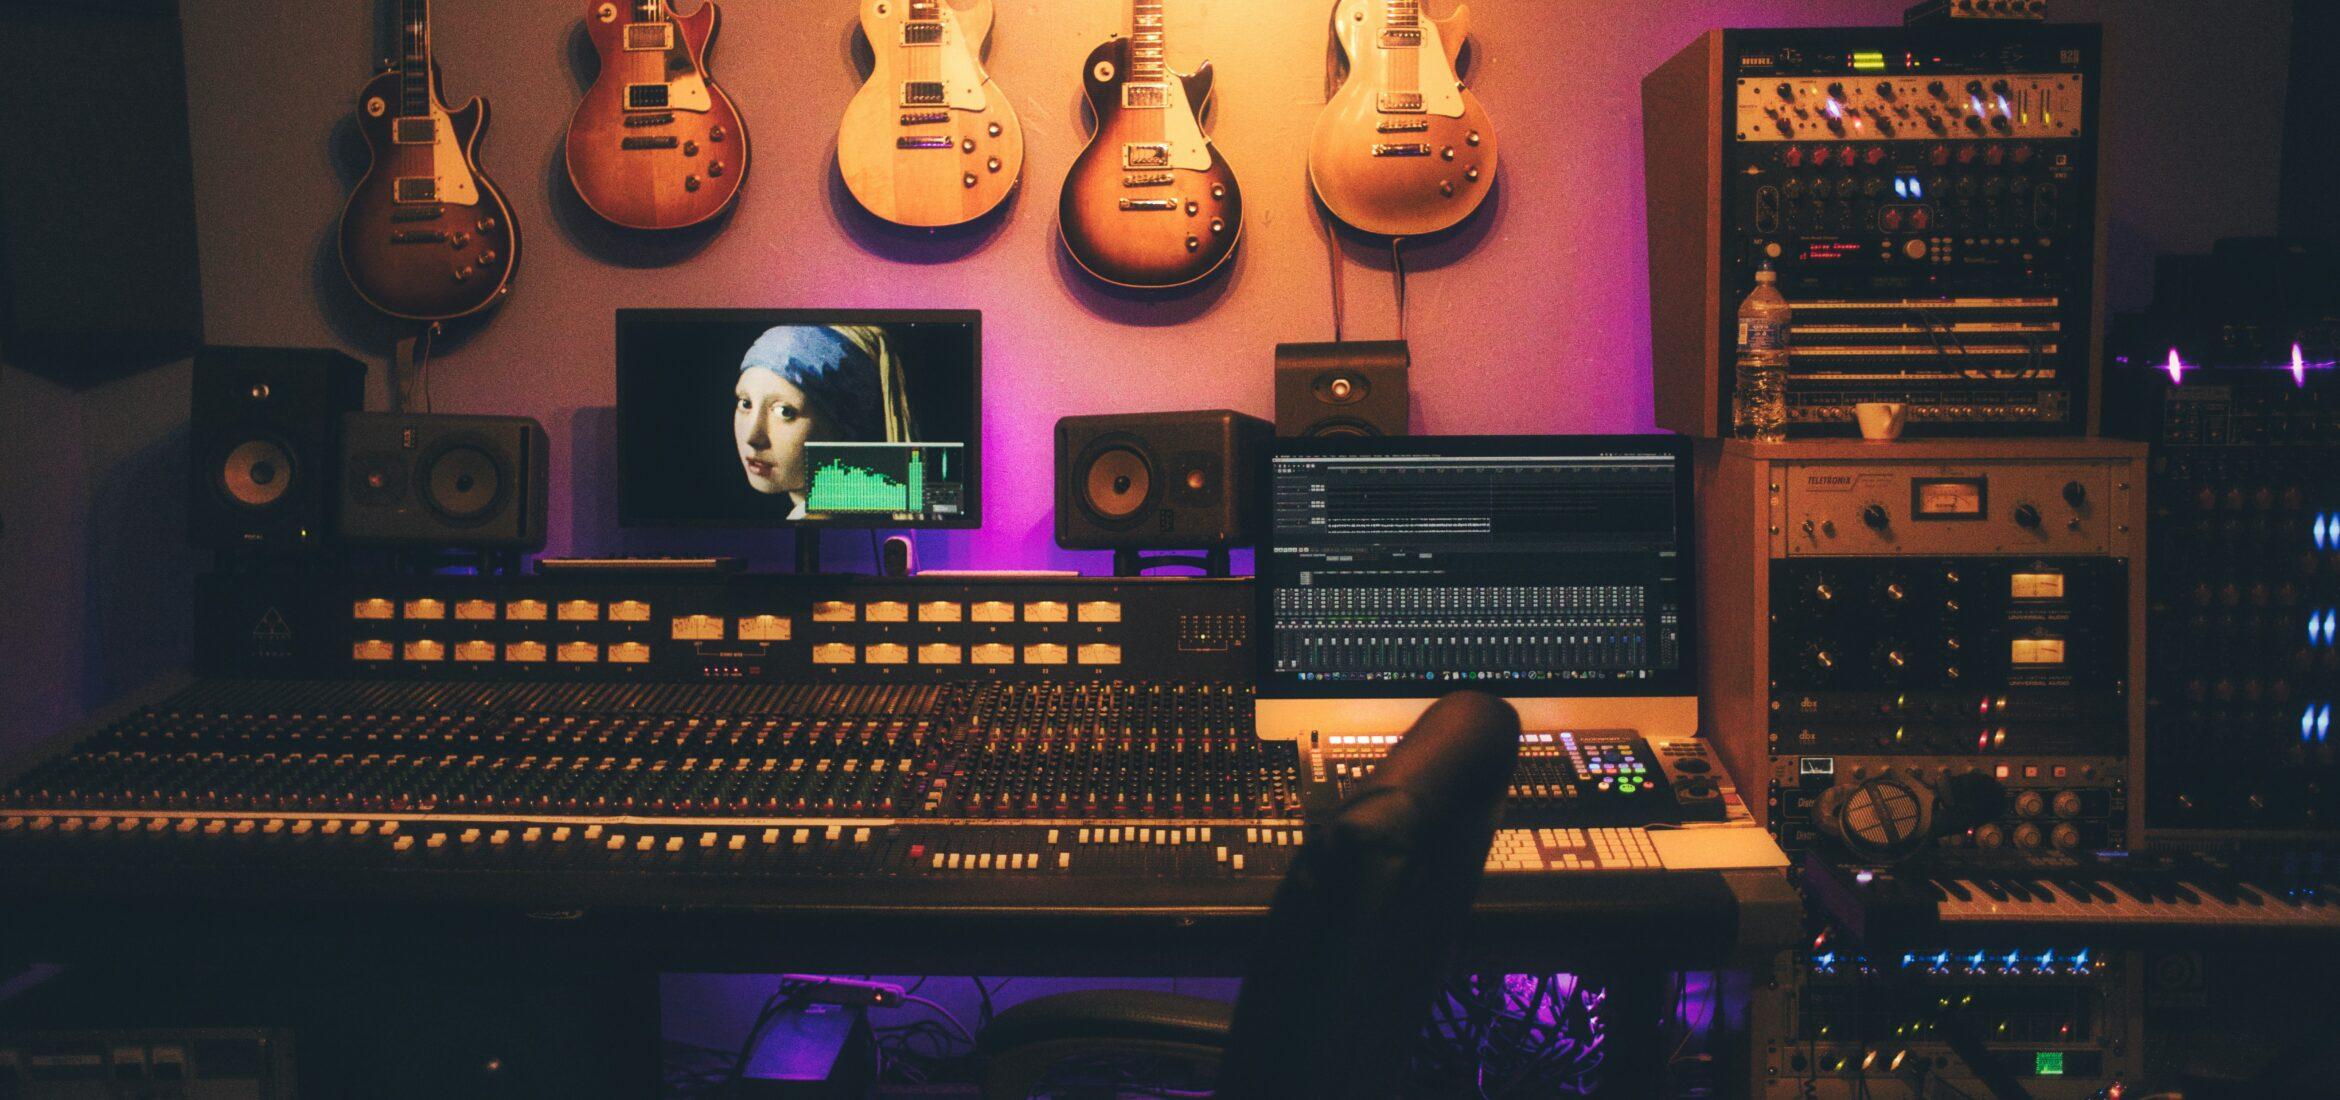
Recording electric guitars is a fundamental skill for any musician or producer aiming to create professional-sounding tracks. The quality of your guitar recordings can significantly impact the overall sound terms of your music. This article will guide you through the essential recording techniques for capturing the best tones from your electric guitar. We’ll delve into setting up your recording environment, choosing the right equipment, mastering recording methods, and enhancing your recordings for a polished final product.
Table of Contents
- Setting Up Your Recording Environment
- Choosing the Right Guitar Recording Equipment
- How Guitar Types Shape Recordings
- Essential Guitar Recording Strategies
- Enhancing Your Electric Guitar Recordings
- Common Recording Electric Guitar Issues
- Advanced Techniques for Professional Recording Results
- Conclusion
Setting Up Your Recording Environment
A well-prepared space is crucial when recording electric guitars. Room acoustics play a key role in achieving professional guitar recordings. A well-optimized space greatly enhances clarity and overall sound quality. Whether working in a home studio or a professional setup, controlling acoustics is essential for precise and polished tracks.
Home Recording Studio Setup
Creating a home studio doesn’t have to be expensive. Choose a quiet room with minimal noise. Invest in essential equipment like an audio interface, microphones, and quality cables. Acoustic treatment matters; use foam panels or diffusers to reduce reflections. For budget-friendly options, DIY acoustic panels made from household items work well. The goal is to capture clean recordings without significant expense.
Assess your room’s dimensions. Irregular shapes with varied surfaces offer better acoustics than square, hard-surfaced rooms. Use bass traps in corners to reduce low-frequency buildup. Place diffusers on walls to scatter sound waves and minimize echoes.
Optimizing Room Acoustics
Room acoustics significantly affect your recordings. Hard surfaces cause unwanted echoes. Use rugs, curtains, or upholstered furniture to absorb sound. Position your setup away from corners to reduce bass build-up. A reflection filter behind the microphone minimizes room ambiance, helping capture a direct and controlled guitar sound.
Consider the room’s reverberation time—how long sound takes to decay by 60 decibels. Shorter times offer clearer recordings. Use a decibel meter or acoustic analysis software to adjust your room’s acoustics accordingly.
Professional Recording Studio Setup
For top-quality electric guitar recordings, a professional studio is invaluable. It enhances sonic characteristics and offers control to capture the guitar’s full potential. Setting up such a studio involves meticulous acoustic design, accurate monitoring, isolation techniques, and integrating high-end equipment—all crucial for mastering essential recording techniques for electric guitars.
Acoustic Design
A professional studio’s acoustic design impacts clarity. Design room dimensions using principles like the Golden Ratio to minimize standing waves. Employ bass traps, diffusers, and absorbers to control sound characteristics. Floating floors and decoupled walls prevent external noise from entering the recording space.
Monitoring Systems
Accurate monitoring is vital. High-end studio monitors and subwoofers provide transparent listening, allowing you to hear and adjust every nuance. Calibrate your room using software or hardware solutions for accurate audio representation. Multiple monitoring environments offer different perspectives, helping refine the guitar’s tone in the mix.
Isolation Recording Techniques
Controlling the environment is important when working with electric guitars, as amplifiers can be loud. Build isolated recording booths or dedicated amp rooms to capture sound at optimal levels without interference or disturbance. Isolation cabinets house the amp and speaker in a soundproof enclosure, allowing high-volume recording with minimal external noise. Silent recording solutions like load boxes and attenuators let the amp operate at its sweet spot without producing loud volume.
Choosing the Right Guitar Recording Equipment
Selecting the appropriate equipment is essential for achieving the desired tone when recording electric guitars. The right gear can make a noticeable difference in the quality of your recordings, providing not just clarity but also the richness and depth that can elevate a track from average to exceptional. Factors such as the type of microphones used, the specifications of your audio interface, and the quality of your cables all contribute to the overall sound.
Selecting the Right Recording Microphone
Microphones are a critical component in capturing the nuances of your electric guitar. Dynamic microphones, such as the Shure SM57, are popular due to their durability and ability to handle high sound pressure levels. They provide a punchy and focused sound, ideal for guitar amps. Condenser microphones offer a broader frequency response and higher sensitivity, capturing more detail and brightness. Ribbon microphones deliver a warm, vintage tone but are more delicate and require careful handling. Choosing the right microphone depends on the specific sound you’re aiming for and the characteristics of your amplifier.
Experimenting with multi-mic setups can further enhance your recordings. Combining a dynamic microphone with a condenser or ribbon microphone allows you to blend different tonal characteristics. For instance, place the dynamic mic close to the speaker for a direct sound and the condenser mic slightly further back to capture room ambiance. Be mindful of phase alignment when using multiple microphones to avoid frequency cancellations.
Amplifiers vs. Amp Simulators
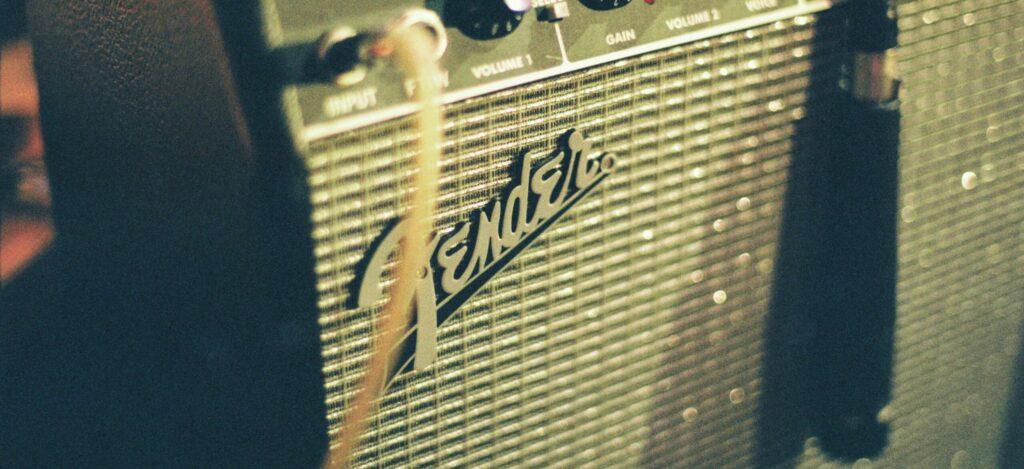
Deciding between using a physical amplifier or an Amp simulator is a significant choice when recording electric guitars. Amplifiers provide authentic, organic tones and allow you to experiment with different settings physically. However, they require proper mic placement and can be loud, which may not be suitable for all environments. Amp simulators, on the other hand, are software or hardware devices that emulate amplifier sounds. They offer convenience, a wide range of tonal options, and the ability to record silently, making them ideal for home studios or late-night sessions.
When using amp simulators, explore different virtual cabinets, microphone models, and effects chains to craft your desired tone. Some well-known amp simulation software options are AmpliTube, Guitar Rig, and Helix Native. They typically offer presets inspired by iconic amps and artists, giving you a solid foundation to craft your own sound.
How Guitar Types Shape Recordings
The type of electric guitar you use not only shapes your sound but also dictates the most effective recording techniques. Different guitars possess unique characteristics that require tailored approaches to capture their essence when recording electric guitars.
Guitar Body Types
Guitar body types significantly influence both the tonal character of an electric guitar and, consequently, the techniques you should employ when recording. Furthermore, understanding how different electric guitar body types contribute to the overall sound can help you make more informed decisions about microphone placement, gain settings, and room acoustics. In addition, each guitar type has its own set of strengths and challenges. Therefore, by tailoring your recording approach, you can effectively capture their unique qualities with precision and depth.
- Solid-Body Guitars: with minimal resonance, suit close-miking and dynamic mics for a focused, punchy sound. Room acoustics are less impactful due to reduced ambient sound.
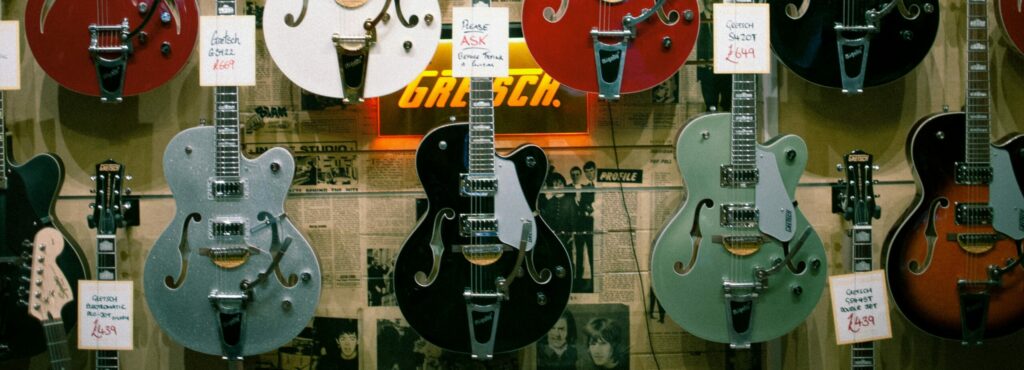
- Hollow & Semi-Hollow Guitars: offer richer resonance but are prone to feedback. Room mics capture their natural warmth, and using ribbon or condenser mics enhances harmonic detail.
High-gain settings should be avoided to control feedback.
Guitar Pickup Types
Pickups are the core of an electric guitar’s sound, as they convert string vibrations into electric signals that shape tone. By understanding different types of pickups, you can choose the right gear and techniques for your preferred sound. Whether you want the bright bite of single-coils or the smooth warmth of humbuckers, each type has distinct strengths, applications, and challenges to consider.
- Single-Coil Pickups: have bright tones but may introduce noise. Noise gates and hum-canceling techniques help. Ideal for clean sounds, maintaining a clean signal path is key.
- Humbucker Pickups: Humbuckers produce warm tones with built-in noise reduction, suitable for high-gain settings. Close-miking techniques capture the depth and richness of these pickups.
String Gauge & Tuning Guitar
The right string gauge and tuning greatly affect sound and performance. Heavier strings add sustain; alternate tunings provide unique tones. Below, we discuss their impacts and tips for optimizing them.
- Heavier Strings: Heavier strings add sustain and fullness. Adjust mic placement for low frequencies, and use compressors to handle the dynamic range.
- Alternate Tunings: Alternate tunings change tonal centers and resonance. Tune the recording space to match, and check for string buzz, adjusting action as needed.
Guitar Age & Condition
The age and condition of a guitar significantly affect its sound. Vintage guitars bring warmth and character, while modern guitars provide consistency and advanced features. Understanding these differences helps you tailor your recording techniques to highlight each guitar’s unique qualities.
- Vintage Guitars: Vintage guitars offer unique tonal qualities. Minimal processing and high-quality mics can capture their character.
- Modern Guitars: Modern guitars are consistent and feature advanced electronics. DI recording leverages built-in preamps, and digital effects can enhance the sound.
Essential Guitar Recording Strategies
Mastering fundamental recording techniques is key to capturing high-quality guitar tracks. Understanding these methods will enhance your ability to produce professional recordings.
Placement of microphones when recording Guitar
Proper microphone placement is crucial when recording electric guitars. The position of the mic relative to the speaker cone affects the tone significantly. Placing the microphone directly in front of the center of the speaker cone yields a bright and aggressive sound. Moving it towards the edge of the cone produces a warmer tone. The distance between the mic and the speaker also matters; closer placement results in a tighter sound with more low-end, while pulling the mic back captures more room ambiance. Experiment with angles and positions to find the sweet spot that best suits your desired sound.
For additional tonal variation, try the off-axis technique, where the microphone is angled slightly away from the speaker cone. This can soften harsh frequencies and produce a more balanced sound. Also, consider the proximity effect, where microphones capture more bass frequencies when placed very close to the sound source. Use this effect to your advantage by adjusting the mic’s distance to control low-end response.
Direct Input Guitar Recording
Using direct input (DI) is another effective technique for recording electric guitars. This method involves plugging the guitar directly into the audio interface or a DI box, bypassing the amplifier. It captures a clean and uncolored signal, providing flexibility in post-production. You can then use amp simulator plugins to shape your tone within your digital audio workstation (DAW). DI recording is particularly useful for genres that require a pristine sound or when recording in environments where noise levels must be kept low.

When recording DI, ensure you use a high-quality DI box to maintain signal integrity. Active DI boxes are suitable for passive pickups, while passive DI boxes work well with active pickups. Additionally, consider recording both a mic’d amp signal and a DI signal simultaneously. This approach, known as re-amping, allows you to manipulate the DI track later, blending it with the original recording or applying different amp simulations.
Enhancing Your Electric Guitar Recordings
Once you’ve captured your guitar tracks, you can use different recording and mixing techniques to enhance and polish your recordings, giving them a professional edge.
Layering Guitar Tracks
Layering involves recording multiple takes of the same or complementary parts and stacking them in your mix. This technique adds depth and fullness to your recordings. For instance, recording the same rhythm part twice and panning one track left and the other right creates a stereo effect that enriches the overall sound. You can also layer different guitar parts, such as harmonies or octaves, to add complexity and interest to your music.
When layering, aim for tight performances to avoid phase issues or a muddy mix. Slight variations in timing and dynamics can add a natural feel, but excessive inconsistencies may detract from the clarity. Use quantization sparingly to correct timing errors without sacrificing the performance’s human element.
Utilizing Guitar Effects
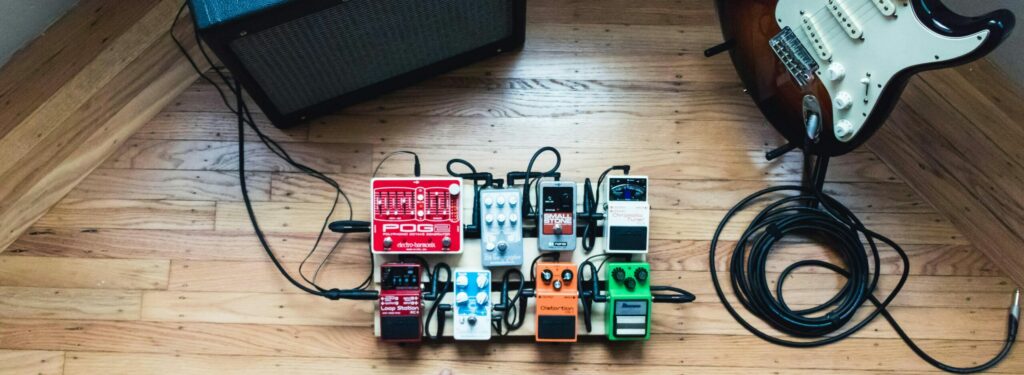
Incorporating effects can significantly alter and enhance the tone of your guitar recordings. Effects like distortion, reverb, delay, and modulation can be applied using pedals during recording or added as plugins in your DAW. Recording with effects commits the sound to the track, which can be beneficial if you’re confident in the desired tone. Alternatively, applying effects during mixing provides more flexibility to tweak settings. Experimenting with different effects can lead to unique sounds that make your recordings stand out.
When using time-based effects like delay and reverb, synchronize them with the tempo of your track for cohesion. Modulation effects such as chorus, flanger, and phaser can add movement and texture to your guitar parts. Be mindful of not overusing effects, as they can overwhelm the core guitar tone. Subtle application often yields the most tasteful results.
Editing and Mixing Guitar Tips
Post-production is where your recordings are refined and prepared for release. Begin by editing your tracks to eliminate any unwanted noise or mistakes. Use equalization (EQ) to balance frequencies, enhancing the guitar’s presence in the mix without clashing with other instruments. Compression helps to even out the dynamic range, ensuring consistent volume levels throughout the track. Panning and stereo imaging techniques create space within the mix, allowing each element to be heard clearly. Finally, apply reverb or delay subtly to add depth without overwhelming the core guitar tone.
When EQing, consider applying a high-pass filter to remove unnecessary low frequencies that can muddy the mix. Boost the mid-range frequencies where the guitar naturally sits to enhance clarity. Use multiband compression if certain frequency ranges require dynamic control. Automation is a powerful tool for adjusting levels and effects throughout the track, ensuring that the guitar parts shine at the right moments.
Common Recording Electric Guitar Issues
Even with careful planning, you may encounter challenges when recording electric guitars. Knowing how to identify and address these issues is essential for maintaining recording quality.
Unwanted noise or hum can be caused by electrical interference or grounding problems. Ensure all cables are in good condition and consider using a power conditioner. String buzz can be minimized by proper guitar setup and playing technique. If you experience latency when recording through a DAW, adjust your buffer size settings or consider using direct monitoring. Addressing these common problems promptly ensures a smoother recording process and better end results.

Dealing with Phase Issues
When using multiple microphones or layering tracks, phase cancellation can occur, leading to a thin or hollow sound. To check for phase issues, invert the phase on one track and listen for changes in the sound. If the tone improves, adjust the microphone placement or timing of the tracks. Using a phase alignment tool or manually nudging tracks can correct minor discrepancies.
Managing Signal Levels when Recording Electric Guitars
Proper gain staging is critical when recording electric guitars. Ensure that your input levels are not too hot to avoid digital clipping, which results in harsh distortion. Aim for levels peaking around -12dBFS to -6dBFS on your DAW’s meter. This headroom allows for dynamic playing without risking distortion. During mixing, maintain appropriate levels to preserve audio quality throughout the signal chain.
Advanced Techniques for Professional Recording Results
To take your guitar recordings to the next level, consider incorporating advanced techniques that add polish and professionalism to your tracks.
Re-Amping Recording Guitar Techniques
Re-amping involves recording a clean DI signal and then sending it back out to an amplifier or effects chain for re-recording. This process allows you to experiment with different amp settings, microphones, and placements after the initial performance. It’s a flexible method for refining tones without requiring the guitarist to replay parts. Use a re-amp box to match the impedance levels between your audio interface and the amplifier for optimal signal transfer.
Double-Tracking and Quad-Tracking
For genres like rock and metal, double-tracking or quad-tracking rhythm guitars can create a massive wall of sound. Double-tracking involves recording the same part twice and panning each take hard left and right. Quad-tracking doubles this approach, adding two more takes and panning them slightly less wide. Ensure tight performances to prevent a sloppy mix. Use different guitars, pickups, or amp settings for each take to add subtle variations and richness.
Creative Mic Recording Guitar Techniques
Experiment with unconventional mic placements to capture unique tones when recording electric guitars. The room mic technique involves placing a microphone several feet away to capture the natural reverb and ambiance of the space. The rear mic technique places a mic behind an open-back cabinet to capture additional low-end resonance. Blending these tracks with a close mic technique can add depth and character to your recordings.
Conclusion
Recording electric guitars effectively combines art and science. By setting up an optimal recording environment, choosing the right equipment, and applying essential recording techniques, you can capture the true essence of your guitar’s sound. Enhancing your recordings through layering, effects, and meticulous mixing further refines your music, bringing it to a professional standard. Remember, experimentation is key. Don’t hesitate to try different methods and find what works best for you. With dedication and practice, mastering the art of recording electric guitars is well within your reach.
Whether you’re a home studio enthusiast or a professional producer, these essential techniques provide a solid foundation for capturing stellar guitar recordings. Embrace the learning process, stay creative, and continue refining your skills. The world of recording electric guitars is vast and rewarding, offering endless possibilities for those willing to explore its depths.
À propos de l'auteur

Néstor Rausell
Chanteur, Musicien et Spécialiste en Marketing de ContenuNéstor Rausell est le chanteur principal du groupe de rock "Néstor Rausell y Los Impostores". Il travaille chez MasteringBOX en tant que spécialiste en marketing.
Laisse un commentaire
Connecte-toi pour commenter.
