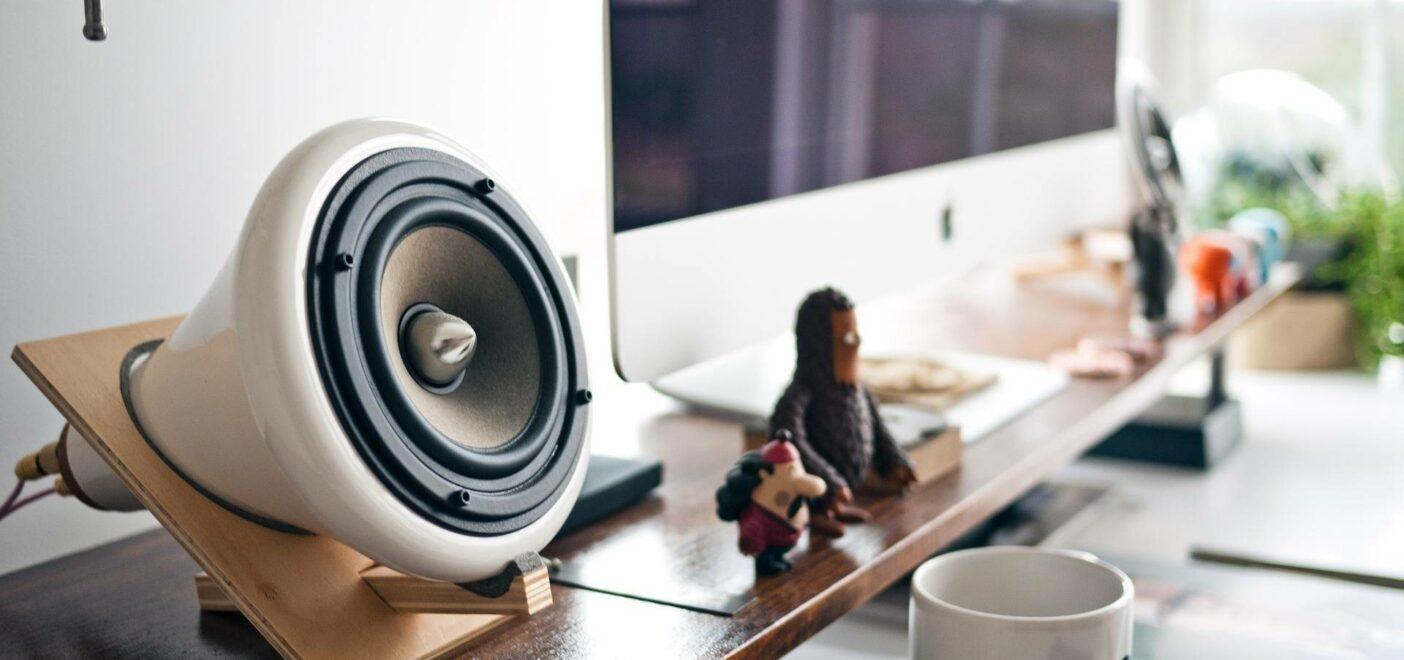
These days, we’re spoiled for choice when it comes to consuming music. There are so many different mediums, from vinyl to streaming, and so many new ways to listen. Gone are the days of gathering at someone’s house to listen to the new hit album of the month. Now we can pull up pretty much anything in history at almost any location in the world. As such, it means that all you new producers and engineers out there have even more to contend with when it comes to making sure your music is heard correctly. Today, we’re going to take a look at a few key points to keep in mind to ensure that your mixes sound powerful on monitors as well as small speakers.
Table of Contents
- Frequency Response in Small Speakers
- Vary Your Listening Volume
- Loudness & Compression
- Harmonic Excitement
- Mixing for Mono
- TL;DR
Frequency Response in Small Speakers
Understanding the frequency response of small speakers in commercial devices is one of the most important things we’re going to discuss today. If you’re making music on studio monitors and only referencing them in this environment, it’s unlikely that your mixes will translate well when played on small speakers. We have to accept that it’s practically impossible to make music that sounds universally perfect, but if we take some time to reference the most likely playback devices, we can get pretty close.
Now I’m not suggesting you go out and buy every set of earbud headphones on the market, every phone and laptop, or every set of small desktop speakers. It’s quite likely that you own or have access to many of these already, but still, we don’t necessarily need the actual devices in order to make these references. A quick Google search into the frequency response of your typical small speaker setup will reveal all the information you’ll need. Many small speakers on things such as phones, tablets, and laptops claim to have a full frequency response of 20-20,000Hz. However, actual perceived frequency response tends to be more like 200-400Hz up to 20kHz. By taking this into consideration, we can emulate the general playback of many small speakers on your current studio monitor setup.

Using your favorite EQ plugin, apply a high-pass filter to the master bus and play around with the frequency, checking your mix at 200, 300, and 400Hz. Listen to what happens in the mix regarding the presence and power of each individual element. Make adjustments to the elements that start to disappear from the mix with these filters in place to ensure that they stay clear in a playback scenario that is less than ideal. You’re not going to be able to save the power that a sub-bass gives off when filtered at 200Hz, but you can at least work to make the low-mid range more present so that listeners can still hear the rhythmic elements you’ve written in.
Vary Your Listening Volume
Playback volume is another key factor that you’ll need to consider when preparing a track for a large audience. While your home stereo or studio setup may be able to exceed 100dB, devices with small speakers like iPhones or laptops are far more limited in what they can produce. The small speaker sizes and complete lack of woofers mean that the relative power level of the device is going to be quite low. This doesn’t appear to be a problem immediately because surely it’s all relative, right?
Unfortunately, perceptual levels versus actual levels in the real world are quite blurred. This is especially true when it comes to music due to the fact that most songs have a wide range of sonic textures. Issues with mixes become very apparent when you listen to them below or above a normal working level, and this practice is not only something that will improve the translation of your music to small speakers but is also generally good practice for anyone looking to take their work live.

When you reach a good point in a production or mix where things are starting to come together, take the time to listen through the track. Go from start to finish at a considerably quieter and louder level than you normally would. I don’t recommend turning it up so loud that it’s uncomfortable. Just ensure that it’s a level where short-term exposure doesn’t become an issue. What you’re looking for here is to see if any elements of the track become lost or stick out.
Frequency response across varying levels of loudness changes quite a lot. Using a standard A-weighted curve, a pure sine tone at 100Hz plays back around 20dB louder than a tone at 1000Hz. If you’re interested in the more technical side of things, feel free to read further into Fletcher-Munson curves. The goal here is to make some slight adjustments at various listening levels. We want to find a balance across the board that works as often as possible.
Loudness & Compression
Loudness and compression play a significant role in the quality of any song on small speakers. This mostly comes down to the way physical products work. Larger speakers with more room to move can reproduce wider frequency ranges and higher levels. This is why 4×12 cabs are so popular for recording electric guitars. Essentially, more movement over a larger surface area allows for a greater dynamic range. After all, sound is all about moving as much air as fast as possible. This is something to consider when working with small speakers.

Small speaker setups are usually compact in design. This makes them more portable and takes up less space. As such, they have very small cones. They also have a very limited range of movement, meaning they can’t move as much air at once. This is why they struggle to reproduce lower frequencies, as these wavelengths need to be thrown a lot further. If you’ve ever stood at the back of a festival, you’ll know the first thing you hear is the bass. This is because of how long those waves are and how much further they are thrown.
Minimal Range of Motion
If small speakers have minimal ranges of motion, the way to counteract this is to make our music the same. Now, I’m sure some of you (myself included) aren’t all that keen on squashing your tracks to oblivion. I’m not suggesting you go insanely overboard. However, if your target audience is mostly listening through small speakers (perhaps your demographic is younger users), then you might want to consider being a little more aggressive with your audio limiters and compressors than you usually would. Clamping down on dynamic range means the speakers need to work a lot less, which allows them to better reproduce the music you’ve created.
On a side note, mastering plays a large part in this reduction of dynamic range for small speakers. The mastering process aims to improve continuity between playback on multiple systems. The use of dynamic compression and limiting aids in this. As we’ve just discussed, a slightly smaller dynamic range means less work for small systems, resulting in a better sound all around.
Harmonic Excitement
The three points we’ve discussed so far account for the important aspects of ensuring a mix works on small speakers. The last couple of things that I want to discuss are things that you can make use of to try and solve any issues that may have arisen when analyzing your track using the suggested ideas so far.

Harmonic excitement is an incredibly handy tool for giving a little bit of edge to those low-end elements. These are the elements you start to lose when the track is played back on small speakers with poor frequency response and limited power. Adding a little bit of mid-range harmonic content to things like basslines, 808 kicks, or even normal kick or snare drums can help to ensure they really cut through the mix.
With a much better setup, a strong 60Hz kick drum is going to punch through for the listener. You’ll get that real chesty feeling, driving the rhythm home. Using harmonic exciters to add in some saturation and higher frequency content helps to reinforce transients. It also keeps things strong and punchy, even without that feeling of being hit in the gut. This means the listener can still get a great sense of the rhythmic content, even though they can’t hear it.
Harmonic exciters can also be handy for adding in some high mid content to really bright elements, such as vocals or metallic drum elements. The key here is not to go overboard, or you can make these sounds quite thick and bloated. Exciting these sounds will certainly help to make things come through in a mix, especially if the listener’s small speakers top out at around 12-15kHz. Make use of the filtering suggestion I made in the first section to find out just how much the exciter is adding and if it’s doing enough to keep things sharp and clear.
Mixing for Mono

My final suggestion is mixing in mono. Many portable small speakers use a single speaker design to keep them compact. This makes them slightly better in terms of performance. A 3″ driver is going to provide a bigger frequency response and more power than two 1.5″ drivers. With how popular loudness is these days, it’s often worth sacrificing stereo sound for more power. Even many devices such as phones are essentially mono. They may claim to have two speakers and offer stereo sound. However, when speakers are that close together, the output is essentially mono by the time it reaches your ears because there is no sense of direction.
Checking your mono mix is already an important thing to do for any sound system. The checking phase is something you must do. The correct phase creates more power, so essentially, it’s going to help your mixes sound better on small speakers. Flick your mixes back and forth between mono and stereo. Check to see that you aren’t losing certain sounds when the mix is folded down. The closer your mono and stereo mixes sound, the better!
TL;DR
Ensuring your mixes work on every set of speakers in the world presents a tricky challenge. Small speakers pose particular difficulties due to their designs, which often compromise audio quality. Factor in their frequency responses when you work on a track. Use filters around 200-400Hz to simulate how your tracks will sound on small speakers. Additionally, check the balance of your mix at various levels. Ensure elements don’t disappear or stand out when played back at lower volumes. Clamp down on the dynamic range to better prepare your track for the limited dynamic range that small speakers offer. Use exciters to enhance some of the low and high frequencies that may become inaudible. Finally, check your mono mix to ensure the correct phase and avoid losing half the track.
À propos de l'auteur

Tim Dunphy
Ingénieur audio et rédacteur de contenu spécialiséPlus de 10 ans d'expérience dans le domaine de l'audio. Tout, de l'enroulement de XLR au mastering d'albums. Je suis un self-made-man et je garde mes actifs en bitcoins. Qu'y a-t-il de plus à savoir ?
Laisse un commentaire
Connecte-toi pour commenter.


