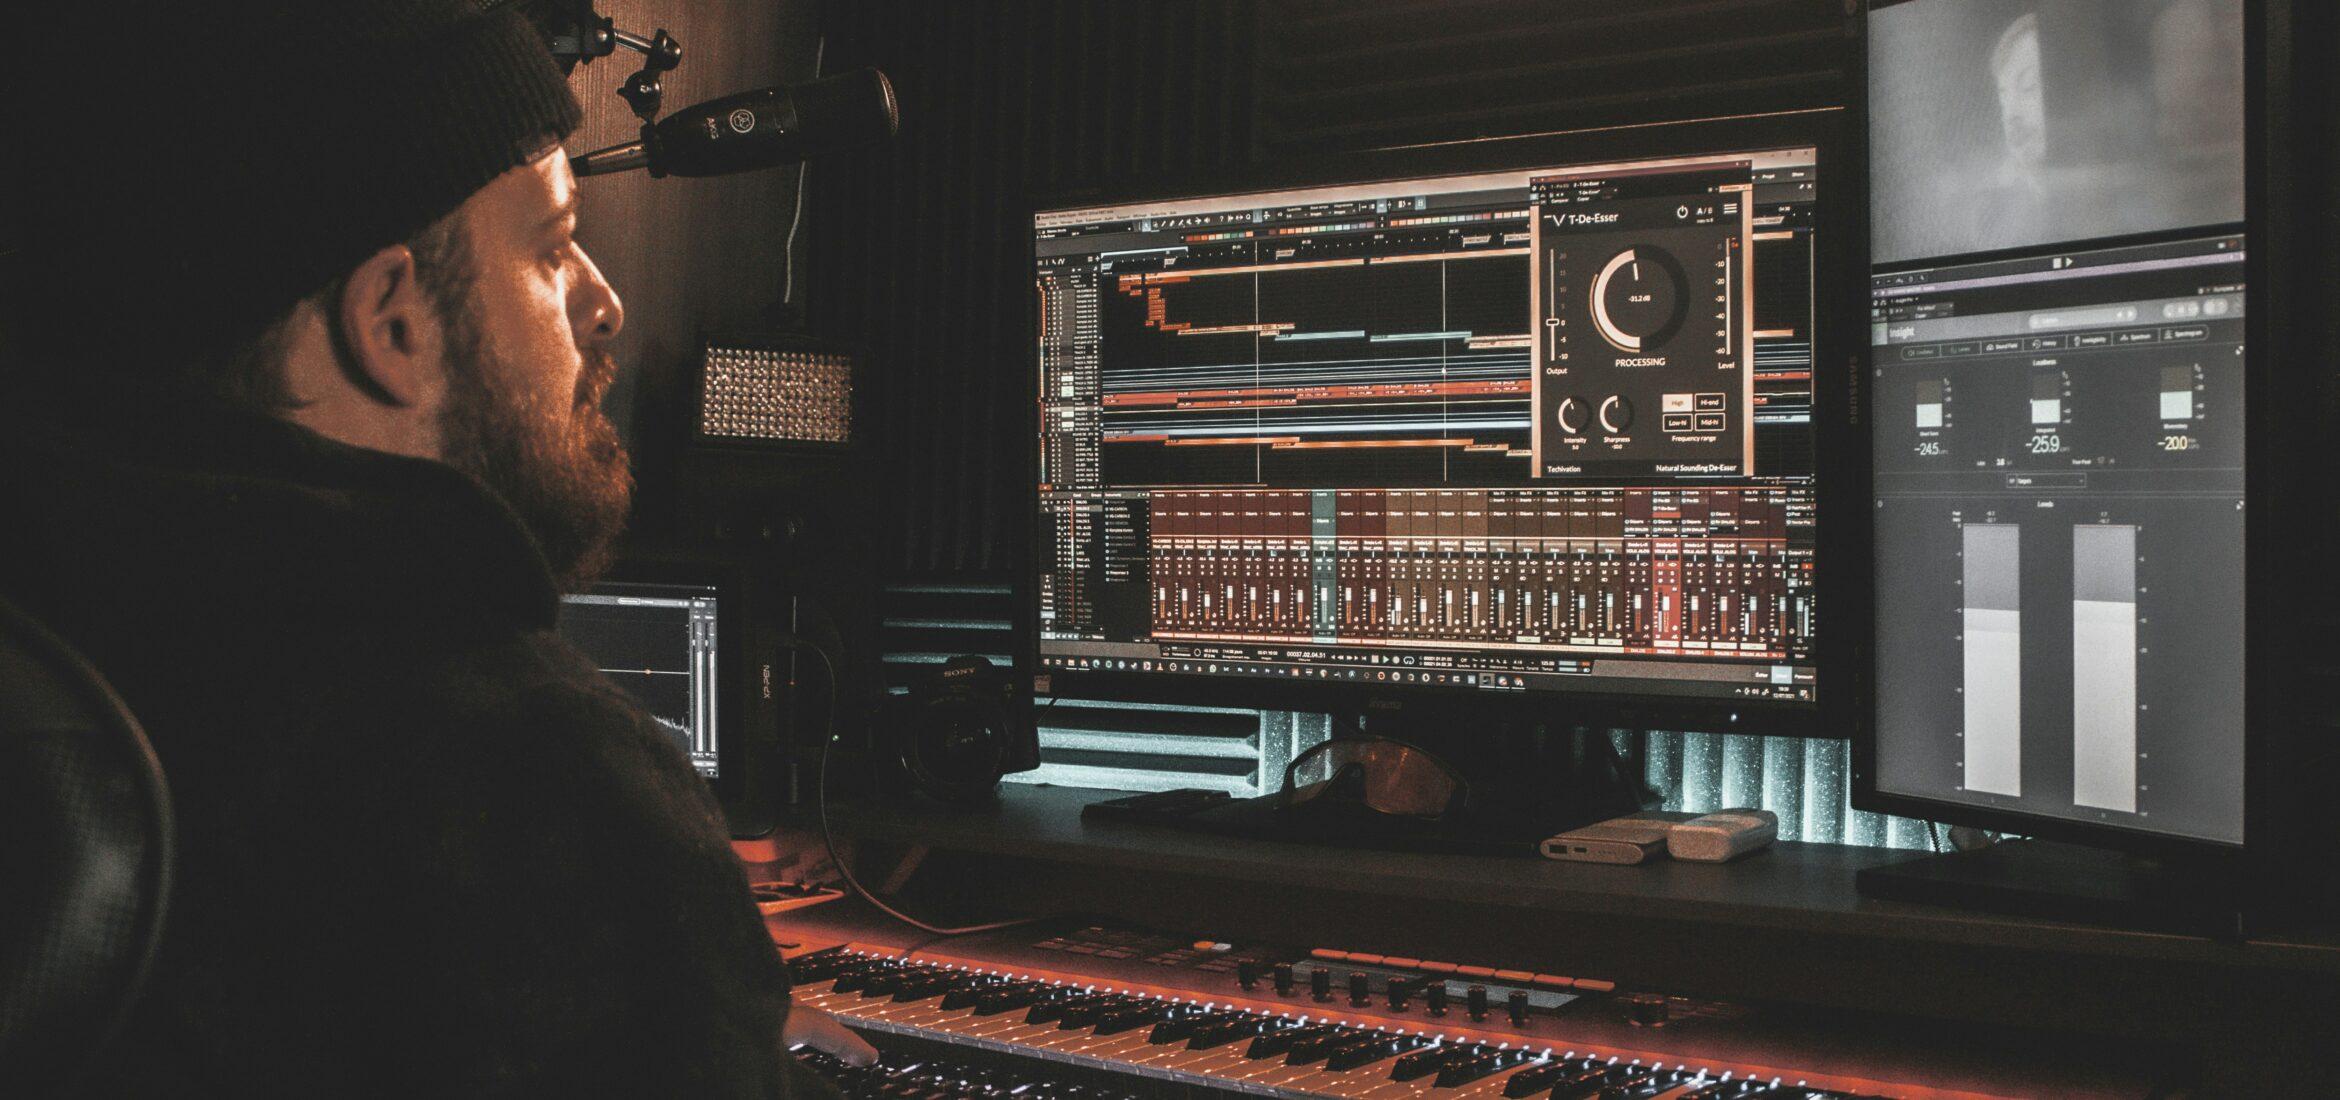
Modern DAWs are filled with so many useful tools that it can be difficult to stay focused. Of course, there’s no set order of operations when it comes to deploying mixing techniques. Each song and scenario will require different actions at different stages. However, it never hurts to give yourself some parameters. So, as you work on your next mix, try out these five mixing techniques as you go. Some of them might already be in your arsenal, but if you have yet to try any of these, now is the perfect time!
1. Use High – And Low-Pass Filters
Mixing with EQ is one of the most crucial yet complex parts of the process. Getting a feel for how frequencies blend, compete, and interact with one another takes a bit of experience. One way to gain a better understanding of EQ is by using high-pass and low-pass filters.

A good way to think of these filters is to imagine a gate. The filter is the gatekeeper that allows certain frequencies to pass while blocking or “attenuating” others. The difference between these filters is that one allows higher frequencies to pass, while the other allows lower frequencies to pass. As you can imagine, the former refers to high-pass filters, while the latter refers to low-pass filters. With a high-pass filter, anything below a specified cutoff frequency will be removed. For low-pass filters, anything above this cutoff frequency will likewise be cut.
As for application, these filters can emphasize and clarify an instrument or part. When it comes to mixing bass, for instance, using a low-pass filter can help bring out the low-end. Vocals can benefit from high-pass filtering, removing unnecessary low-end and helping them stand out against guitars and other treble instruments.
2. Compare Constantly with Bypass
Comparison might not sound like much of a mixing technique, but it is indeed important. Before EQing tracks, adding effects, or using mix automation, it’s good to know how to retrace your steps. Fortunately, most modern DAWs have massive memory capacity, so any mistake just takes an Undo to fix. However, mixing involves thousands of tiny steps along the way, and it’s often not long before you’ve well exceeded the number of moves you’re able to undo.

To keep yourself in check, there’s a handy feature in many DAWs known as bypass or “compare.” This feature allows you to A/B test what you just did, like flipping a light switch. For instance, if you decided to cut a significant amount of low-end in your cymbal track, you can hit the bypass button to hear the difference between the previous mix and your recent change. By comparing these smaller changes as you go, you can clearly hear how the mix has transformed. Better still, you can save, name, and date certain settings so you can always return to them if you want to compare or reference changes in the long term.
3. Spectral Analysis Is Your Friend
Spectral analysis is one of those mixing techniques that sounds super technical but really isn’t that complicated. Sound waves, like light waves, exist on a frequency spectrum. Spectral analyzers log this information and display it visually in real-time as you play back your mix. Spectral analysis is a useful tool for mixing because it so clearly conveys where elements of your mix lie on the frequency spectrum. Sometimes our ears can’t fully grasp this information, and not all home studio monitors can fully process extreme frequencies, so being able to see this helps immensely.
Using spectral analysis is also an important tool for mastering when the frequency profile of the entire mix needs to be taken into account. Most DAWs have a built-in spectral analysis tool. Third-party analyzers can be downloaded as well. Voxengo SPAN, FreqAnalyst by Blue Cat Audio, and Seven Phases Spectrum Analyzer are a few popular analyzers.
4. Add Parallel Compression To Your Mixing Techniques
Compression is always a useful tool in mixing. Parallel compression is a more advanced application of this technique, but it’s not all that difficult to put into practice. The basic premise of parallel compression is to combine an initial unaffected or “dry” track with a compressed duplicate of it.
There are two ways to do this: Copy whichever track you choose, compress it to your liking, then gradually bring up the level of this compressed copy until it comfortably blends with the first track; or send the initial track to a bus and compress it there. The result is a more dynamic, present track. The organic tone of the original track remains while the newly compressed duplicate offers some punch and sparkle. This mixing technique can do wonders for drum mixing, but it can be used for any mix element.
5. Experiment With Effects And Mix Automation At the End
Sometimes as we’re mixing, we suddenly feel inspired to add an effect or some other dynamic to a track. While this impulse is great, you might want to save these changes for the end. Once again, there is no order of operations suited for every mix, but to save yourself some potential backtracking, it’s often wise to focus on the basics first. This means starting with techniques like compression, panning, volume, EQ, etc. Once these primary operations are addressed and your mix is stable, then dig deeper.

This is not to say that adding effects to your mix is unimportant. On the contrary, using mix automation and introducing delay, reverb, and other effects are often what separates a dull mix from a memorable one. However, getting too caught up in details right off the bat before establishing the foundation can hinder your mix. If you’re worried you’ll forget something, place a marker and make a note to come back to it later.
Conclusion
Today, there are countless mixing techniques at your disposal, some complex and others rudimentary. While they’re all important, the five outlined here might improve your mix quite a bit the next time around. Tell us about some of your most-used mixing techniques in the comments!
Informazioni sull'autore

Ethan Keeley
Scrittore, doppiatore, musicista e redattore audioEthan Keeley è un musicista, doppiatore e scrittore di Rochester, New York. Quando non è in tour con la sua band Unwill, lavora a nuove canzoni e storie.
Lascia un commento
Log in per commentare


