Ever notice your mix sounds different (quieter or less punchy) on Spotify or YouTube than it did in your studio? You’re not imagining it. Streaming platforms apply loudness normalization to keep playback levels consistent. The challenge for producers and mastering engineers is to tailor masters so they play nicely with each platform’s rules without losing impact. This guide explores how to do just that, covering loudness units (, true peak, default loudness targets, why crushing your mix above platform targets can hurt your sound, and how to fine-tune your masters for Spotify, Apple Music, YouTube, and more.
Table of Contents
- Mastering for Streaming vs. Traditional Mastering
- Understanding LUFS and True Peak
- Loudness Normalization on Major Streaming Platforms
- Why Overly Loud Masters Get Turned Down
- Mastering for Streaming: A Step-by-Step Approach
- Deliverable Specifications and File Preparation
- Additional Considerations
- Conclusion
Mastering for Streaming vs. Traditional Mastering
Streaming services revolutionized delivery by adding loudness‑normalization. Traditional mastering optimized for fixed‑volume media like CDs or vinyl, where hotter masters sounded louder. On streaming services, excessive loudness is turned down, reducing the competitive edge of “loudness‑war” masters and exposing over‑compression. Consequently, modern mastering should focus a bit less on loudness; other areas that were often overlooked now play a bigger role:
- Headroom to survive lossy encoding.
- Dynamics that retain punch after normalization.
- Compatibility with playlists, shuffle play, mono fold‑down, and earbuds as well as audiophile setups.
But we don’t typically master just for streaming platforms, although we can create several masters for different purposes (CD, vinyl, streaming, etc.). Many times, this is not the case. Balancing loudness and dynamics plays an important role here, and mastering engineers will have to adapt to this new scenario.
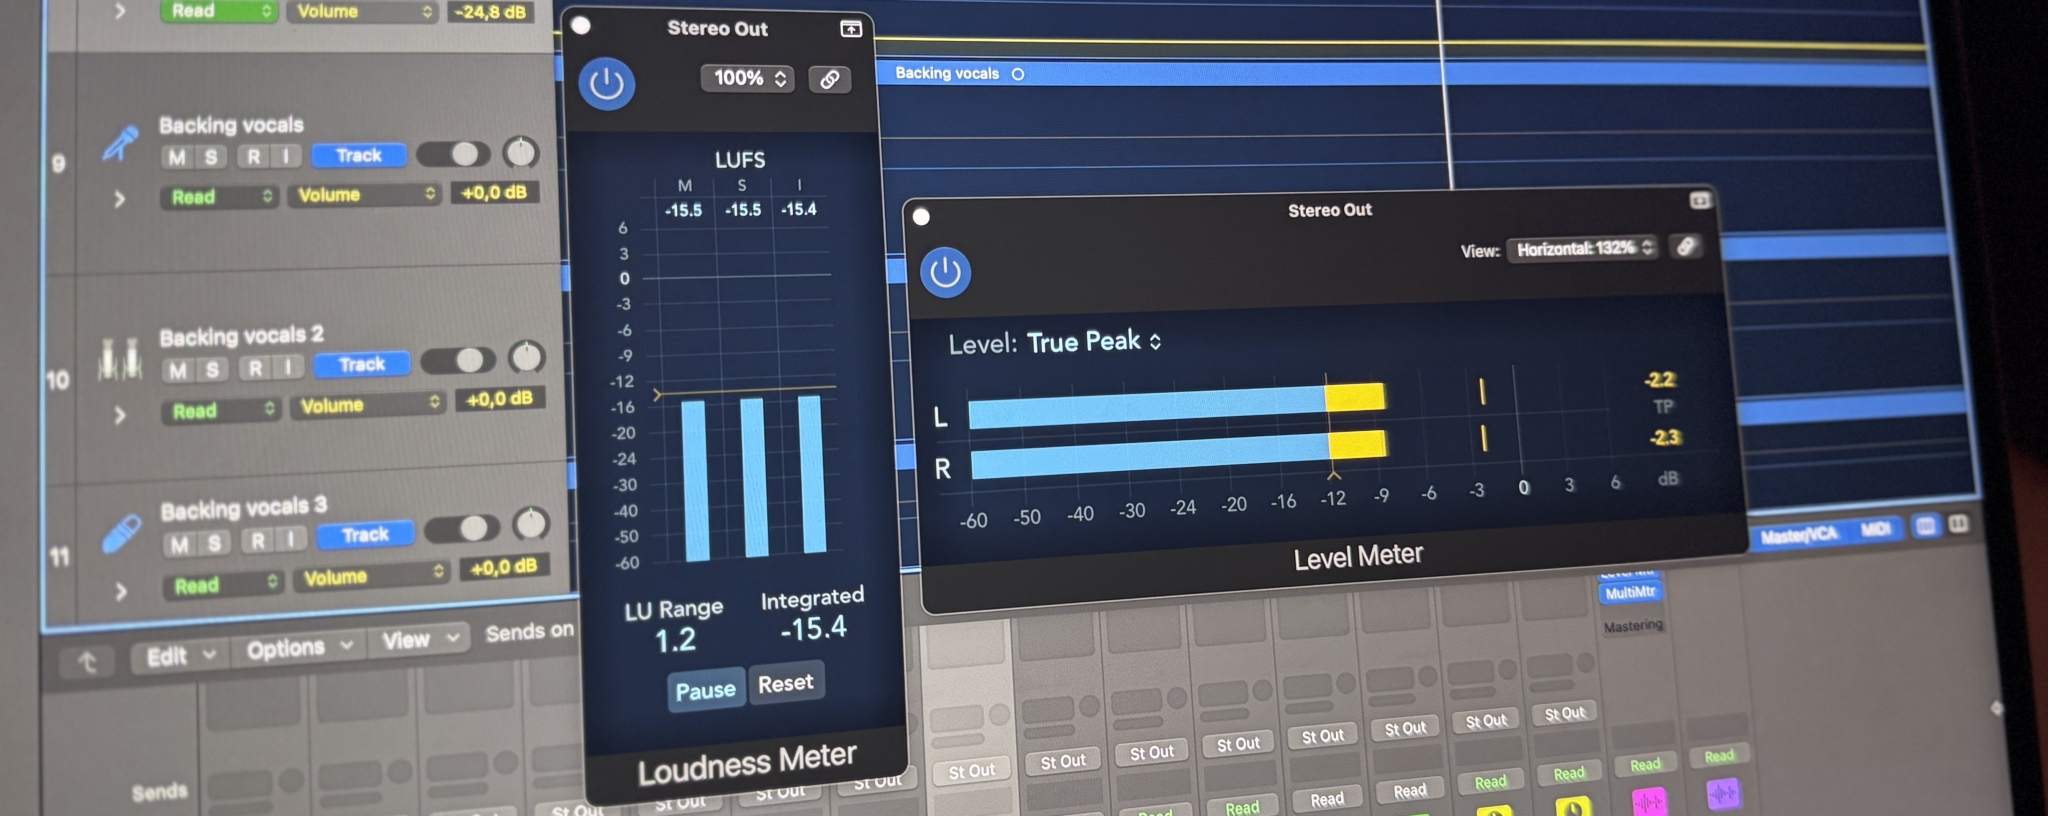
Understanding LUFS and True Peak
In today’s streaming landscape, two key metrics guide how your music translates across platforms: LUFS (Loudness Units Full Scale) and true peak. Understanding these measurements is critical for ensuring a master that sounds clean, dynamic, and distortion-free—no matter where it’s played. Let’s break down what each term means and why they matter in mastering.
LUFS (Loudness Units Full Scale)
LUFS is a way to measure perceived loudness rather than raw decibels. Traditional peak meters only show instantaneous levels, but LUFS considers how human ears perceive different frequencies. This is helpful because perceived loudness isn’t always proportional to the highest peaks displayed on a meter.
There are two common measurements:
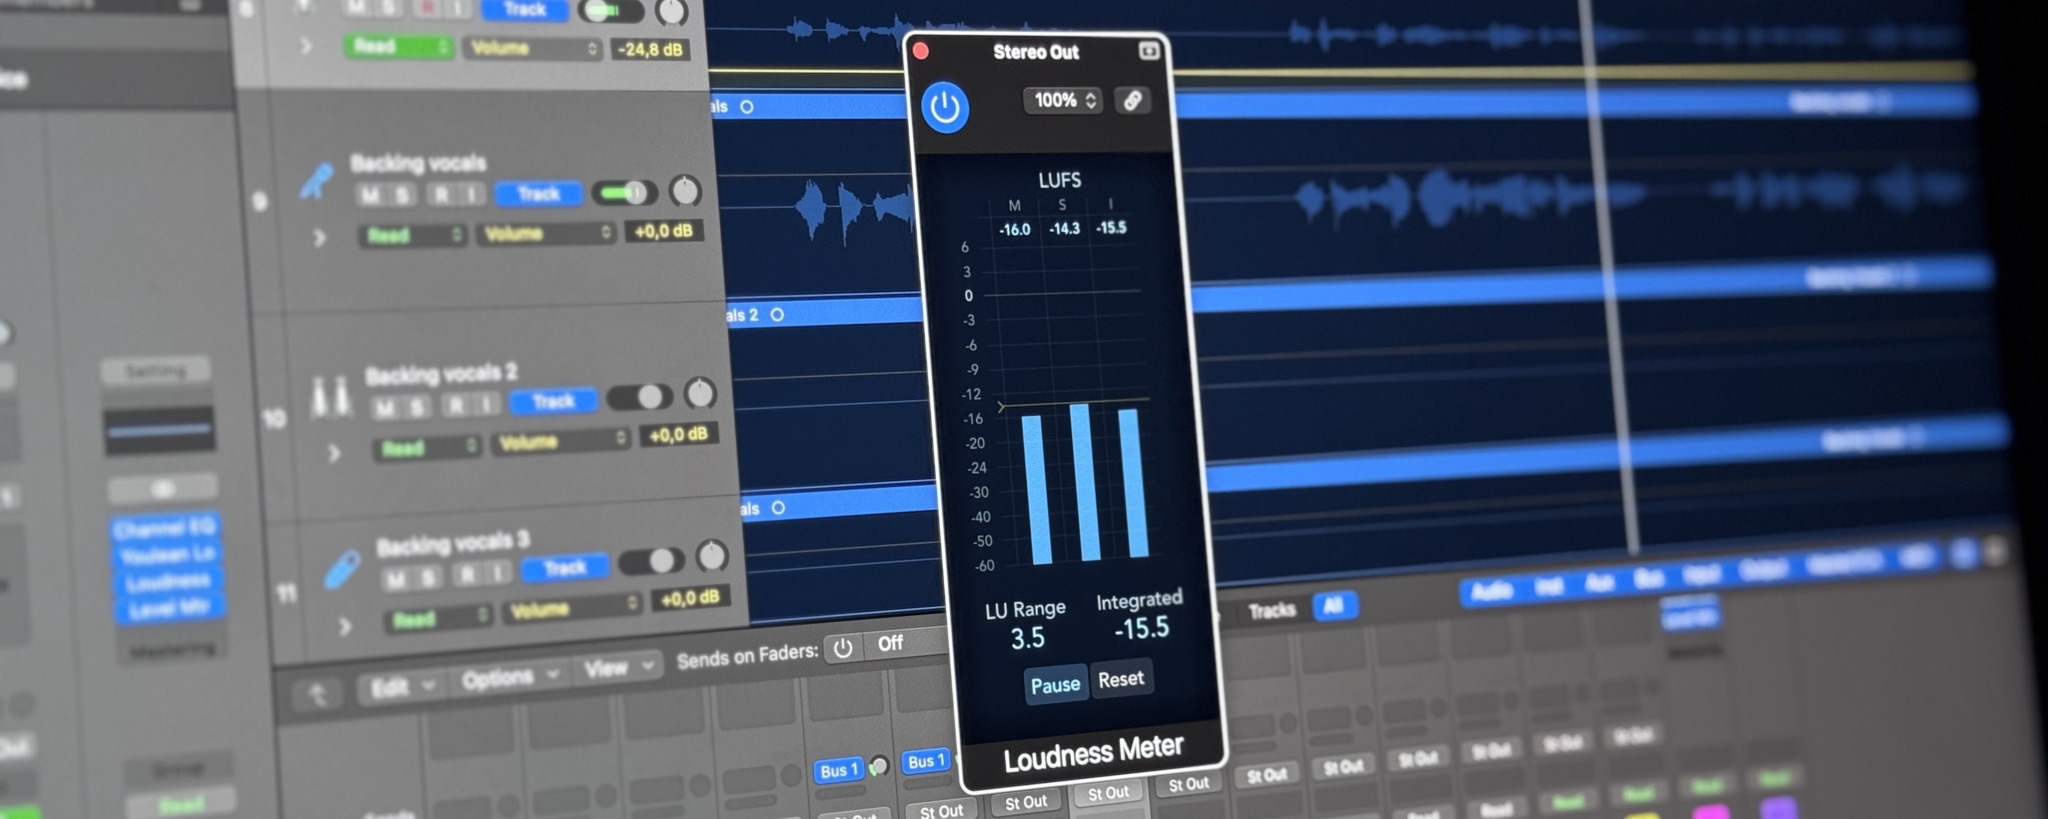
- Integrated LUFS: The average loudness over the entire duration of a track.
- Short-Term LUFS: Loudness over a shorter window (often three seconds).
When streaming services mention a target like -14 LUFS or -16 LUFS, they’re typically referring to integrated LUFS across a whole piece of audio.
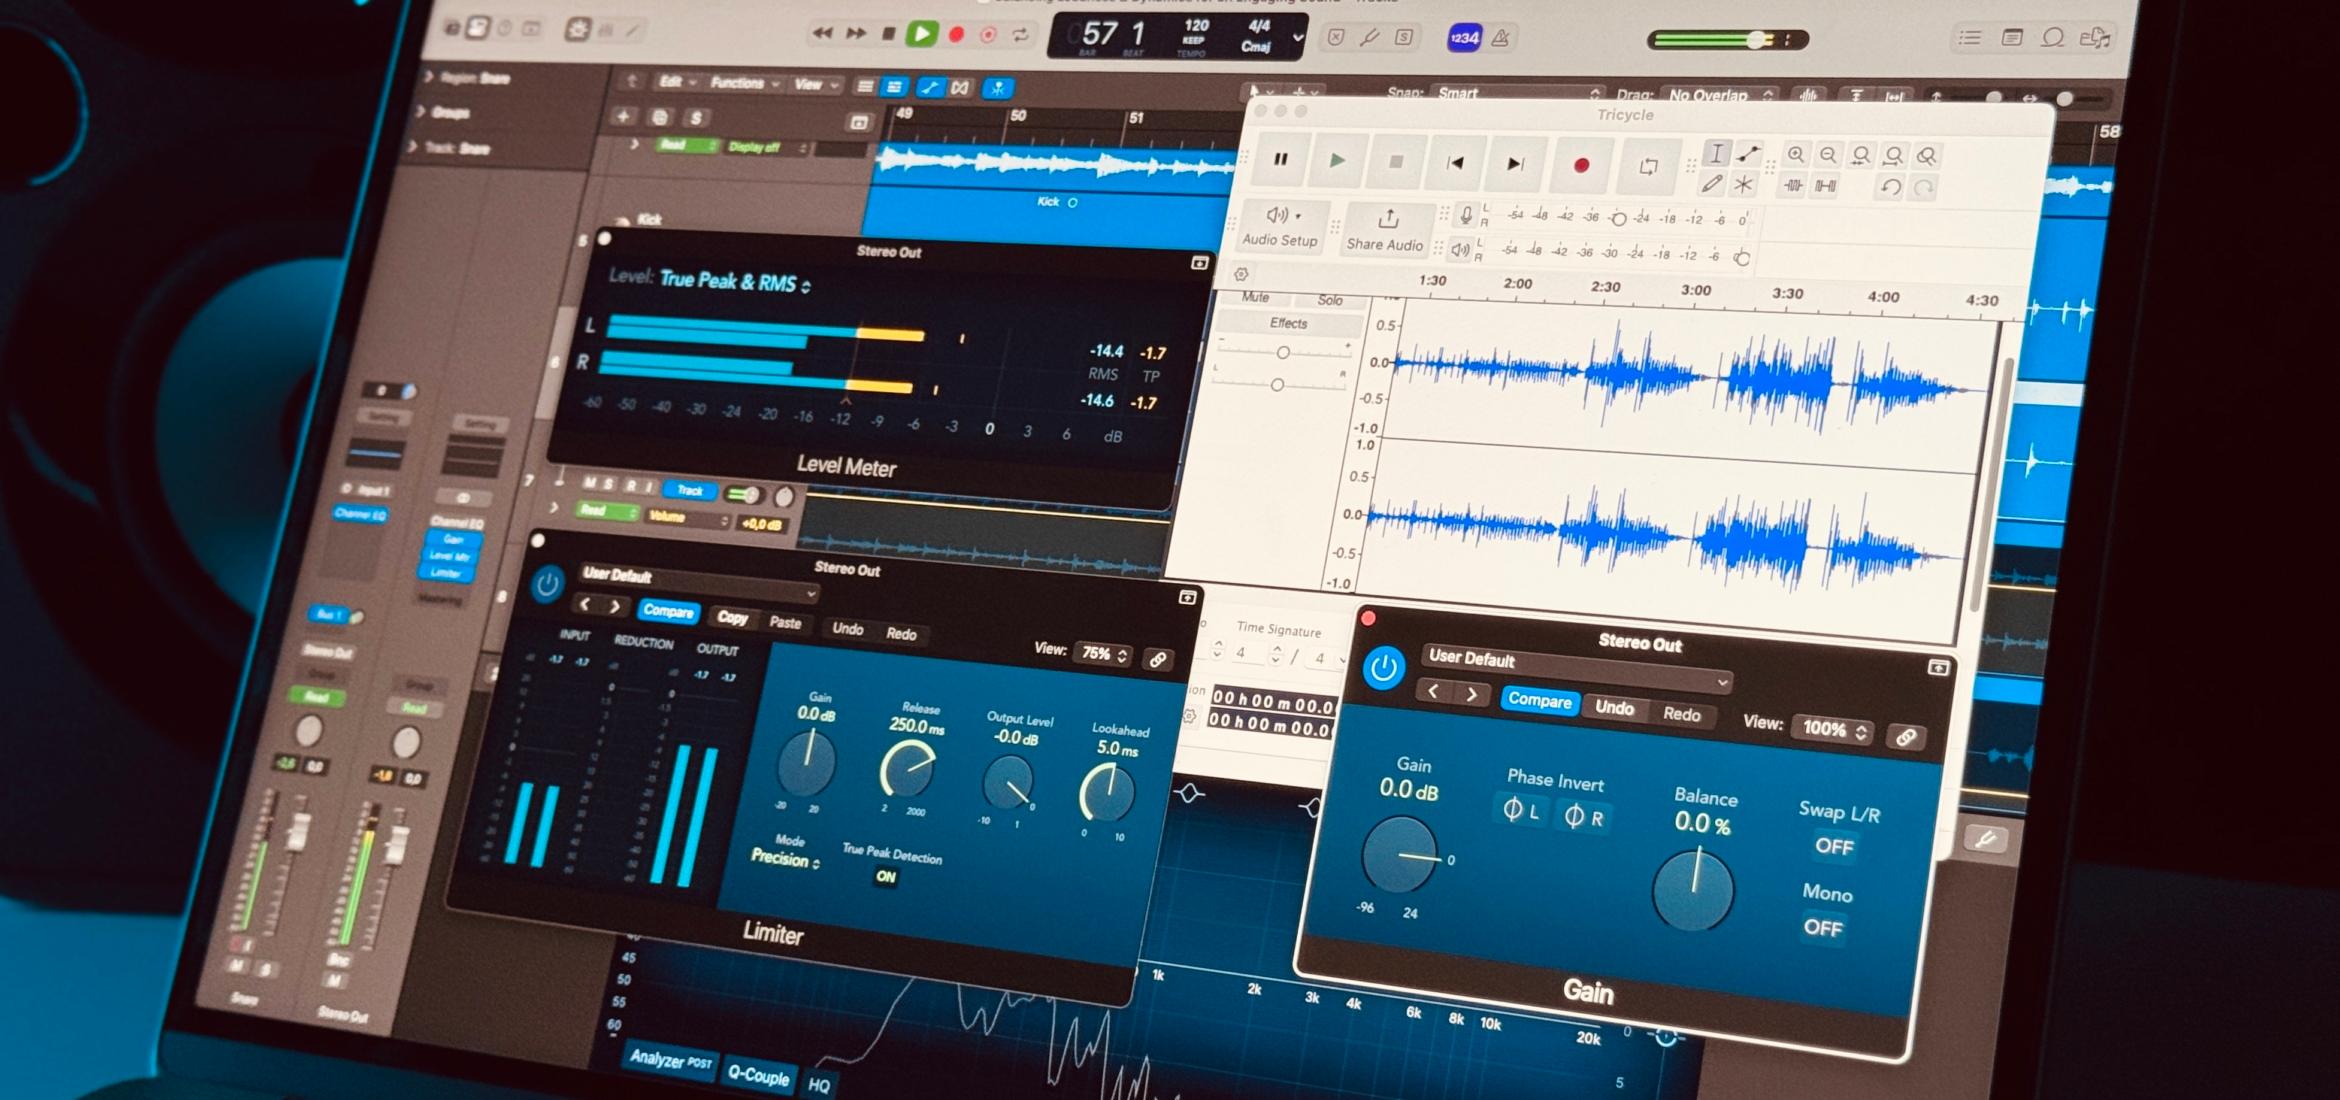
True Peak
True peak goes beyond individual digital sample peaks. When a digital waveform is converted to analog, inter-sample peaks can exceed the highest sample value shown in your DAW. A true peak meter estimates these inter-sample peaks to help avoid clipping or distortion after encoding.
Streaming services often recommend keeping your master’s true peak below about -1 dBTP (decibels true peak) so that once they transcode the file to a lossy format (like AAC or Ogg Vorbis), any inter-sample overs won’t create unwanted distortion.
Loudness Normalization on Major Streaming Platforms
Every platform has its own loudness normalization target (measured in integrated LUFS) and rules about adjusting your track’s volume. Here’s a rundown of the default loudness normalization for the big players and how they handle your music:
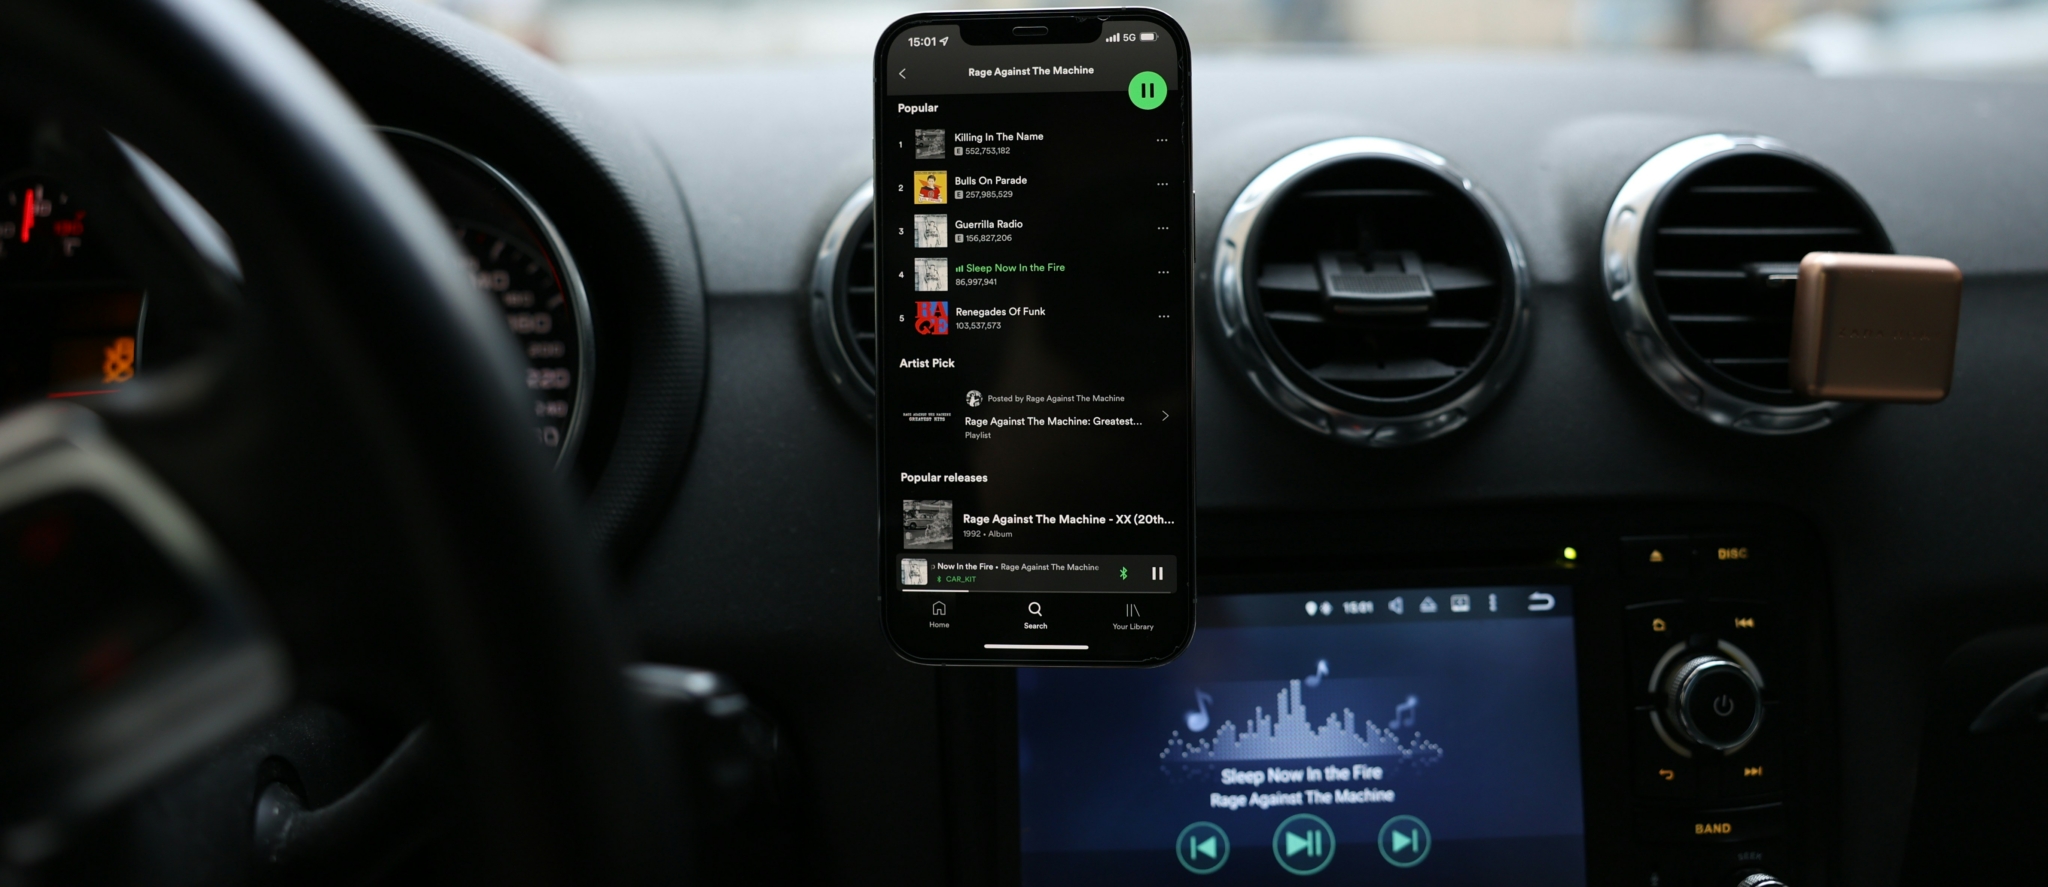
Spotify
- Normalization: -14 LUFS integrated by default.
- Adjustment: If your track is louder than -14, Spotify turns it down; if it’s quieter, it tries to turn it up until limited by peaks.
- True Peak Recommendation: Keep your master’s peak below about -1 dBTP to avoid clipping.
Apple Music
- Normalization: Approximately -16 LUFS (via Sound Check).
- Adjustment: Louder tracks are turned down; quieter tracks are turned up until they reach near 0 dBFS for peaks or -16 LUFS for loudness, whichever comes first.
- True Peak Recommendation: Aim for -1 dBTP ceiling to account for AAC encoding. Some engineers use -1.5 dBTP for extra safety.
- Apple’s Sound Check can do album-level normalization, so consider your album’s overall loudness balance if you’re mastering multiple tracks.
YouTube
- Normalization: -14 LUFS.
- Adjustment: YouTube only turns audio down; it does not boost quieter tracks. If your track’s integrated loudness is lower than -14 LUFS, it’ll stay at that level, so it might play softer than other content.
- True Peak Recommendation: A ceiling of about -1.5 or -2 dBTP is often advised to guard against AAC overs.
Tidal
- Normalization: -14 LUFS.
- Adjustment: Tidal applies album normalization and generally only turns down loud tracks; quieter tracks are left as is.
- True Peak Recommendation: Keep peaks around -1 dBTP for safety.
Amazon Music
- Normalization: Roughly -14 LUFS.
- Adjustment: Similar approach to Spotify, turning loud tracks down and quieter tracks up, within limits.
- True Peak Recommendation: -1 dBTP is typically sufficient.
Deezer and Pandora
- Normalization: Deezer around -15 LUFS, Pandora around -14 LUFS.
- Adjustment: Pandora may boost quieter tracks; Deezer generally turns loud tracks down.
- True Peak Recommendation: Stick to -1 dBTP.
SoundCloud
- Normalization: None.
- Adjustment: None. A track uploaded at -6 LUFS will play at -6; a track at -16 LUFS will play at -16.
- True Peak Recommendation: -1 dBTP or more to avoid encoder artifacts, especially since SoundCloud transcodes to a lossy format. If you push your file too close to 0 dBFS, you risk distortion after their transcoding.
Why Overly Loud Masters Get Turned Down
In the era of the “loudness wars,” many engineers pushed their music to extremely high levels (like -6 LUFS) to stand out. However, streaming platforms will simply reduce the playback gain of excessively loud tracks to meet their target. The result is a song that no longer sounds any louder than the competition and is often lifeless because of excessive compression.
For example, if your track is at -6 LUFS integrated and Spotify’s target is -14, Spotify will lower the track by 8 dB. So, even though it was mastered extremely loud, it ends up at the same playback loudness as a more moderate master that preserves dynamic range. Once volume is normalized, the over-compressed audio will likely sound flat and dull compared to a dynamic track at the same final playback level.
Over-compression also often introduces unwanted distortion or pumping. Once the volume boost advantage is gone, all you’ve got is a less engaging track. In short, driving your master far above platform targets is counterproductive—normalization erases loudness advantages, but it can’t restore lost dynamics.
Mastering for Streaming: A Step-by-Step Approach
So, how do we actually master a track with all this in mind? Here’s a step-by-step game plan to get your mix ready for the most popular streaming platforms like Spotify, Apple Music, YouTube, etc., hitting the right loudness and avoiding common pitfalls:
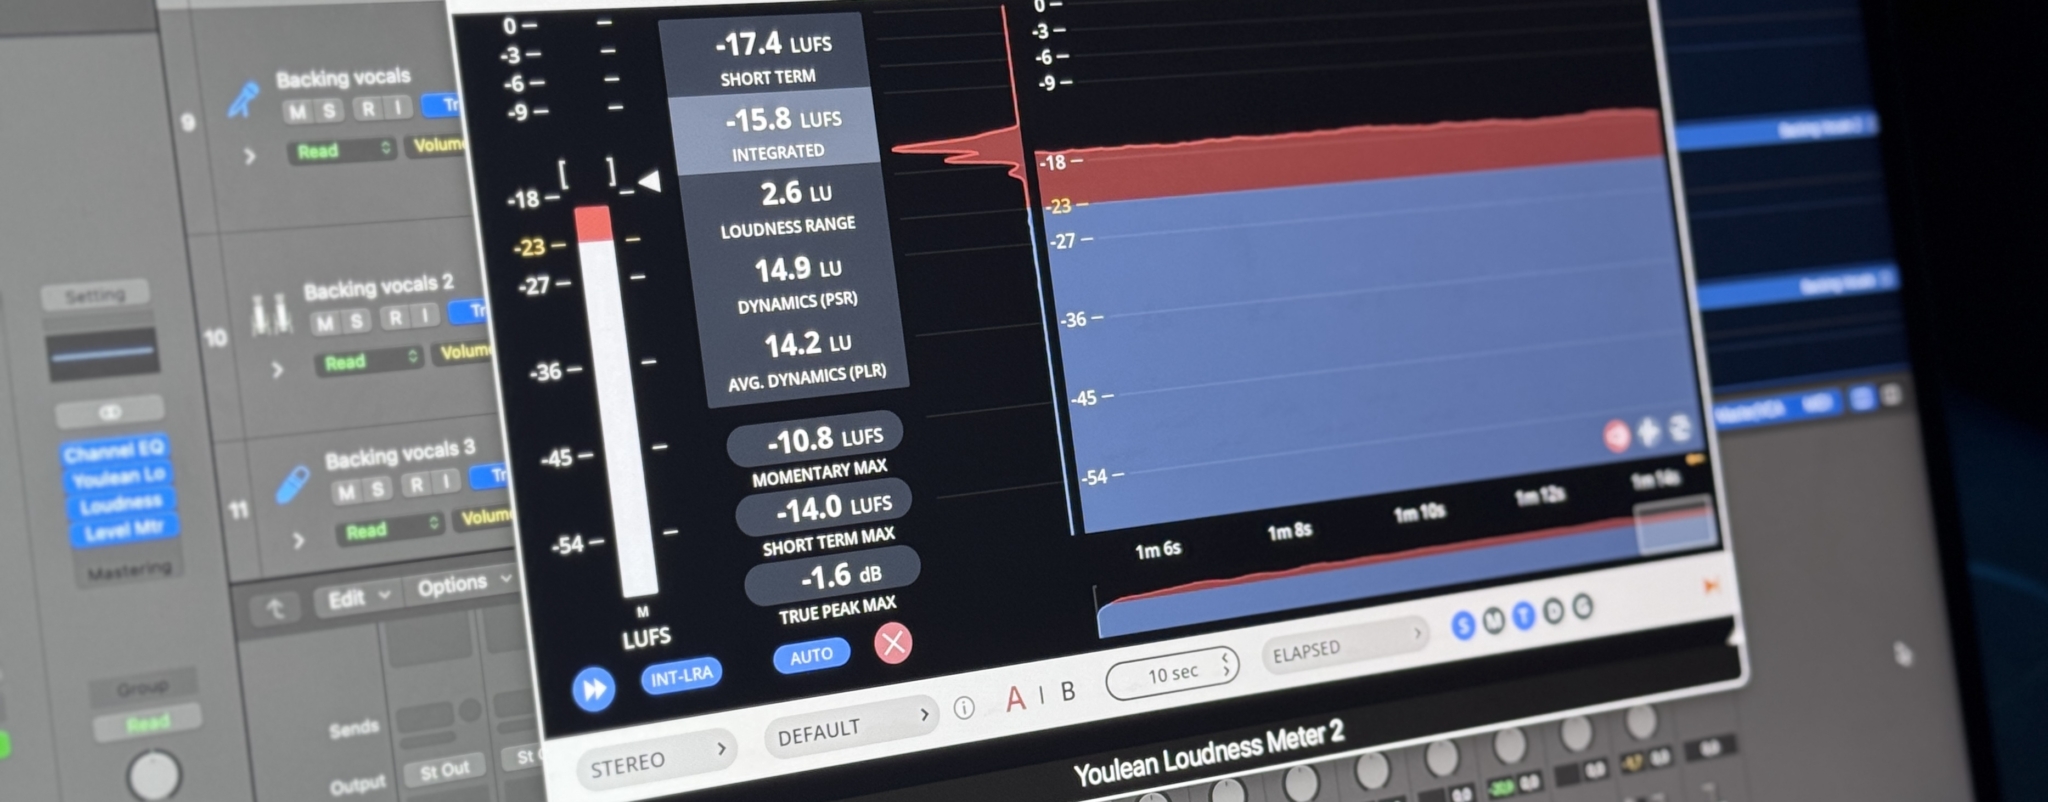
1. Measure Integrated LUFS
Use a loudness meter plugin or your DAW’s built-in meter to find your track’s integrated LUFS. Play your entire mix from start to finish. This average measurement tells you how a streaming service sees your loudness.
If you don’t have a specific LUFS meter, consider acquiring one. They’ve become essential tools for modern mastering.
2. Adjust Limiting and Gain
First you should decide on a target loudness depending on the style of the track and dynamics. When mastering specifically for streaming platforms, it makes less sense to aim for a very loud master. So, my recommendation would be to go for softer compression and limiting and aim for -9 to -11 LUFS. This way you get the best out of mastering without squashing dynamics and with less effort than it takes to get a the mastering process right when aiming for more loudness.
Your track will still be loud enough for other uses and will be lowered by most streaming plattforms. However, because a master is not always only for one purpose, its best to do a middle ground even if streaming plattforms are your primary targets.
- If your track is louder than your chosen target (e.g., -8 LUFS and you want -10 LUFS), reduce the limiter threshold or overall output until the integrated loudness is closer to that. Yes, that means making your track quieter on purpose, but it prevents streaming platforms from applying large volume reductions.
- If your track is quieter (e.g., -12 LUFS and you want -10 LUFS), you may need more compression. Increase the limiter threshold, but listen carefully for any distortion or over-compression and adjust the settings.
Make sure to compare changes at the same playback volume so you’re not misled by “louder is better.” The key is achieving a balanced sound with sufficient dynamic range.
3. Check Your True Peak Levels
After setting integrated loudness, confirm you have enough headroom. Use a true peak true peak meter to monitor peaks during playback of your entire track. Keep the maximum true peak true peak below -1 dBTP (some engineers go as low as -1.5 dBTP).
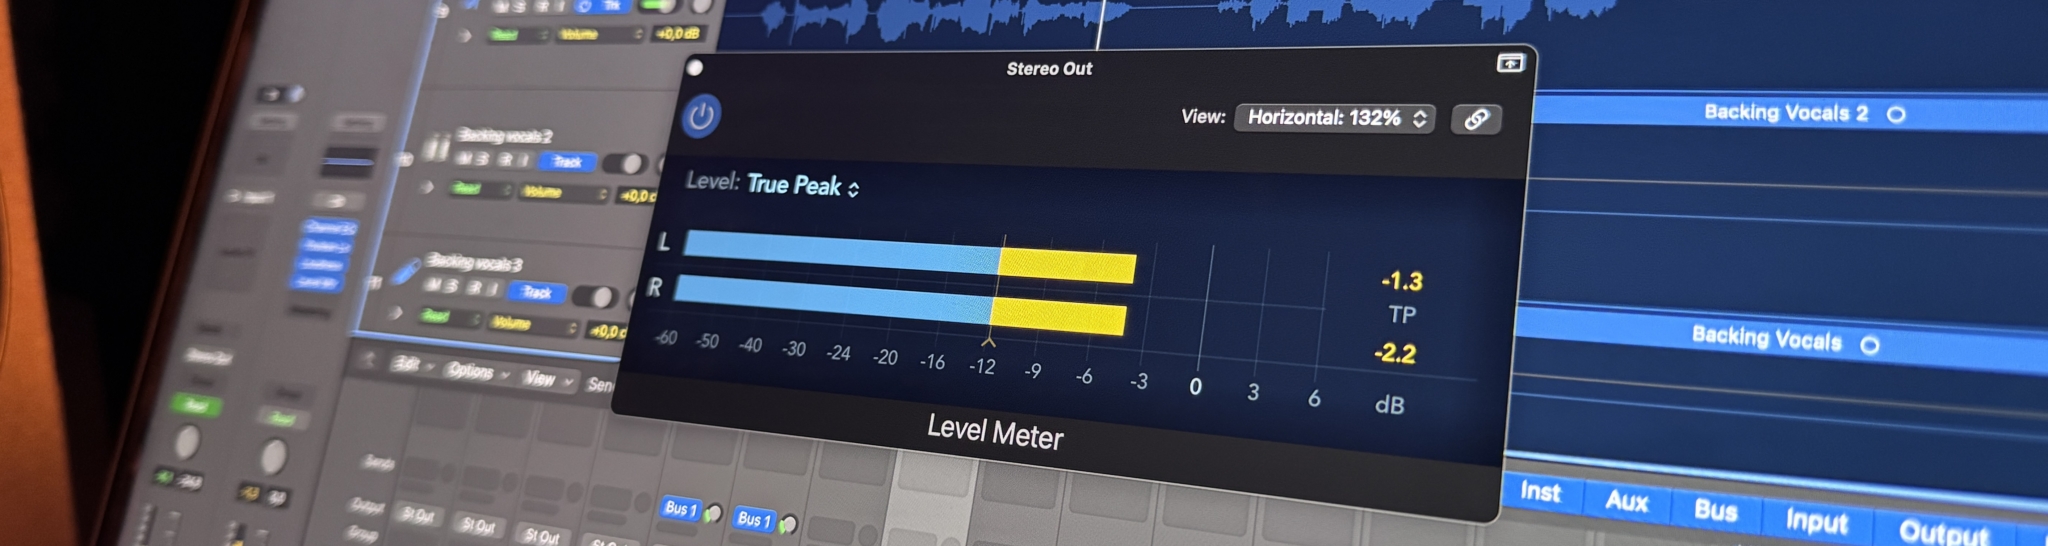
Set your limiter’s final output ceiling around that range. After adjusting, export your file and run it through the meter again to ensure your final bounce stays under -1 dBTP. This prevents clipping once a streaming service encodes the file.
4. Audition with Normalization Tools (Optional)
Some platforms provide ways to check how they’ll adjust your volume. YouTube’s “Stats for Nerds,” for example, can show if your audio is getting turned down. Third-party websites or plugins can also estimate a “loudness penalty” for different platforms. If you see extreme reductions, consider lowering your master’s loudness a bit so it’s not overly slammed.
5. Use Your Ears
While metering is crucial, your ears are the ultimate judge. After all these technical steps, ensure the track still sounds great to you. Reference other songs in the same genre to confirm you’re in the right ballpark. If your track sounds too squashed or lacks impact, dial back the compression and sacrifice a bit of raw loudness. Streaming normalization will handle the rest.
Deliverable Specifications and File Preparation
Delivering pristine source files gives streaming encoders clean, unclipped data to work with, minimizing the risk of inter‑sample peaks and codec‑induced artifacts. When your master arrives noise‑free, properly dithered, and at the project’s native sample rate, the platform can down‑convert or transcode without magnifying flaws, preserving the mix’s delicate transients, depth, and stereo integrity.
Preferred File Formats
Upload uncompressed WAV or lossless FLAC. Most distributors accept 24‑bit depths; 16‑bit is an acceptable fallback but wastes potential headroom. Sample rate should match your production session—do not upsample artificially. Services offering Hi‑Res tiers (Apple, Tidal, Amazon) can stream up to 96 kHz or 192 kHz when provided.
Headroom and Dither
Bounce the master at ‑1 dBTP (some engineers choose −1.5 dBTP) to guard against inter‑sample peaks during lossy encoding. When reducing word‑length—32‑bit float to 24‑bit or 16‑bit—apply dither as the last processing stage to prevent quantization errors.
Metadata and Naming
Correct titles, ISRC codes, and sequencing information matter for distributors. Clearly label files (e.g., Artist – SongName_Master_24‑48.wav) to avoid uploading drafts or reference MP3s by mistake.
Additional Considerations
While technical guidelines offer a valuable framework, mastering decisions should always serve the music first. Beyond loudness targets and true peak levels, there are other factors like genre-specific dynamics, artistic intent, album sequencing, and delivery formats that significantly influence mastering choices. This section explores these additional considerations, helping you tailor your master not only to technical requirements but also to your creative vision.

Genre & Artistic Intent
Different styles of music have different loudness expectations. A heavy metal or EDM track might naturally sit closer to -8 to -10 LUFS integrated to achieve the aggression listeners expect. A classical or jazz piece might sit around -12 LUFS or quieter to preserve natural dynamics. These are broad generalizations, but they demonstrate how loudness is genre-dependent. Use your best judgment to find the sweet spot between dynamic impact and meeting streaming guidelines.
Album vs. Single
If you’re mastering an album, think about the overall flow. Apple Music or Tidal’s album normalization means the loudest track sets the reference. If one track is drastically louder than the rest, it might pull the entire album down. Strive for consistency across all tracks so the album’s internal dynamics are cohesive.
If you’re only mastering a single, focusing on the typical -9 to -11 LUFS zone will get you close to most platform targets. One single doesn’t need to match an album’s internal references.
True Peak vs. Sample Peak
A normal peak meter might show you well below 0 dBFS, but inter-sample peaks could still be clipping in the transcoded result. Always rely on a true peak meter if you want to be thorough. Even leaving 0.3 dB of sample headroom might not be enough—some formats can introduce overs of 1 dB or more. Sticking to around -1 dBTP is a good rule of thumb.
Conclusion
Tailoring masters for each streaming service ultimately comes down to understanding that loudness normalization is ubiquitous. Once your track is on Spotify or YouTube, chasing high LUFS levels doesn’t make you louder to the listener—it just risks over-compression. By aiming for a moderate loudness range and keeping a safe true peak ceiling around -1 dBTP, you can preserve sonic integrity while minimizing unexpected volume shifts or clipping after encoding.
Feel free to experiment with slight variations for each platform. Some engineers create a single universal master; others prefer subtle adjustments. Either way, the best-sounding master is usually one that honors the music’s dynamics and avoids the pitfalls of hyper-compression. With these guidelines, your music will translate more consistently across Spotify, Apple Music, YouTube, and everywhere else it’s heard—ensuring your audience experiences the fullest, most impactful version of your work, regardless of where they press play.
Informazioni sull'autore

Dídac
CEO e fondatore di MasteringBOXDídac è un ingegnere audio professionista, produttore musicale e ingegnere software. È il fondatore di MasteringBOX e l'autore di molti degli articoli del blog.
Lascia un commento
Log in per commentare