Below is a comprehensive guide on stem mastering, an advanced approach to finishing your music. We’ll explore essential concepts in regular stereo mastering, define what stem mastering is, highlight its differences from stem mixing, and walk through when and how to use it. We’ll also discuss the benefits, potential pitfalls, and the overall workflow so you can decide if stem mastering is right for your project.
Table of Contents
- What is Mastering?
- What Is Stem Mastering?
- Stem Mixing vs. Stem Mastering
- When to Use Stem Mastering
- Preparing Your Stems for Mastering
- Mastering the Stems
- Why Use Stem Mastering
- Potential Pitfalls and Considerations
- Conclusion
What is Mastering?
Mastering is the final stage in the music production process. After you finish mixing individual instruments and vocals into a cohesive track, the mastering phase refines the overall sound. It adjusts the final stereo mix’s tonal balance, dynamics, stereo image, and loudness, helping the music translate well on different playback systems.
Why Mastering Matters
When your track leaves the mixing stage, you may have it sounding great in your own studio environment. However, your audience will hear the music in a variety of contexts—car stereos, earbuds, laptops, or club sound systems. Mastering ensures the song maintains its impact across all these playback scenarios.
During mastering, an engineer typically uses tools such as:
- EQ to fine-tune the overall tonal balance (e.g., reducing harsh high frequencies or boosting a slightly weak low end).
- Compression to gently control dynamic range, often described as “gluing” the mix so that everything sounds coherent.
- Limiting to increase the overall loudness to a commercially competitive level without clipping.
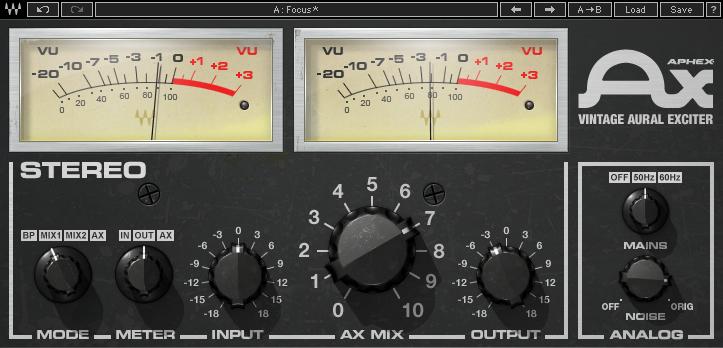
- Stereo imaging or enhancers to subtly adjust how wide or narrow the track sounds.
- Dithering when reducing bit depth from (for example) 24-bit to 16-bit, helping avoid digital artifacts.

While individual elements are typically addressed in the mix, mastering is about polishing the final stereo file. If you imagine mixing as painting all the details onto a canvas, mastering is the finishing varnish that brings out the colors and protects the final artwork.
What Is Stem Mastering?
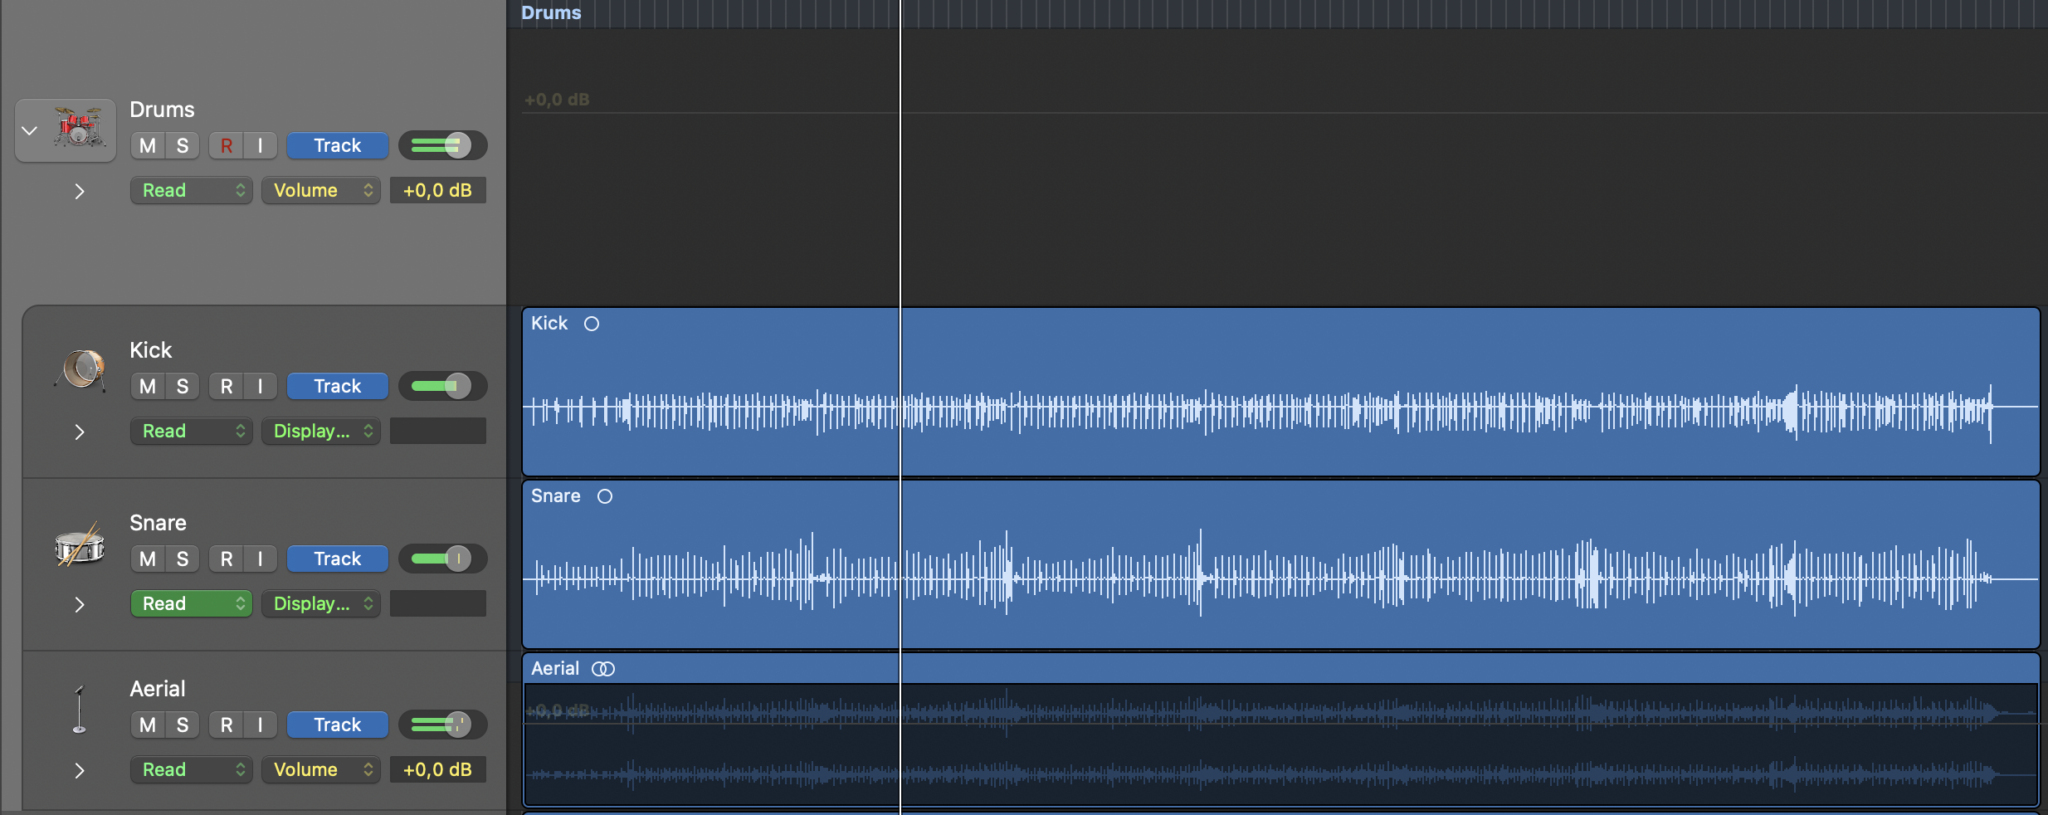
Stem mastering is a specialized approach where the mastering engineer works from a small number of grouped audio tracks—called stems—rather than a single stereo mixdown. Each stem represents a logical subgroup of instruments or vocals. For example, if you have a four-piece band plus vocals, you might have stems for:
- Drums (including all drum mics and percussion)
- Bass (electric bass or synth bass)
- Guitars and keys
- Lead vocals (and possibly backing vocals as a separate stem)
How It Works
Instead of being limited to global adjustments on a single stereo file, the engineer can slightly adjust each subgroup. That might mean bringing the vocals up by 1 dB or applying gentle EQ to the drum stem for more clarity. Once each subgroup is polished, the stems are summed (combined) into the final stereo master.

Key Differences from Traditional Mastering
In traditional mastering, the entire mix is a single stereo file. If the vocal is too quiet or a single instrument is overbearing, it can be tricky to fix without affecting other elements. With stem mastering, the engineer has finer control: they can nudge the vocal stem’s level, remove harshness in cymbals, or tighten up the bass without also compromising the guitars and keys.
However, stem mastering isn’t an excuse to skip a thorough mix. The stems provided to the mastering engineer should already reflect all mix decisions (panning, reverb, compression, etc.). The mastering engineer then uses subtle refinements to finalize the track.
Stem Mixing vs. Stem Mastering
The term stem can also appear in a mixing context, sometimes causing confusion. Let’s break down the difference.
Stem Mixing
In stem mixing, the producer or artist might provide the mix engineer with grouped audio files. Instead of handing over 50 raw tracks—kick, snare, hi-hats, guitars, synths, and so forth—a smaller number of “stems” is delivered (drums stem, bass stem, etc.). The mix engineer then balances and processes those stems to create a new stereo mix. This approach can save time or ensure a certain creative direction is maintained if partial group balances are already set.

Stem Mastering
Stem mastering, on the other hand, comes after mixing. The track is considered “mix-complete” except for any final polishing. The stems in this scenario are more or less the final subgroups from your mix session, each containing your chosen EQ, effects, panning, and internal balances. The mastering engineer receives these sub-mixes to address minor issues or make targeted enhancements without affecting the rest of the song.
A rule of thumb:
- Stem Mixing is a mixing workflow variant, where partial sub-mixes are used instead of hundreds of individual tracks.
- Stem Mastering is a mastering workflow that uses a handful of grouped files for final polishing tasks.
When to Use Stem Mastering
Stem mastering isn’t always necessary. Many songs sound fantastic with a standard stereo mastering session—especially if the mix is already in great shape. But there are scenarios where stem mastering shines.
Improving a Good-But-Not-Perfect Mix
If you’re 90% happy with your mix but have nagging concerns—like a slightly buried lead vocal or an imbalance in the low end—stem mastering offers a chance to fix these issues. For instance, providing separate stems for vocals, bass, and drums allows the mastering engineer to address each subgroup individually.
Dense or Layered Productions
For songs with many layers—pop productions with stacked synths, orchestral scores, electronic tracks with multiple overlapping elements—stems can preserve clarity. Adjusting a single stem’s level or EQ can highlight critical elements in a crowded frequency range. The result is a more transparent master where nothing is lost or masked.
DIY Mixes or Challenging Environments
If you mixed your track in a less-than-ideal space, certain mix issues might only become evident later. By offering stems, you give the mastering engineer more leverage to correct frequency buildups, harshness, or other artifacts that you might not have been able to hear clearly.
Creative Adjustments in Mastering
Occasionally, an artist will leave certain creative decisions to the mastering stage. For example, you might be on the fence about how much delay to keep on vocals. If you provide a vocal stem and an instrumental stem, the mastering engineer can help fine-tune that effect relative to the rest of the mix. This level of creative flexibility can add a final polish that might otherwise require going back to the mix session.
When Not to Use Stem Mastering
If the mix is truly finished—meaning you (and anyone else on your production team) are fully satisfied—then a traditional stereo mastering session is typically faster, simpler, and cheaper. Also, if your mix has major problems, stem mastering isn’t a miracle cure; it’s generally better to return to the mix and solve those deeper issues. In short, stem mastering should enhance an already solid mix, not rescue a poorly balanced one.
Preparing Your Stems for Mastering
If you decide stem mastering is right for your song, proper preparation of the stems is crucial. The mastering engineer’s job is much easier (and more successful) when each stem is well-organized and accurately represents your intended mix balances.
Step 1: Finish Your Mix (Minus Final Bus Processing)
Before exporting stems, ensure your mix is complete at the individual track level. If you have special processing on the master bus—such as a heavy limiter or a loudness maximizer—consider removing or bypassing it. Mastering engineers often prefer to receive stems without final limiting, leaving more headroom for their processes.
Some mild bus compression might be acceptable if it’s integral to your overall sound (known as “mix bus glue”), but drastic limiting is best avoided. The goal is to send stems that reflect your mix decisions yet still offer enough flexibility for mastering.

Step 2: Decide on Stem Groupings
Think about the major elements of your track. Common categories include:
- Drums and Percussion
- Bass
- Guitars and/or Keys
- Lead Vocals
- Backing Vocals or extra melodic parts
How many stems you provide depends on the complexity of the music and your agreement with the mastering engineer. Try not to create too many stems—that can bog down the mastering process, blur responsibilities, and lead to confusion. Conversely, providing only a single “everything” stem plus “vocals” might limit the engineer’s ability to fine-tune. Aim for 3–8 stems in most cases.
Step 3: Export Stems with Consistent Start/End Points
In your DAW, solo each group of tracks assigned to a stem (including any sends or bus effects for that group), then export/bounce as a stereo file. Make sure all stems:
- Start at exactly the same point in the timeline and run to the end of the song, capturing all fade-outs or reverb tails.
- Use a high-quality format, typically 24-bit WAV.
- Are named clearly (e.g., SongTitle_Drums.wav, SongTitle_Vocals.wav).
Step 4: Confirm the Stems Recreate Your Mix
Re-import all the bounced stems into a new session with no master bus processing. When you press play with all stems at unity gain (0 dB), the sound should match your final mix exactly (minus any master bus limiting you removed). This step ensures you haven’t lost a reverb return or accidentally muted a track. If there’s any discrepancy, correct it before sending the stems to mastering.
Step 5: Provide a Reference Mix
It’s often helpful to include a single stereo mixdown of your track as a reference for the mastering engineer. This reference shows how you intended the final mix to sound. They can compare the combined stems to your reference, ensuring they sum properly before making adjustments.
Mastering the Stems
Once your stems are prepared, the mastering session can begin. If you’re hiring a professional mastering engineer, they’ll open a new project, import your stems, and verify that everything aligns. Then, they’ll begin applying subtle adjustments to elevate the song.
Overview of the Stem Mastering Workflow
- Session Setup: The engineer places each stem on its own track, aligning them so they play together in sync. Initially, they listen to the combined stems to confirm it matches the reference mix.
- Stem-by-Stem Adjustments: If any issues stand out—like a buried lead vocal or a boomy bass—the engineer might gently adjust that stem’s level. They could also apply stem-specific processing, such as a slight EQ cut on the drum stem to remove a ring in the snare or mild compression on the vocal stem to smooth out dynamics.
- Overall Processing on the Master Bus: After addressing any per-stem concerns, the engineer moves on to the final mastering chain.
- Critical Listening and Metering: Throughout the process, the engineer will rely on accurate monitoring and meters. They check levels (LUFS, RMS, peak) to ensure the master meets loudness targets, watch the stereo field, and compare to the reference mix or other commercial tracks.
- Final Export: The ultimate deliverables might include a 24-bit WAV for distribution, a 16-bit WAV for CD, or other specialized formats. The main point is to create a polished, balanced final master that retains the emotional impact of your mix.
Why Use Stem Mastering
Below are key advantages that might help you decide whether to opt for stem mastering in your next project.
Greater Control Over Individual Elements
Even the most skilled mastering engineer can struggle with certain issues in a single stereo file (e.g., trying to boost only the snare without affecting guitars). Stems allow the engineer to pinpoint specific subgroups. You get the benefit of mix-level precision at the mastering stage.
Better Balance and Clarity
By adjusting each subgroup separately, it’s easier to ensure that instruments don’t clash or mask each other. Subtle EQ or compression on one stem can solve frequency conflicts without creating new problems elsewhere. As a result, the final master often has improved clarity and definition.

Problem-Solving for Imperfect Mixes
If your mix environment or experience level left some rough edges, stem mastering can serve as insurance. The engineer can fix mild frequency buildups, harsh vocals, or muddy drums without causing unintended side effects in other parts of the mix. This is especially valuable for DIY producers who don’t have the luxury of a high-end studio.
Creative Flexibility
Because each group can be processed differently, you can explore creative ideas in the mastering phase: maybe add gentle saturation to guitars only, or slightly widen the synth stem. These targeted sonic improvements would be difficult or impossible on a single stereo file without affecting other elements.
Smooth Revision Process
If a client or collaborator requests a small tweak—like “the guitars feel slightly loud”—the mastering engineer can fix that quickly if stems are on hand. This can reduce the back-and-forth cycle of requesting a new stereo mix from the mixing engineer, saving everyone time and effort.
Potential Pitfalls and Considerations
While stem mastering offers clear advantages, it isn’t always the best option. Here are some things to watch out for:
Overcomplicating the Process
Some mastering engineers prefer not to receive too many stems, as it can blur the line between mixing and mastering. If a project includes a dozen stems, the process might become unwieldy. The more stems you provide, the more the mastering stage can turn into a secondary mixing phase, which can lead to confusion or creative conflict.
Extra Cost and Time
Stem mastering generally costs more than stereo mastering. The mastering engineer has more tracks to set up and evaluate, so sessions take longer. Unless you truly need the benefits of stem mastering, you might be paying extra for minimal benefit.

Requirement for Accurate Stem Prep
If stems are improperly exported (e.g., some reverb returns or sidechain triggers missing), the engineer might not be able to rebuild your mix accurately. This can lead to wasted time or subpar results. Proper labeling and verification that the stems match your original mix is critical.
Not a Cure for a Bad Mix
A fundamental principle remains: mastering is not a magical fix for a flawed mix. If the drums are poorly recorded, vocals are severely out of tune, or the arrangement is messy, no amount of stem mastering will transform it into a polished commercial track. Address those issues at the recording or mixing stage first.
Conclusion
Stem mastering can be a powerful method for delivering a final, polished track with maximum clarity and control. By providing a small number of stems—like drums, bass, instruments, and vocals—you give the mastering engineer the flexibility to fix subtle mix imbalances without overhauling the entire mix. This approach is especially helpful if your mix is nearly there but needs a slight nudge in certain areas, or if your production is exceptionally complex.
However, it’s important not to over-rely on stem mastering as a solution for fundamental mixing or arrangement problems. A solid mix is still the foundation of a great master. When used wisely, stem mastering is the secret sauce that adds an extra level of finesse to your music, ensuring it translates beautifully across all playback systems.
Ultimately, deciding if stem mastering is worth the extra cost and effort depends on your specific needs, the complexity of your track, and your confidence in the existing mix. By following best practices—proper stem preparation, clear communication with your engineer, and maintaining a healthy sense of what mastering can and cannot achieve—you can harness stem mastering to make your track truly shine. Your audience will hear the results in the form of a balanced, engaging, professional-sounding release that stands out in any listening environment.
Informazioni sull'autore

Dídac
CEO e fondatore di MasteringBOXDídac è un ingegnere audio professionista, produttore musicale e ingegnere software. È il fondatore di MasteringBOX e l'autore di molti degli articoli del blog.
Lascia un commento
Log in per commentare


