Audio gain is a core concept that every musician, audio engineer, and producer must understand. At its simplest, audio gain refers to the amount of amplification applied to an audio signal. Gain settings affect how loud or soft a sound source is captured, processed, and ultimately heard. This article offers an in-depth exploration of audio gain, starting with basic definitions and moving into more advanced details relevant to music production, live sound, and broadcasting. We’ll also discuss practical techniques and best practices for achieving clear, distortion-free audio.
Table of Contents
- What Is Gain in Audio?
- Decibels and Why They Matter
- Gain vs. Volume: The Crucial Difference
- Why Proper Audio Gain Matters: Noise Floor, Headroom, and Distortion
- The Concept of Gain Staging
- Audio Gain in Music Production and Recording
- Gain in Live Sound Reinforcement
- Audio Gain Management in Broadcasting and Streaming
- Practical Techniques for Managing Audio Gain
- Best Practices for Optimal Sound Quality
- Conclusion
What Is Gain in Audio?
Audio gain is the ratio by which an audio signal is increased (or decreased) in amplitude. If you picture an audio signal traveling through a device, the gain is how much that device boosts or reduces the signal. We measure gain in decibels (dB), a logarithmic unit that helps manage the wide range of intensities in audio work.
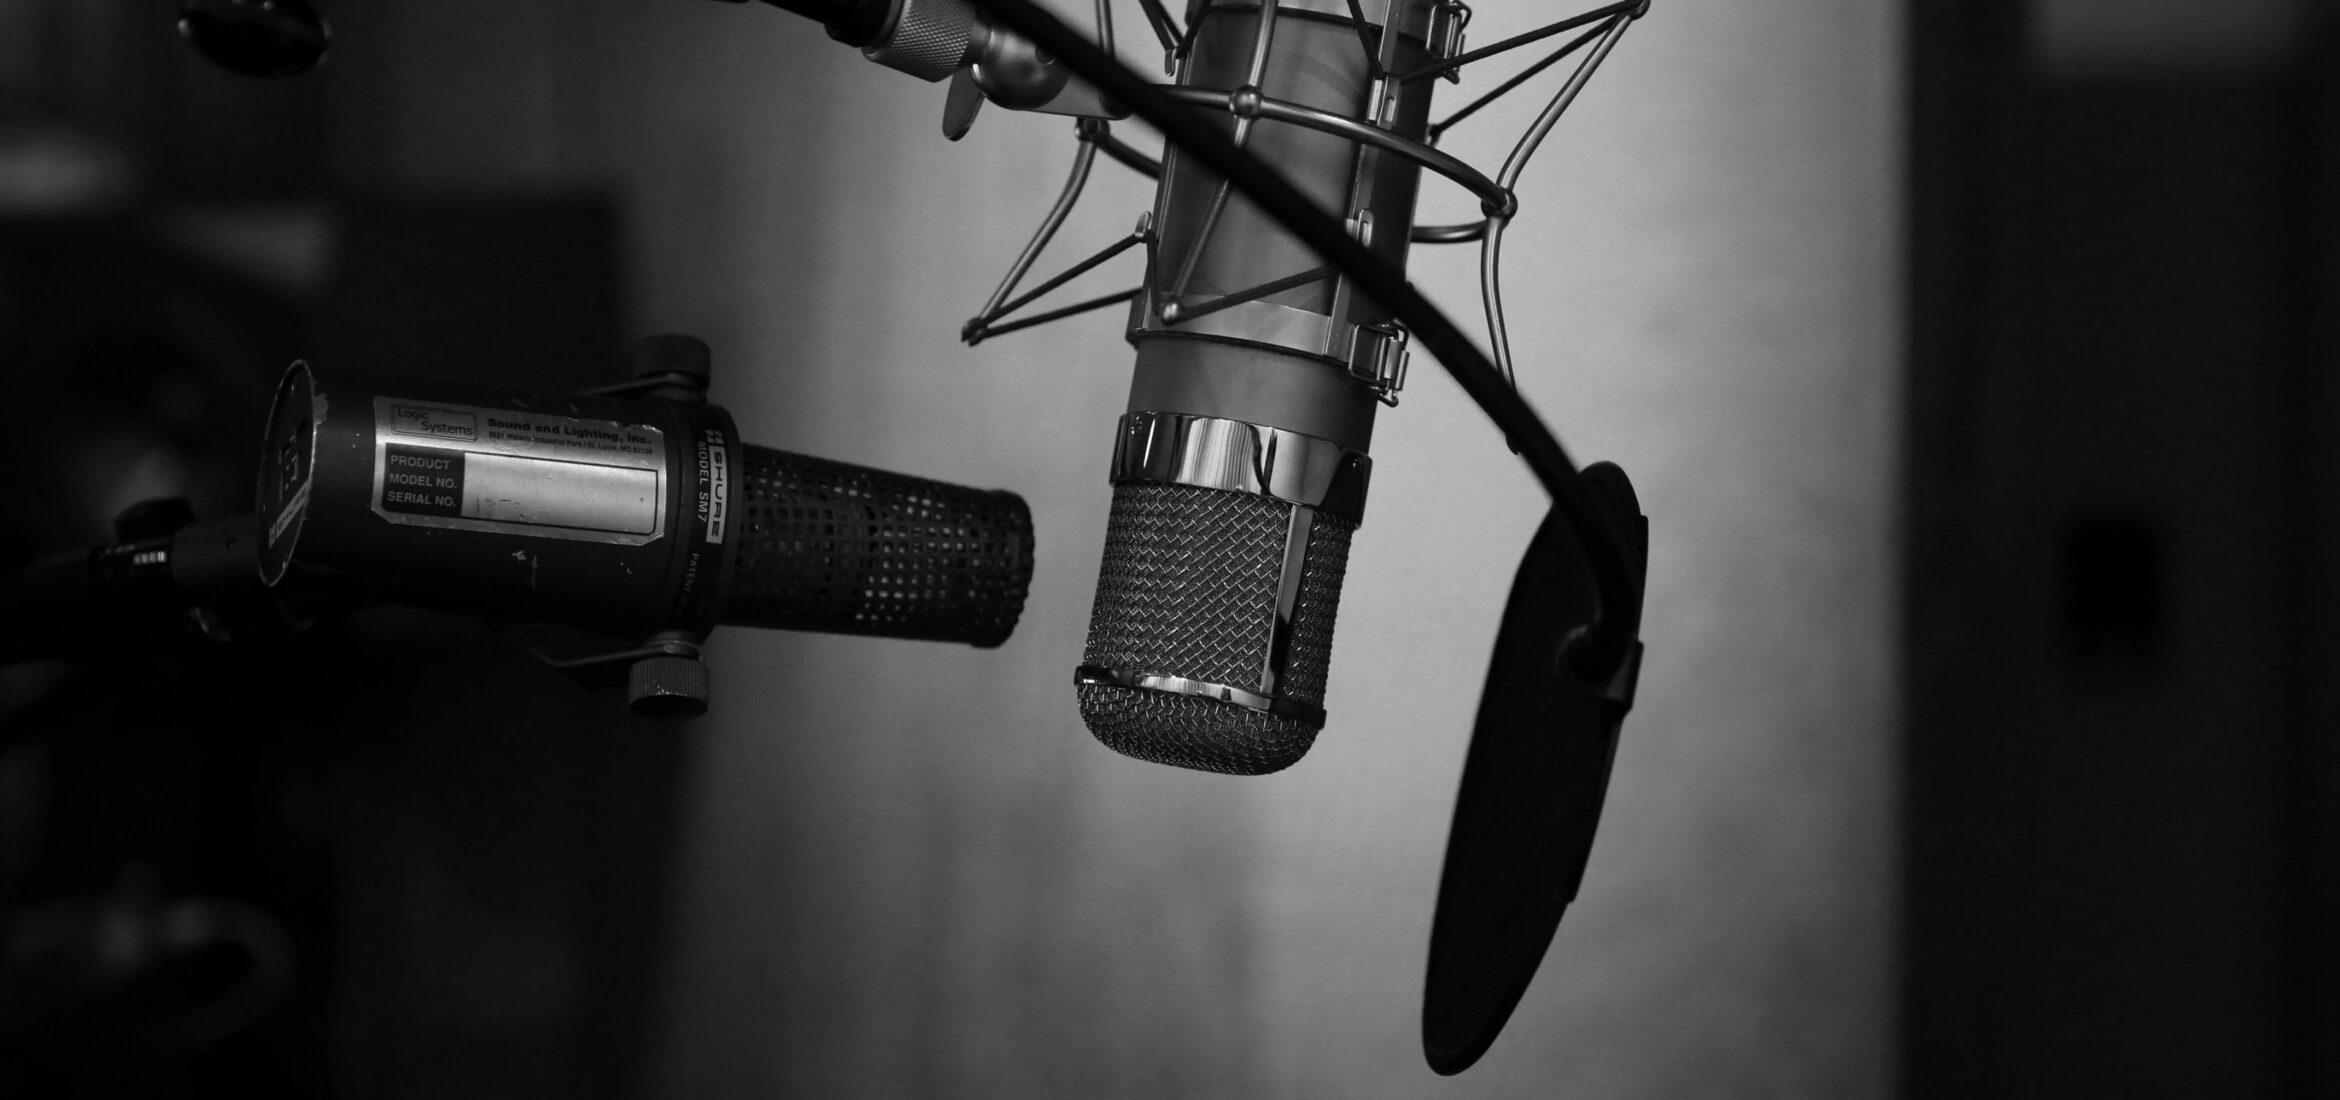
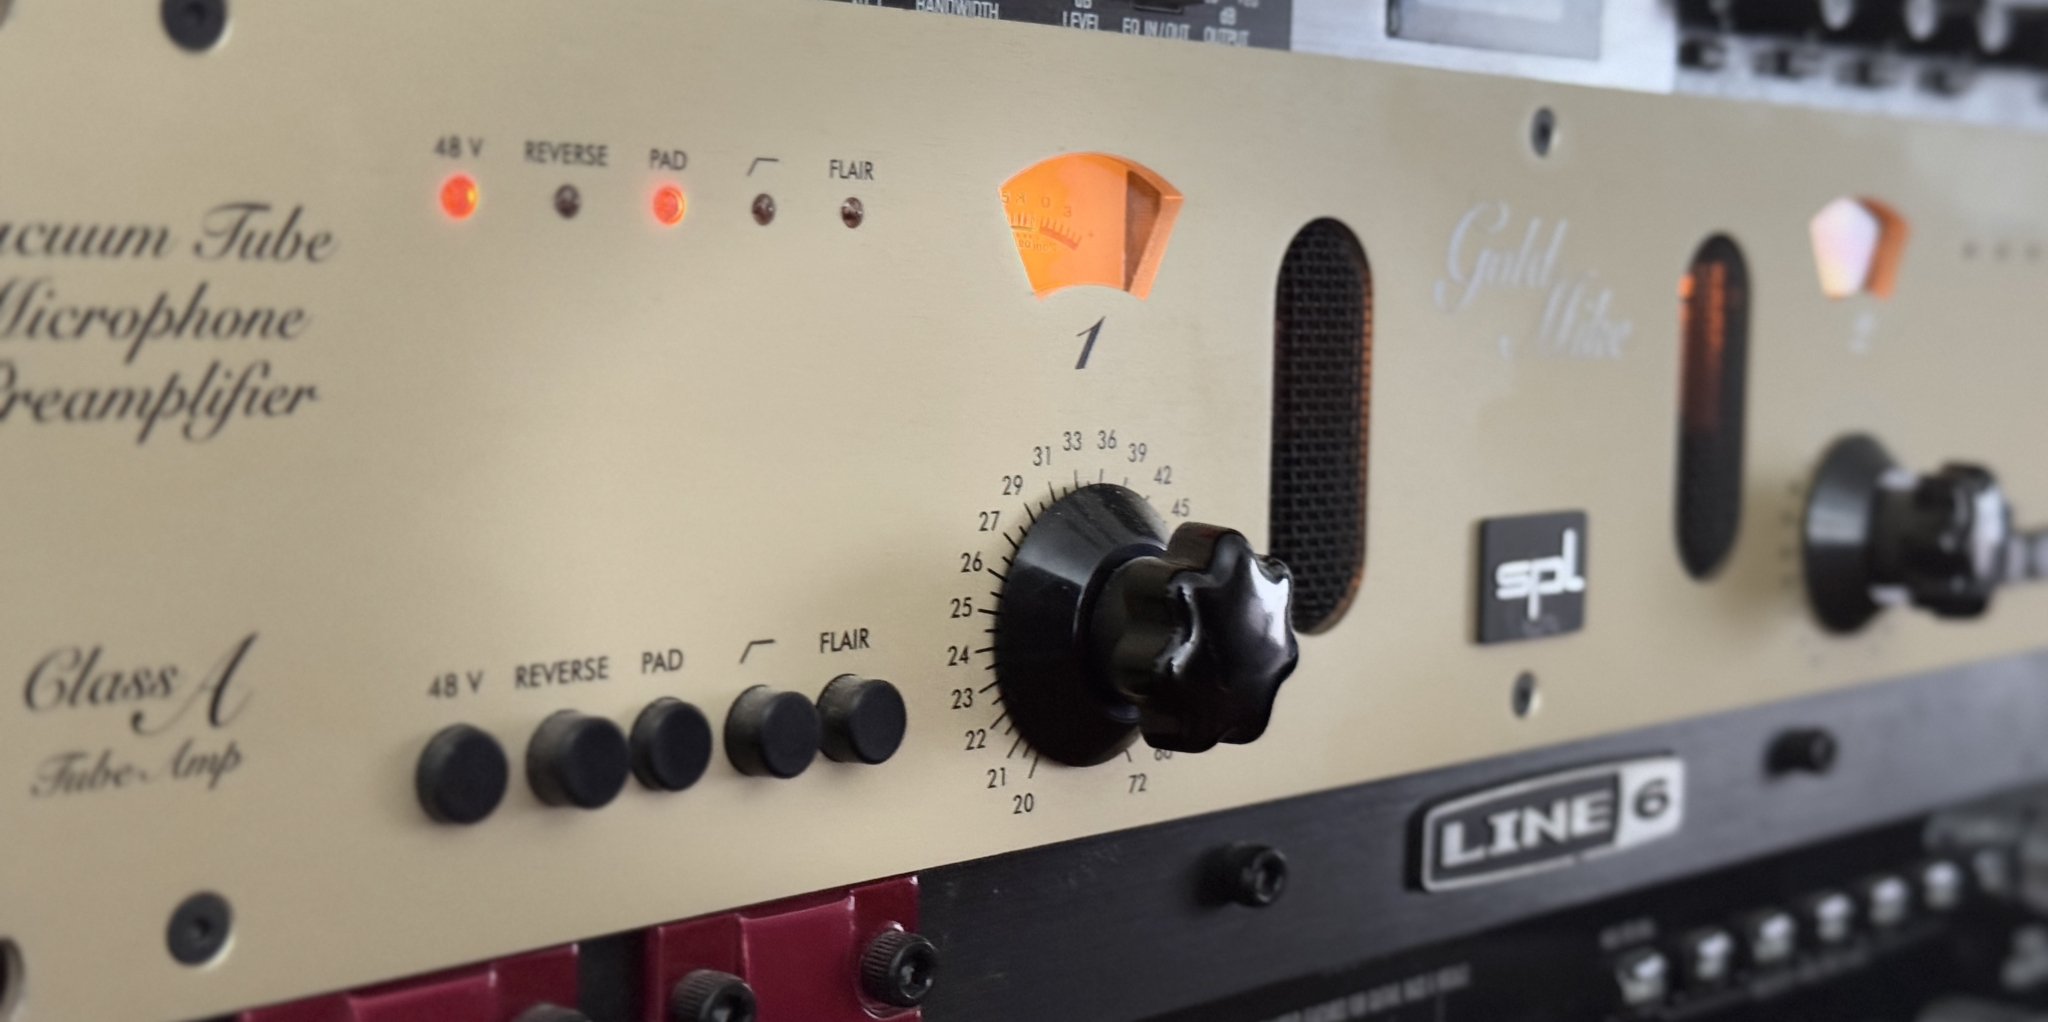
Every microphone, audio interface, or mixing console channel has a point where gain is applied. For instance, if you plug a dynamic microphone into a mixing console, the preamp gain knob controls the amount of boost the mic signal receives before it travels further down the audio path. In a guitar amplifier, the “gain” knob determines how hard the preamp section drives the amplifier, affecting everything from the overall loudness to the potential for distortion.
Decibels and Why They Matter
Decibels (dB) are central to understanding gain. Because decibels follow a logarithmic scale, a small change in dB can correspond to a large change in signal strength. Here’s a simplified breakdown:
- +6 dB approximately doubles the voltage level of a signal.
- +20 dB represents a tenfold increase in voltage.
- 0 dB indicates no change (“unity gain”).
- Negative dB values mean the signal is attenuated rather than amplified.
Since audio involves wide dynamic ranges—soft whispers to thunderous drums—using a logarithmic dB scale keeps signal measurements manageable. When the term “decibels” is used in mixers or DAWs, it often refers to either dB relative to full-scale digital audio (dBFS) or dB relative to some analog reference level like +4 dBu. For digital audio, 0 dBFS is the maximum allowable peak; anything above 0 dBFS can clip. In analog gear, 0 dB might be mapped to a “standard operating level,” leaving some headroom above that reference point.
Gain vs. Volume: The Crucial Difference
Though the terms “gain” and “volume” may seem interchangeable, they have distinct roles:
- Gain typically refers to the input level. For instance, it can describe how much you boost the signal coming from a microphone or instrument. In other words, gain controls the strength of the signal that enters a processing stage.
- Volume generally refers to the output level. It’s what you hear from the speakers or headphones and is often controlled by a fader or master volume knob. If you think of audio flow like water in pipes, gain is the valve controlling how much water (signal) enters the pipe, while volume is the faucet controlling how much water exits.

A musician might drive a guitar amp’s “gain” stage hard to create distortion and then set a lower “master volume” to keep the overall loudness at a reasonable level. Similarly, in a recording interface, the gain or trim knob is used first to set a solid input level before adjusting a track’s final volume fader.
Why Proper Audio Gain Matters: Noise Floor, Headroom, and Distortion
Every piece of audio equipment has a noise floor, which is the residual level of background hiss or hum inherent in the circuitry. If you record a sound at too low a gain, your signal will be closer to the noise floor. When you later boost the recording to a usable volume, you also amplify the noise.
On the other end of the spectrum, pushing your signal too high can lead to distortion. In analog gear, this can take the form of saturation—a potentially warm, musical distortion favored in some cases (like electric guitar). In digital systems, exceeding 0 dBFS leads to clipping, a harsh and unwanted distortion that flattens the waveform peaks.
Balancing between these extremes is crucial for achieving a good signal-to-noise ratio (SNR) while preserving headroom. Headroom is the margin between your typical operating level and the point where distortion occurs. A healthy recording or mixing practice is to leave enough dB of headroom so that unexpected transient peaks don’t clip or overload your system. Good gain practice ensures your audio is loud enough to stay above the noise floor but low enough to avoid distortion.
The Concept of Gain Staging
Gain staging is the process of controlling levels at each step in the audio signal chain. This chain might include:
- Microphone → Preamp → Audio Interface → DAW → Plugins → Mixer → Power Amplifier → Speakers
At each stage, you have an opportunity (or a requirement) to set or maintain a proper signal level. Proper gain staging prevents the accumulation of noise or clipping that might occur from poorly adjusted levels. Here’s how gain staging typically works in different scenarios:
- Recording: The microphone picks up a signal, which is then boosted by a mic preamp. Setting the preamp gain carefully to avoid digital clipping is fundamental, as any mistakes here are “baked” into your recording.
- Live Sound: An engineer uses the gain knob on each channel to set an appropriate level from each microphone or instrument. Once that’s done, the channel faders can be used to shape the overall mix without risking distortion or excessive noise.
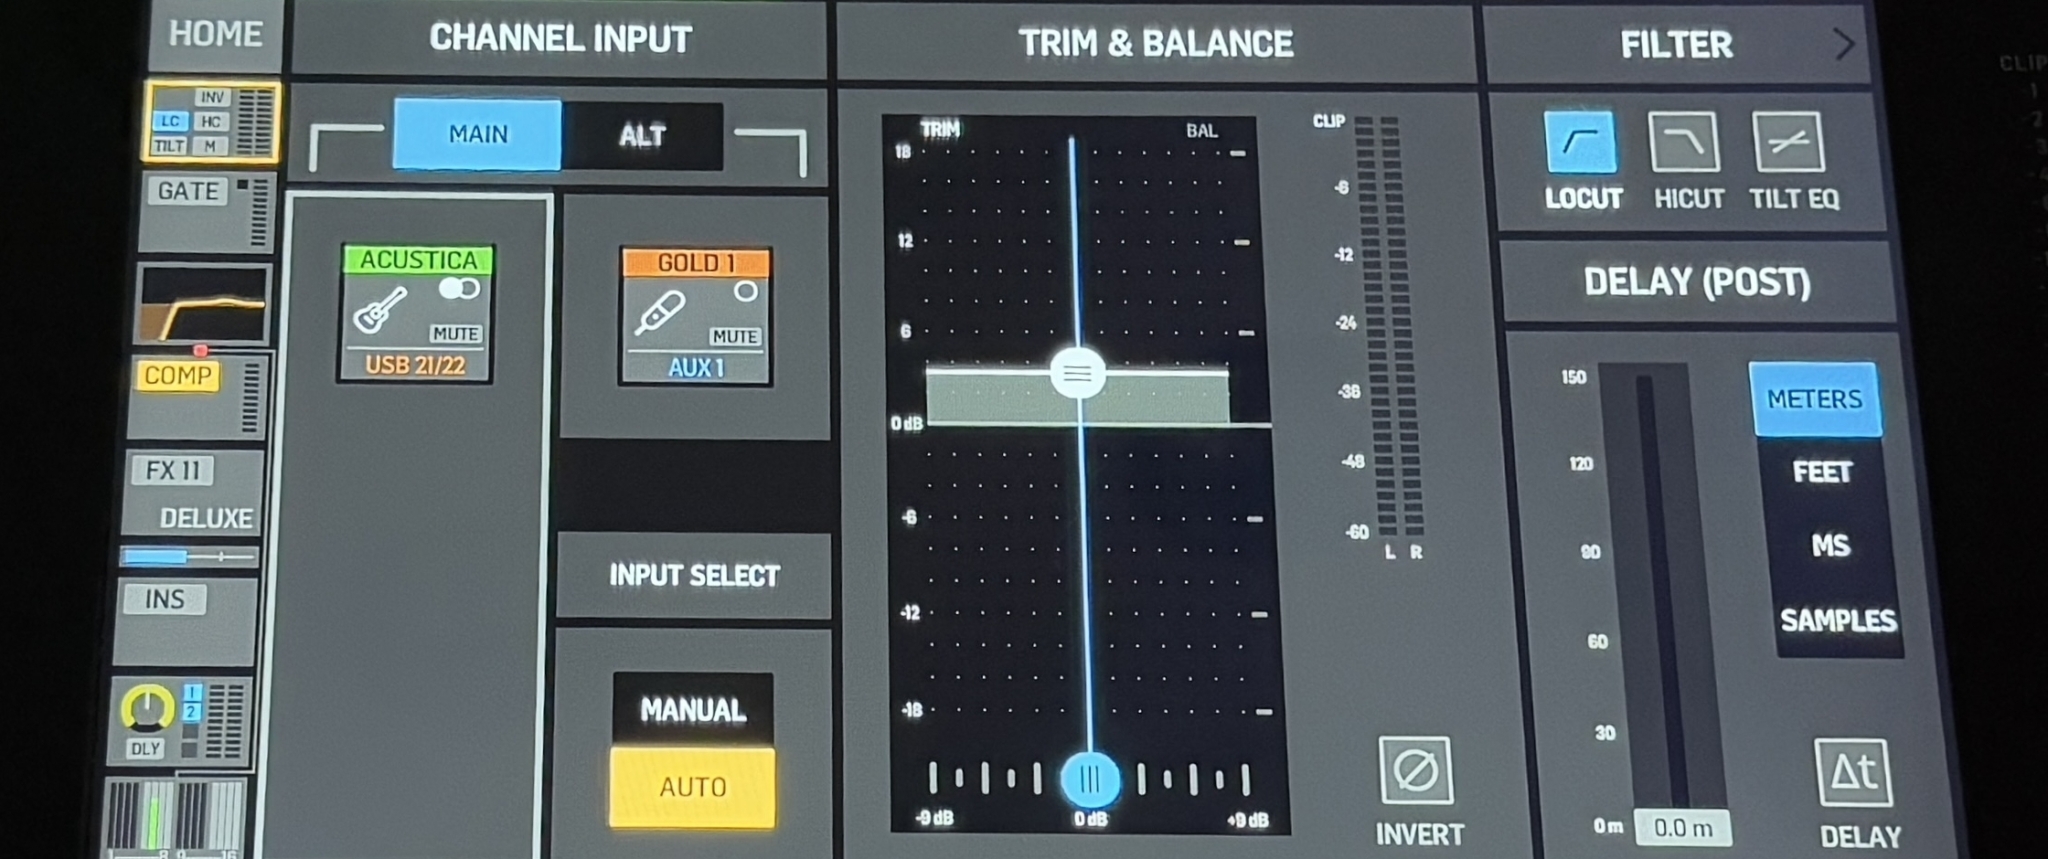
- Mixing: Within a DAW, each track might have a pre-fader trim or “clip gain.” You balance these so that you’re neither too close to zero (risk of clipping) nor too low. Plugins might need specific input levels, especially analog-modeled compressors or saturators.
Proper gain staging ensures that each device in the chain receives an optimal input level for best performance. As you add EQs, compressors, or effects, you’ll adjust the output to keep the level similar to what it was going in, unless there’s a deliberate reason to change it.
Audio Gain in Music Production and Recording
In a typical music production workflow, managing audio gain starts the moment you connect a microphone or an instrument to your system. Proper gain structure ensures that each sound source is captured at a healthy level, reducing the risk of unwanted noise or distortion later in the process. By setting the right amount of gain from the outset, you maintain clarity, dynamic range, and overall headroom for mixing.
Setting Input Gain
When recording a vocal, you’ll often ask the singer to perform at their loudest part during soundcheck. Adjust the mic preamp gain until the peaks hit an acceptable level below 0 dBFS—commonly around -6 to -10 dBFS. This leaves headroom for dynamic spikes and ensures you don’t end up with a clipped waveform.
Managing Clip Gain and Plugin Headroom
Once recorded, you can adjust clip gain (pre-fader) in the DAW if some tracks are too hot or too soft. For instance, you might have a drum track that was recorded very softly and requires a boost, or a synth lead that needs to be attenuated to avoid driving subsequent plugins too hard. Many modern DAWs also provide a “gain plugin” or a trim control so you can fine-tune levels before entering EQ, compression, or other effects.
Fader Balances and Summation
During mixing, each channel fader determines how much of that track is fed into the main mix bus. If your individual tracks are set with proper gain, your mix bus should have enough headroom to avoid clipping. Summation of multiple tracks can quickly add up, so many engineers target a specific level for each track (often around -18 dBFS RMS for analog-modeled plugins). This practice emulates classic analog gear’s sweet spot, ensuring dynamic range is preserved.
Creative Use of Audio Gain
Not all gain usage is about cleanliness. Overdriving a tube preamp can create a warm harmonic saturation that’s pleasing on vocals or guitars. Running signals hot into tape emulations can also add “glue” or vintage character to a mix. The line between too much and just enough is subjective, but basic gain fundamentals still apply: avoid abrupt digital clipping unless distortion is intentionally part of your sound.
Gain in Live Sound Reinforcement
In live sound (e.g. concerts, church sound, club PAs), an audio engineer typically faces a limited soundcheck window to set input gains for each performer. Live mixing consoles feature very similar controls: each input channel includes a gain (trim) knob at the top to adjust the incoming signal from a microphone or instrument and a fader to control that channel’s contribution to the mix (the speakers). Engineers often refer to the process of setting these levels on a live board as setting gain , structure; here’s how that often works:
- Soundcheck and PFL: The engineer uses the console’s PFL (pre-fader listen) function to solo individual channels. While the musician or singer performs at their expected loudest level, the engineer adjusts the gain knob so the channel meter hovers just below the clip point. This might mean leaving a few decibels of headroom to handle unexpected peaks.
- Monitor Mixes and Feedback: Gain settings also feed into the stage monitors. A microphone that’s gained too high can increase the risk of feedback loops, especially on a loud stage. Ensuring proper gain helps keep a clear, balanced monitor mix.
- Consistent Fader Positions: When gain is set well, the faders for each channel often hover near “0” or unity gain. This placement gives the engineer room to make fine-tuned adjustments without huge jumps in volume.
- Dynamics on the Fly: Live shows can have unpredictable changes in dynamics, so the engineer may have to tweak channel gains or rely on compressors to handle sudden surges in volume. Still, major gain changes during a show can cause abrupt volume changes, so engineers often prefer to leave gain where it is and ride the fader or compressor thresholds.
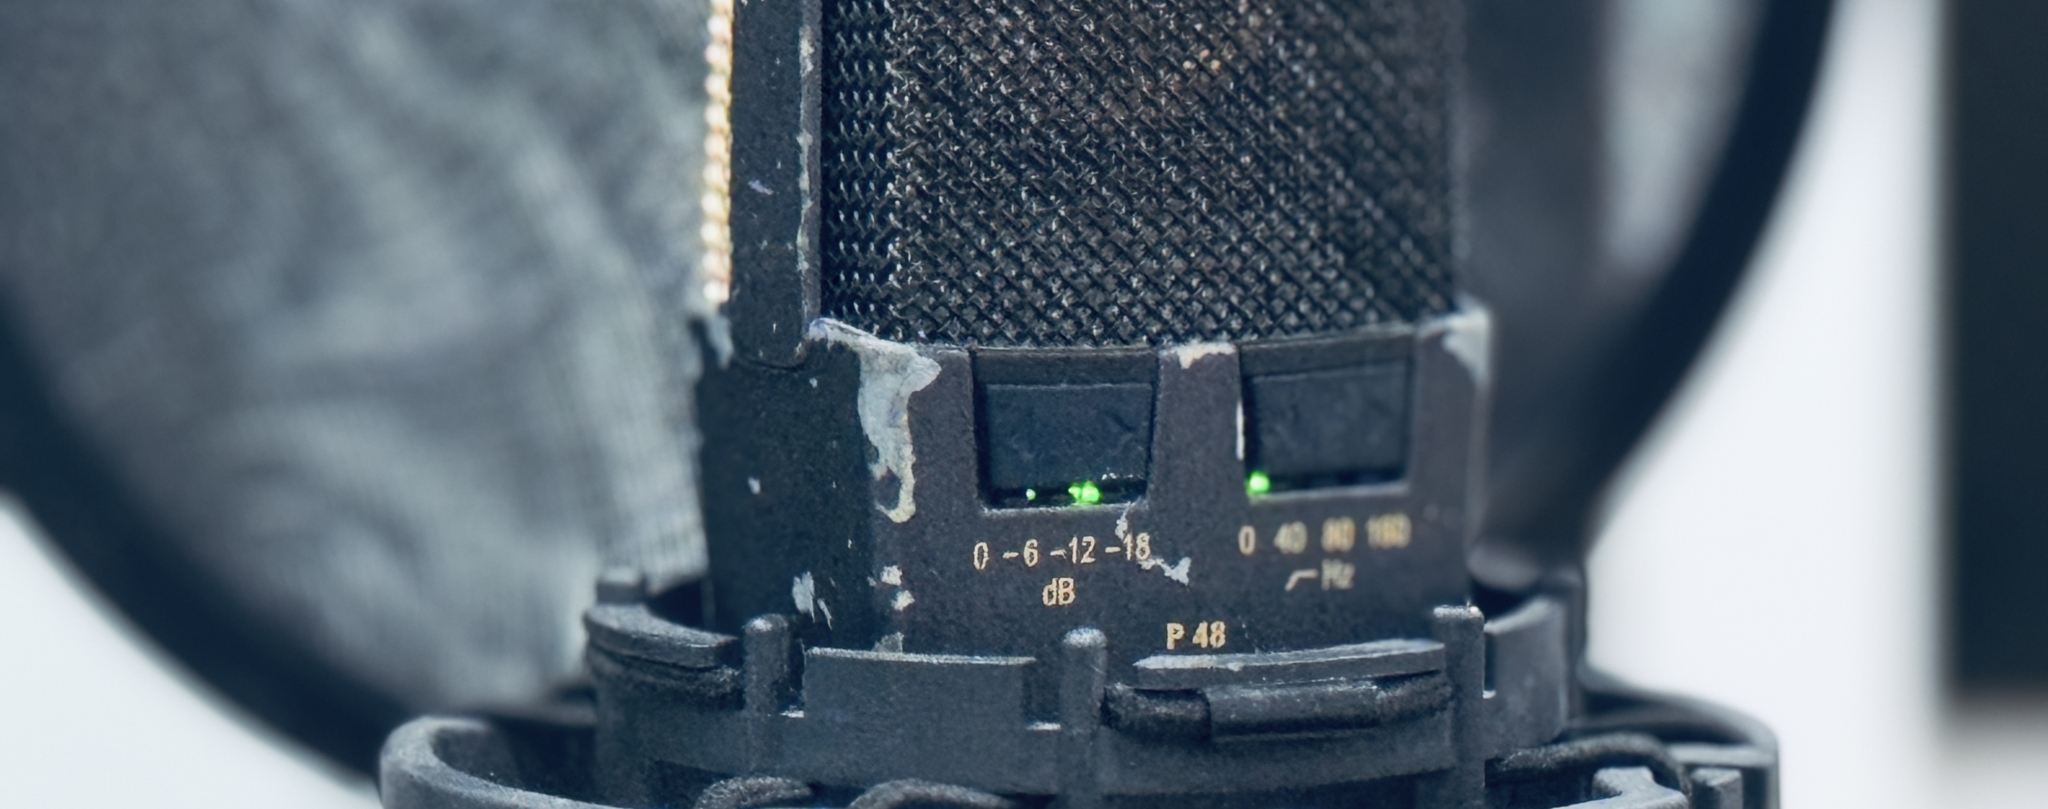
- Using Pads and Proper Inputs: For extremely loud sources—like a close-miked kick drum or a hot guitar amp—a pad switch on the mic or console can help avoid overloading the preamp. Conversely, if a signal is too weak, the engineer might switch to a higher-gain mode or use a more sensitive mic.
In live sound, good gain structure helps prevent noise, feedback, and distortion, ensuring a show that’s as clean, loud, and clear as possible.
Audio Gain Management in Broadcasting and Streaming
Broadcasting (radio, television) and streaming (podcasts, online radio) demand consistent and controlled audio levels. Listeners don’t want to constantly adjust their volume if a talk show suddenly becomes too loud or if commercials blast at a higher level than the main program.
Loudness Standards
Many broadcasters follow loudness standards like EBU R128 or ATSC A/85, targeting a specific integrated loudness in units such as LUFS (Loudness Units Full Scale). A typical TV program might aim for around -23 or -24 LUFS. To comply, audio engineers manage gain and apply broadcast limiters or automatic gain control (AGC).
Automatic Gain Control (AGC)
AGC systems automatically raise quieter passages and lower louder ones, keeping the output around a target. While this ensures consistency, it can also reduce dynamic range and introduce pumping artifacts if users apply it too aggressively. Skilled broadcast engineers balance AGC use with manual gain staging and compression to maintain a natural sound.
Consistent Speaker Levels
In talk radio or podcasts, the host and guest microphones must be at similar levels. If one mic is gained significantly higher, it can overshadow the other and create a poor listening experience. Careful gain staging ensures voices sit at similar loudness, making conversations comfortable to follow.
Peak Limiting
To avoid clipping or overmodulation, broadcasters often apply a peak limiter at the final output stage. This catches any stray transients above the chosen threshold, preventing distortion. This practice is especially important in FM radio transmissions, where overmodulation can cause interference and violate regulations.
Streaming Services
Platforms like YouTube, Spotify, or Apple Podcasts often have their own loudness normalization. Sending extremely loud or quiet audio can result in the platform automatically adjusting the level. Producers who understand these normalization targets will set gain and master levels to avoid excessive loudness penalties or undesirable dynamics changes on playback.
Practical Techniques for Managing Audio Gain
Having discussed theory and contexts, let’s outline some practical techniques and tips for managing audio gain effectively. These apply across the board – in the studio, on the stage, or in a broadcast booth:
- Start at the Source: Always begin with a healthy source signal. For example, use a well-positioned microphone with adequate sensitivity and ensure the performer is properly mic’d. Avoid artificially boosting a weak signal if you can improve it at the source.
- Set Input Gain First: When hooking up a new source, adjust the input gain or trim while monitoring the pre-fader meter. Aim for a strong level that doesn’t exceed the meter’s safe zone. This is especially helpful in live sound or when recording a new track in the studio.
- Use Meters Wisely: Most interfaces and mixers have LED or VU-style meters. Yellow is often a good spot for typical peaks; red usually means clipping. Some digital mixers or DAWs even provide numerical readouts for peak and RMS levels. Pay attention to both peak and average (RMS or LUFS) readings.
- Maintain Unity Downstream: Whenever possible, keep device outputs near unity gain. For instance, if you have a hardware EQ inserted, set its output gain so that bypassed and active levels match unless you want a deliberate change in loudness. Similarly, in a DAW, you might keep plugin input and output levels roughly equal.
- Leverage Pads and Proper Mic Inputs: If the signal is too hot even at minimum gain, engage the preamp’s pad or the mic’s onboard pad. For line-level signals, use line inputs, not mic inputs. Conversely, for very quiet sources, ensure you’re using a preamp or an interface that can provide enough clean gain.
- Be Mindful of Cumulative Gain: In a chain of plugins or hardware units, each device might add or reduce gain. A +6 dB boost in one unit followed by another +6 dB boost can push the signal 12 dB hotter into the next stage, risking overload. Keep an eye on level meters at each step to avoid building up excessive gain.
- Use Clip Gain in DAWs: Many DAWs let you adjust the raw audio clip’s level (clip gain) before any insert effects or channel faders. This is useful for normalizing inconsistent track levels without messing up your fader balance.
- Watch the Master Bus: Multiple channels summing together can easily exceed 0 dBFS. A good practice is to keep individual channels at moderate levels. If the master bus starts clipping, lower the channel gains rather than pulling down the master fader. This maintains a healthy overall gain structure.
- Loudness vs. Peak Levels: A track might not peak very high but still sound loud due to compression or limiting. Conversely, a track might have high peaks but low average loudness. Understanding both RMS/LUFS (average loudness) and peak meters helps you set gain appropriately.
- Document and Calibrate: In fixed installations or recurring scenarios, note your gain settings. In studios, calibrate your interface so that -18 dBFS in the DAW corresponds to 0 VU in your analog gear. Calibration ensures consistent results over time.
Best Practices for Optimal Sound Quality
To wrap up, here are some overarching best practices regarding audio gain that will help ensure you get the best sound quality in your projects:
- Aim for a Healthy Signal-to-Noise Ratio: Always record at a level that’s clearly above the noise floor. If a mic or instrument is too quiet, you’ll amplify a lot of hiss or hum later. Use enough gain to capture a robust signal, but not so much that you risk distortion.
- Avoid Clipping Throughout the Chain: Once a signal clips, that distorted information can’t be removed. Digital clipping is especially unpleasant, so keep peaks safely below 0 dBFS. In analog gear, slight saturation might be desirable, but watch for unmusical overdrive.
- Leave Some Headroom: For general recording, peaks around -6 or -10 dBFS are common. In mixing, leaving several dB of headroom on individual tracks is wise—this space allows for processing boosts like EQ or layering without pushing into clipping.
- Gain Staging Is Ongoing: Every new plugin or hardware device in the chain affects levels. After an EQ boost, you might need to lower the output of that EQ to preserve the overall level. A compressor may reduce peaks, so you adjust makeup gain accordingly. Continually verify that you’re not pushing the signal too high down the line.
- Use Your Ears: Meters are invaluable, but your ears have the final say. If the audio sounds distorted or noisy, track down the cause. Sometimes a preamp can distort earlier than the meter indicates, or a plugin might distort internally at higher levels even if the DAW meter is fine.
- Choose Quality Gear: Some cheap preamps or interfaces can introduce audible noise or undesirable distortion well before you reach high levels. Using well-regarded equipment with ample dynamic range helps ensure you capture clean sound.
- Manage Dynamics Musically: If you have a source with huge dynamic swings, it might be more effective to use a compressor or limiter rather than constantly adjusting gain. This helps keep the performance consistent and avoids sudden peaks that could clip.
- Communication in Live Settings: In live events, brief performers on consistent mic techniques. A singer who soundchecks quietly but belts much louder in performance can overload a carefully set gain. Let them know the importance of consistent mic distance and performance level.
- For Broadcast: Follow Loudness Guidelines: Ensure your final output hits the target LUFS or loudness standard mandated by the platform or broadcaster. Overly loud mixes may be turned down automatically, while overly quiet mixes can sound weak or hissy.
- Calibrate Monitors: Whether in a studio or broadcast room, calibrate your monitoring system so that a known reference level in the mix translates predictably to your ears. This builds confidence in gain decisions and helps avoid “guessing” if something is too loud or too soft.
Conclusion
Properly controlling audio gain establishes clear, dynamic, and distortion-free sound, whether you’re in a home studio, on a live stage, or broadcasting to millions. By understanding the concepts of signal-to-noise ratio, headroom, and clipping, you can set levels that capture the best possible audio without unwanted artifacts. Gain staging ensures that every device in your chain receives a healthy signal, avoiding cumulative noise or distortion.
For musicians and producers, effective gain management ensures your recordings possess the clarity and impact needed to stand out in a mix. In live sound, a properly staged system guarantees the show remains loud yet free from feedback or blown speakers. In broadcasting, consistent gain management and adherence to loudness standards create a seamless listening experience for audiences.
Though “gain” might appear to be just a single knob or slider, its significance cannot be overstated. It shapes how well your microphones pick up subtle details, how your plugins react to the signal, and whether your audience hears clean audio or distracting distortion. Mastering the art of gain means mastering the foundation of audio itself, setting the stage for all the creative steps that follow—like EQ, compression, and spatial effects.
By applying the techniques and best practices laid out in this article, you’ll ensure that your recordings, mixes, or live shows have the professional polish that comes with properly managed levels. Keep an ear open for distortion or noise, watch those meters, and don’t shy away from using pads, trim controls, and calibration. With consistent attention to gain, you can confidently craft high-quality audio that translates well across any medium and environment.
About the Author

Dídac
CEO & Founder of MasteringBOXDídac is a professional audio engineer, music producer and software engineer. He is the founder of MasteringBOX and the author of many of the articles on the blog.
Leave a comment
Log in to comment