In audio mastering, dynamic range and loudness are two key concepts that can make or break the impact and clarity of a track. Dynamic range refers to the difference between the quietest and loudest parts of an audio signal, typically measured in decibels (dB). Loudness, on the other hand, refers to how loud we perceive the sound, which isn’t always the same as the peak level shown on a meter. Both dynamic range and loudness matter because they influence how music feels to the listener. A track with great dynamic range can feel powerful and emotional with its rises and falls, while a loud, in-your-face mix can feel exciting and present. The trick is finding the sweet spot where you have impact and clarity, getting your mix to hit hard without turning into a squashed, tiring listen.
Loudness Range (LRA) is also another important metric, complementary to dynamic range. In this article, we’ll dive into these mastering concepts, why they’re important, and how you can balance them. We’ll cover techniques like compression, limiting, and transient shaping, plus practical tips for mixing and mastering that keep your music punchy and clear. Whether you’re producing a delicate acoustic piece or a club-banging EDM track, understanding how to manage dynamic range and loudness will help you create better, more impactful music.
Table of Contents
- What is Dynamic Range?
- What is Loudness?
- Balancing Impact and Clarity
- Practical Mixing Tips
- Mastering for Loudness Without Killing Dynamics
- Best Practices for Different Genres
- Conclusion
What is Dynamic Range?
Dynamic range in the context of audio is basically the span between the lowest volume level and the highest volume level in a piece of music or a sound. Imagine listening to a song that starts with a whisper-quiet verse and builds up to a thunderous chorus – that contrast is dynamic range at work. In mixing terms, it’s about how much contrast you allow between the quiet sections and the loud sections of your track. A wider dynamic range means there’s a bigger gap between the softest and loudest parts, while a narrow dynamic range means the volume is more constant throughout.
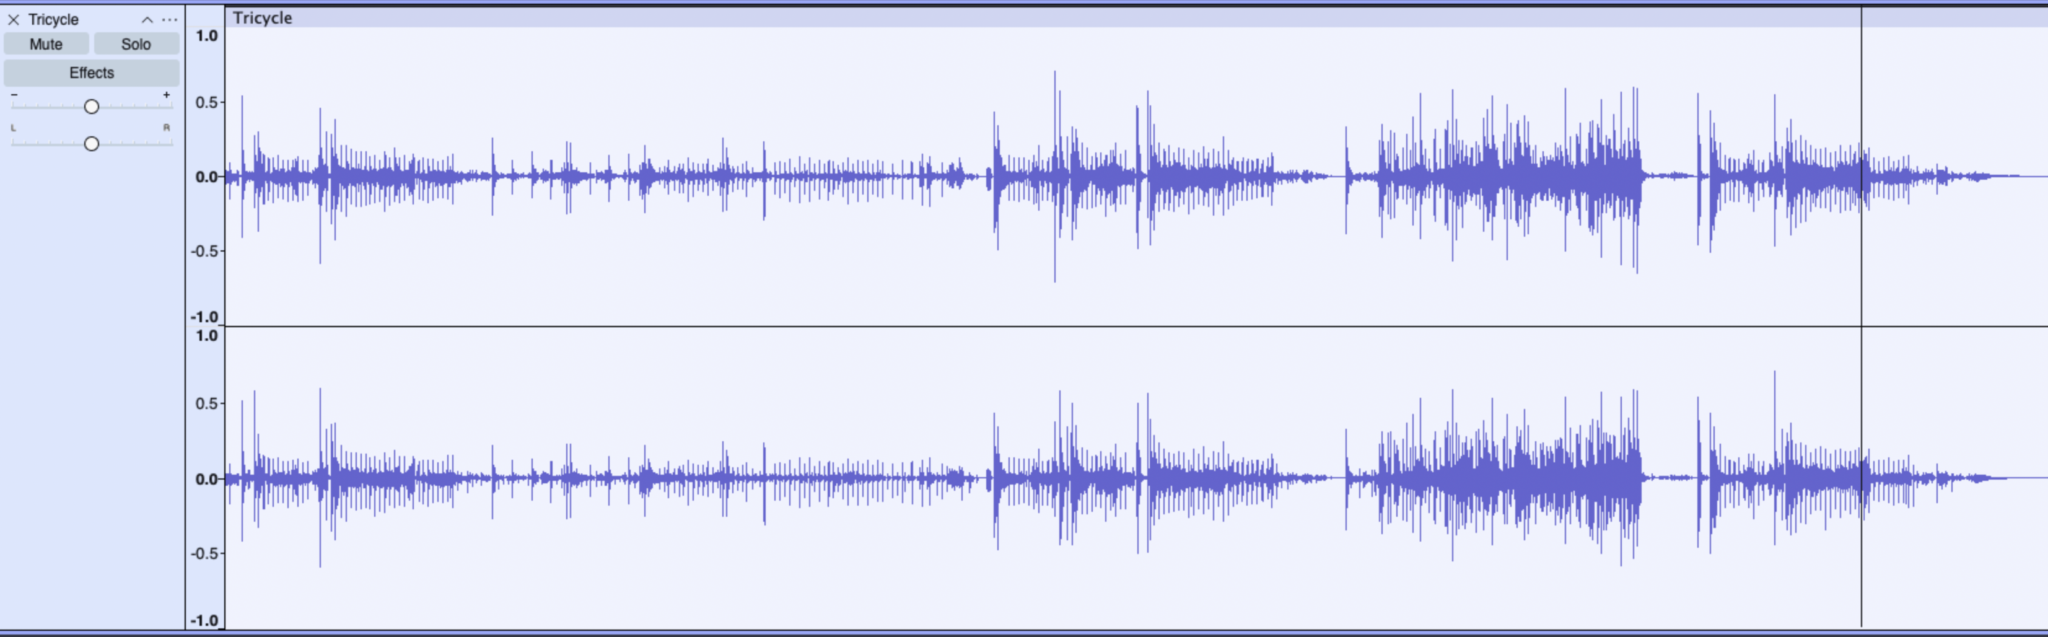
The impact of dynamic range on a mix is huge in terms of emotion and energy. When you have contrasts between quiet and loud sections, you make the loud parts feel even more impactful. Think of it like storytelling in sound: the calm moments make the big moments hit even harder. If your verse is gentle and restrained, the chorus will feel massive when it kicks in. This contrast keeps listeners engaged. On the other hand, if a song is blasting at full intensity the whole time (very little dynamic range), it can start to feel flat or exhausting. Without some softer moments or dips in intensity, the listener’s ears don’t get a chance to relax, and the “loud” parts don’t feel loud anymore because there’s nothing quieter to compare them to. It’s the classic saying: if everything is loud, nothing is loud.
Loudness Range (LRA)
While dynamic range measures the difference between the softest and loudest peak levels, Loudness Range (LRA) zeroes in on perceived loudness changes across a track. Rather than just looking at how high the peaks go, LRA considers when and how loudness varies and typically excludes very quiet passages that barely affect our perception (via “gating”). This means a track could have huge momentary peaks yet still register a small LRA if most of the piece remains at a steady level or those peaks are extremely brief. Because LRA reflects the real ebb and flow of loudness over time, it often aligns more closely with the listener’s experience, making it a great complement to the raw peak-to-floor measurement of dynamic range.
Preserving dynamics
Not squashing the life out of your mix with over-compression has some clear benefits:
- Emotional expression: Music with a healthy dynamic range can express emotions more nuancefully. The subtlety of a quiet passage versus the power of a loud section adds emotional depth.
- Punch and impact: When the loud hits come (like a drum fill or a drop), they actually punch through because they’ve got the room to be louder than the rest.
- Clarity: Often, maintaining dynamics means each instrument has space to breathe at different moments, so you can hear details better. In a highly compressed, low-dynamic-range mix, sounds can start to smear together.
- Listener fatigue: Tracks that maintain some dynamic range tend to be less fatiguing over long listening periods. The ear gets a break during the softer sections, which resets the listener’s frame of reference and keeps the loud parts exciting.
Of course, different genres and songs call for different amounts of dynamic range. An intimate jazz recording or a classical piece might embrace lots of natural dynamics, whereas a heavy rock or EDM track might intentionally be more steady in level. The key is knowing what the music needs emotionally and finding the right level of contrast. As a mixer or producer, you have the creative control to decide how much dynamic range is appropriate. Just remember that dynamics are a powerful tool to make your music feel alive and engaging.
What is Loudness?
Now let’s talk about loudness. Loudness is about perceived volume – how loud something seems to our ears. In audio production, there are a few ways to measure loudness, and it’s important to know the differences:
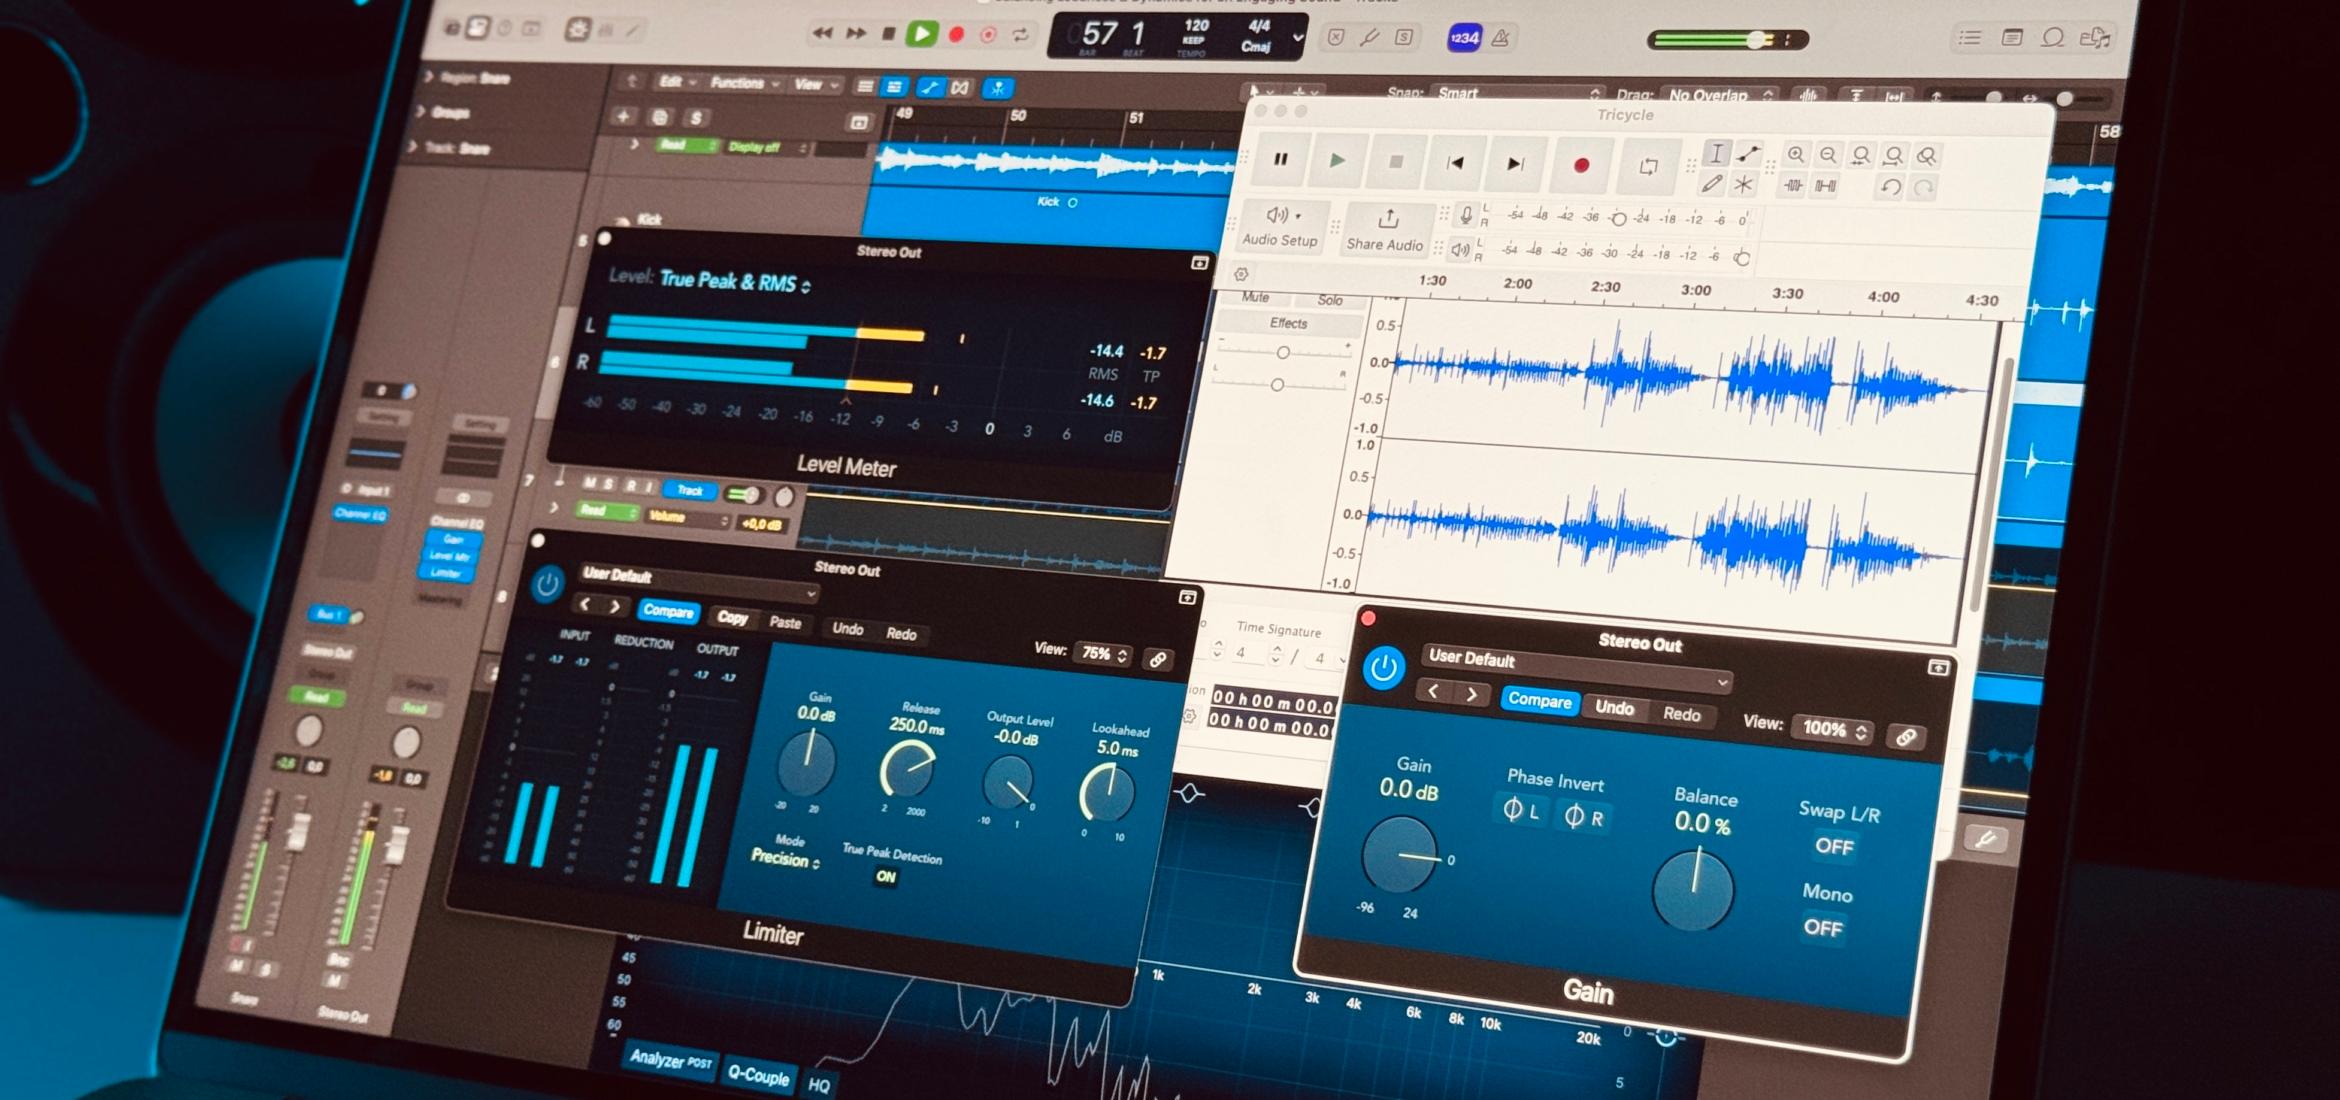
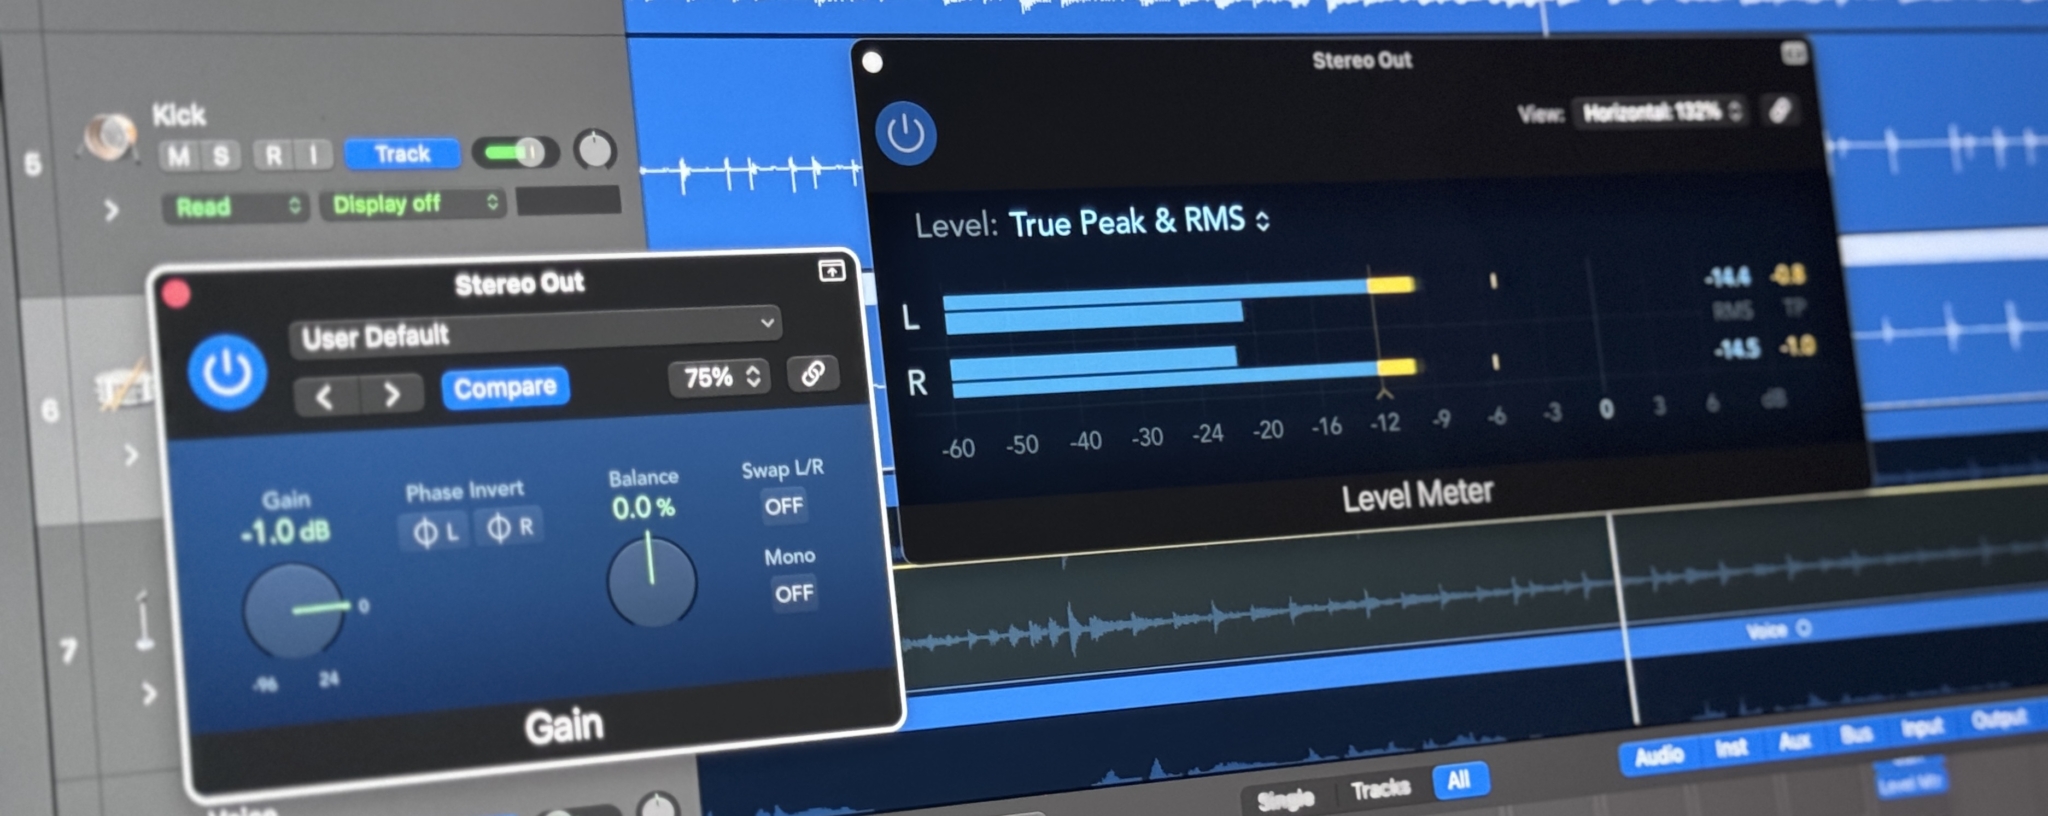
- Peak level: This is the highest instantaneous level of the audio, usually measured in dBFS (decibels relative to full scale) in digital audio. Peak level is useful to avoid clipping (digital distortion if you exceed 0 dBFS), but it doesn’t tell you how loud a track feels overall.
- RMS (Root Mean Square): This measures the average energy of the audio signal over time. It’s often used as a rough indicator of average loudness. An RMS value in dB gives a sense of the track’s typical level (loud drum hits will raise it, quiet parts lower it). However, RMS treats all frequencies equally and can be skewed by very short bursts of loud sound.
- LUFS (Loudness Units Full Scale): This is a modern standard for measuring loudness that aligns more closely with human hearing. (You might also see LKFS, which is essentially the same thing under a different name.) LUFS measurements – for example, Integrated LUFS (average over the whole track) or Short-Term LUFS (averaged over a short window) – give you a sense of the perceived loudness. They account for the fact that our ears are less sensitive to very low or very high frequencies, and that brief transients (like a sharp snare hit) don’t contribute much to how loud we perceive a song to be.
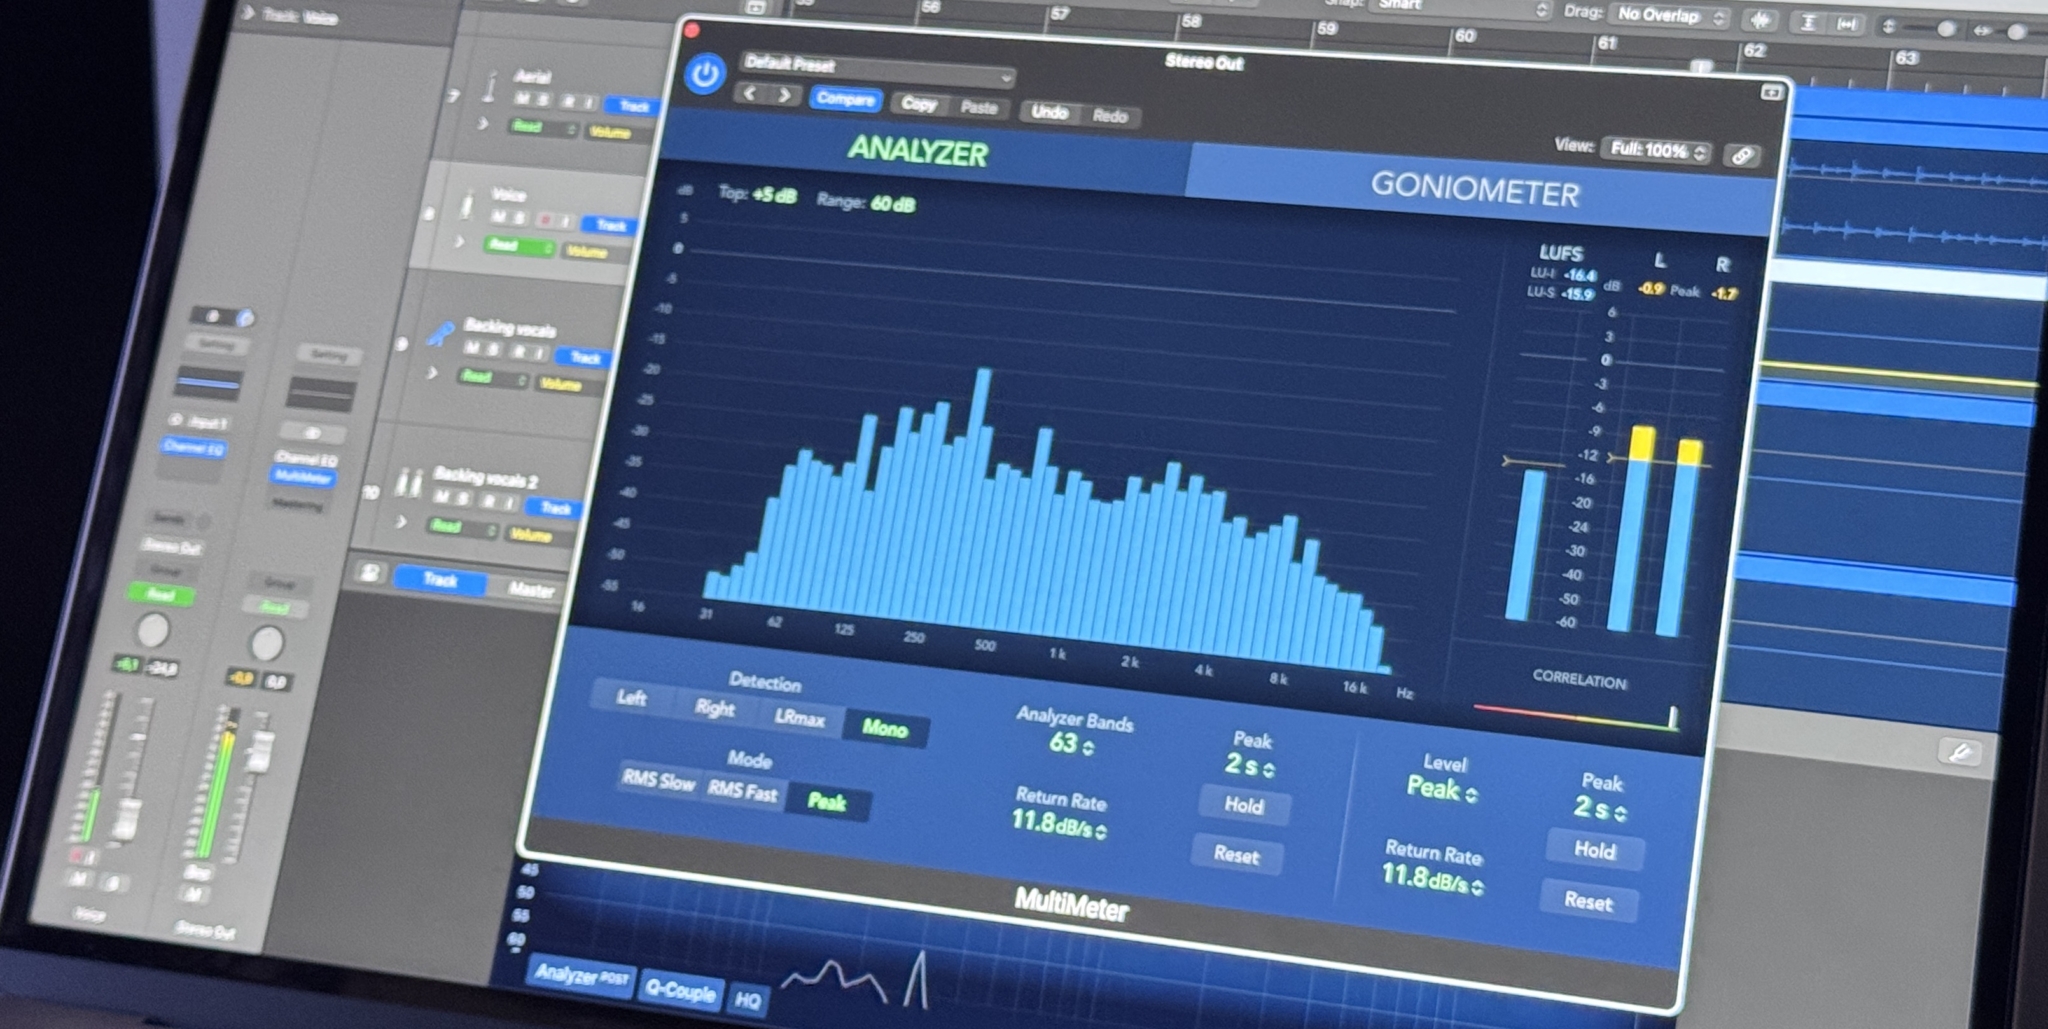
So why do we care about LUFS? Well, with the rise of streaming services, loudness normalization has become a big deal. Platforms like Spotify, YouTube, and Apple Music all measure the loudness of tracks (using LUFS) and automatically adjust playback volume so that all songs have a similar perceived loudness.
This means if you master your song super loud (say, -6 LUFS, which is quite hot), and the streaming platform’s target is around -14 LUFS, the service will turn your song down to match other tracks. In other words, excessive loudness might not give you the advantage it once did, because listeners will end up hearing it at a normalized level anyway.
The Loudness Wars
Back in the days of CDs and radio (before normalization), the loudest track on a playlist would indeed stand out. This led to the so-called loudness war in the 1990s and 2000s, where each new record was mastered hotter than the last to grab attention. The downside was that dynamic range suffered – mixes were getting crushed with heavy compression and limiting, leading to a fatiguing, often distorted listening experience.
Today, the loudness war seem to be easing up due to streaming normalization. Some engineers are shifting towards allowing more dynamics again. And in some degree, it makes more sense to target between -10 to -14 LUFS for streaming releases, knowing anything louder will just be turned down. You coud even argue that a more dynamic mix (lower LUFS, more headroom) actually ends up sounding punchier and subjectively “louder” once normalized, compared to a heavily limited mix. Our ears appreciate the punch and clarity that comes with a bit of breathing room; a song with some dynamics can hit harder when those big moments come, versus a song that’s been flatlined with compression. However, this is a personal thought, and it is still not true for many mastering scenarios. In the end, we must always take in consideration the medium where it will be played.
Still, loudness is an important aspect because you want your mix to be loud enough. If something is too quiet compared to other tracks – say you left an extremely wide dynamic range and a low overall level – it might get lost, or the listener might have to crank their volume more than usual. So it’s a balancing act: you want competitive loudness and fullness, but you don’t want to sacrifice all the dynamic interest in your music. Understanding loudness measurements (LUFS, RMS, etc.) helps you find that sweet spot and ensure your track will hold up in various listening contexts without being either too soft or unnecessarily overcooked.
Balancing Impact and Clarity
Balancing dynamic range and loudness in a mix is a delicate dance. You want the music to hit hard when it should, but you also want clarity so that each element can be heard. The key is to use processing to control dynamics without completely squashing them.
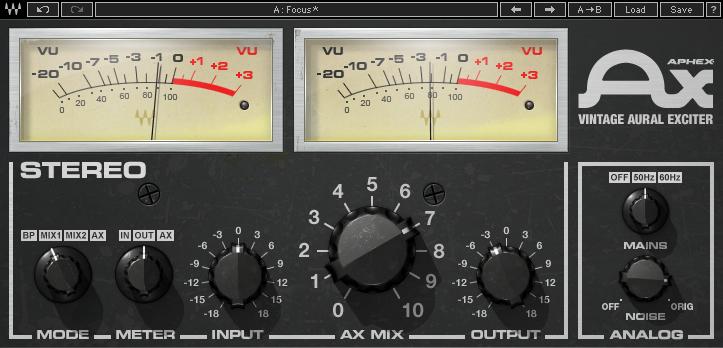
The primary tool here is compression (and its extreme form, limiting). Compressors tame the loudest peaks, allowing you to raise the overall level of a track or mix. For example, compressing a vocal evens out its volume so you can bring the whole vocal up without any shouty parts dominating. On the full mix, a limiter catches sharp transients (like snare hits) and lets you boost the integrated loudness. These tools effectively reduce dynamic range and make the track feel louder and more consistent.
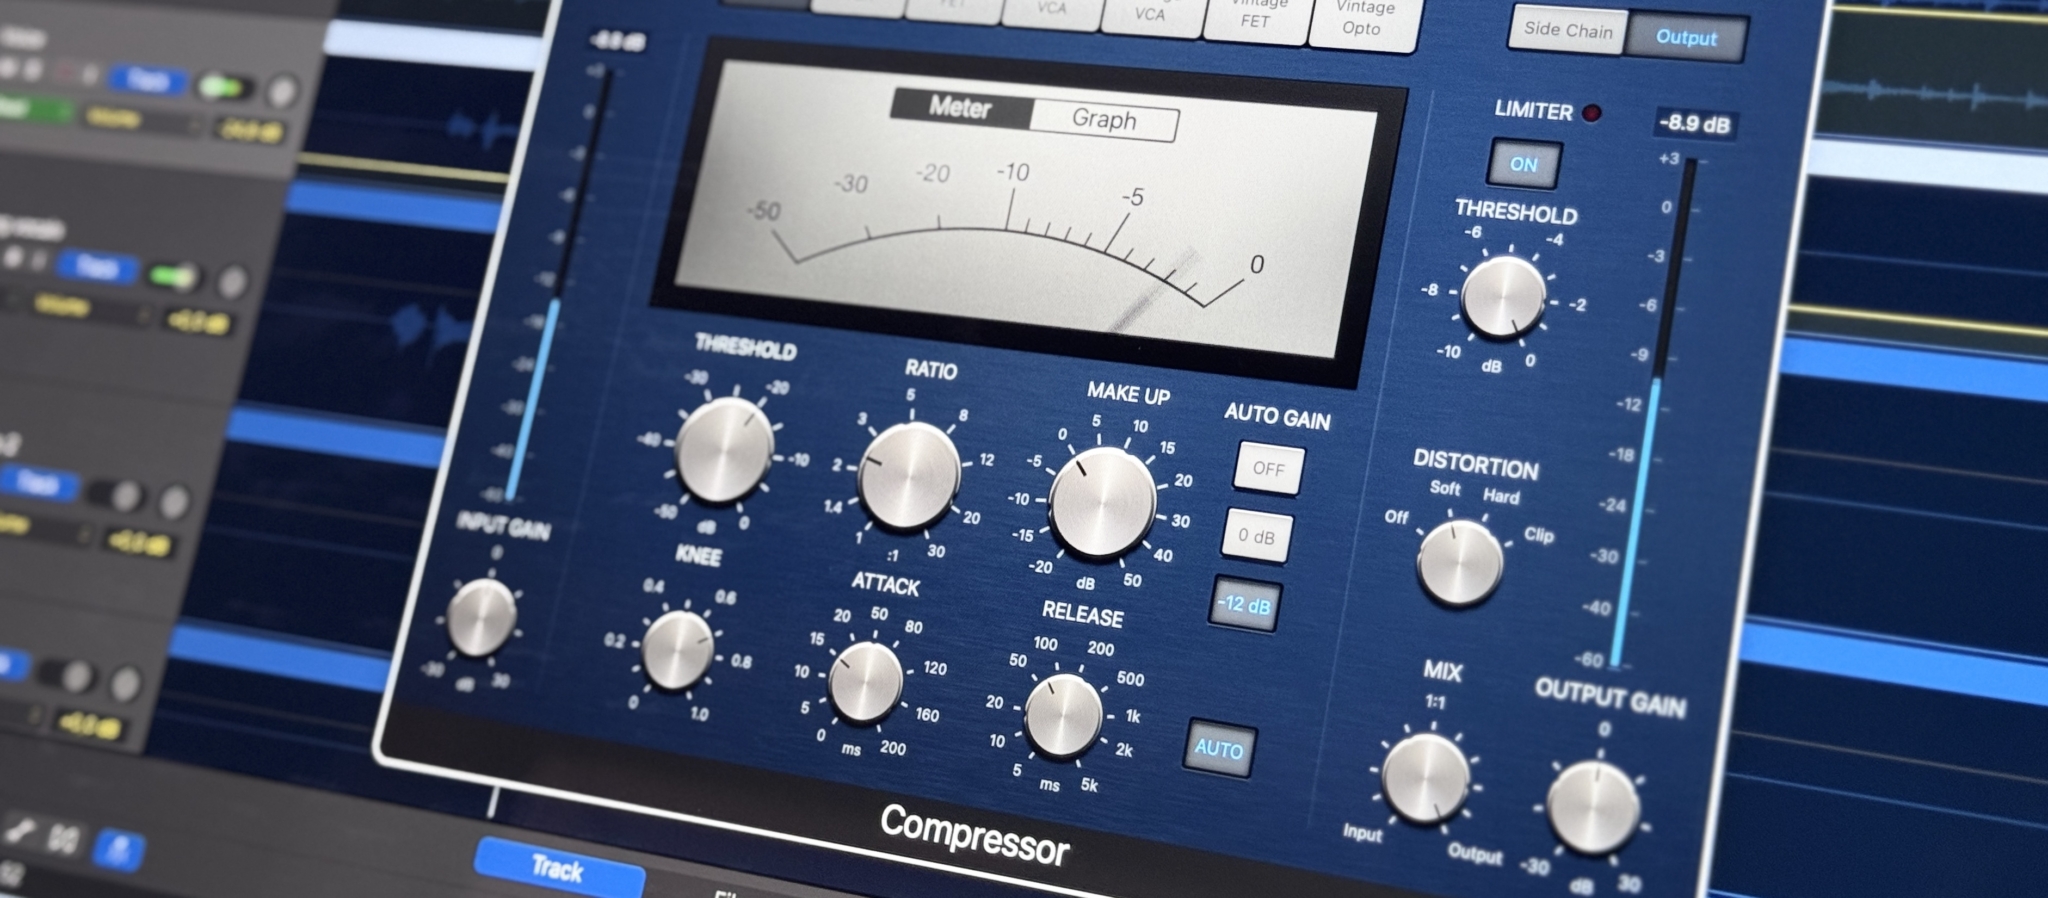
However, to maintain impact, it’s important not to overdo it. Over-compression can make a mix loud at the expense of punch and detail. If you squash a drum track too much, the snare and kick might lose their snap. To keep the transients (the initial attack of sounds) alive, try using slower attack times on compressors for drums and other percussive sounds – this way the initial hit sneaks through before the compressor clamps down. You can also use transient shapers to boost or restore attack on sounds that need to cut through. This helps retain the punch even as you control dynamics.
Ultimately it’s a balancing act: allow some of the natural dynamics to remain while using compression as a shaping tool, not just a blunt force for loudness. Use your ears – if the mix feels exciting and the loud hits still punch through, you’ve found a good middle ground between impact and clarity.
Practical Mixing Tips
Now that we’ve covered the concepts, let’s get into some practical mixing tips to help balance dynamic range and loudness in your projects. These tips will help you maintain clarity and punch while achieving a solid loudness level.
Gain Staging is Key
Proper gain staging is the foundation of a good mix. This means setting the levels of your individual tracks and plugins so that nothing is too quiet or (more importantly) too hot at any stage. By keeping an eye on levels, you’ll avoid accidental clipping and distortion before you even get to the final limiter. My recommendation is to aim for your individual tracks peaking around -6 to -10 dBFS, and your master buss peaking around -6 dBFS during mixing. This leaves headroom for later processing and for those dynamic spikes. It might feel counterintuitive to keep things lower in the mix, but remember, you can always turn it up later in mastering. Good gain staging ensures that compressors and other processors behave predictably, and it preserves the headroom needed for a punchy mix. Think of it like giving your mix room to breathe and move.
Use Compression Wisely (Avoid Over-Compression)
Compression is awesome, but like any tool, too much of it can cause problems. When inserting a compressor on a track (or a bus), have a clear goal in mind: Are you controlling a wild performance? Adding sustain? Gluing instruments together? Set your attack and release times thoughtfully: a fast attack will tame transients more (making the sound smoother but potentially less punchy), while a slower attack will let the initial hit through (keeping it punchier).
If you find you’re compressing more than ~6 dB off a track constantly, consider if it’s necessary or if volume automation could help instead. Sometimes manually riding the fader (volume automation) can achieve a more transparent control of dynamics than heavy compression. Avoid over-compressing on the mix bus unless you’re going for a specific effect; a gentle glue compression (maybe 1-2 dB of gain reduction on the mix bus) can add cohesiveness, but slamming it will likely rob your mix of life. In short, use compression to shape dynamics, not to strangle them.
Parallel Compression for Punch
Parallel compression (sometimes called “New York compression”) is a favorite technique for achieving loudness and punch at the same time. The idea is simple: you take a copy of a track or a group of tracks (like all your drums, or a vocal track), compress that copy heavily (squash it really hard), and then blend it back in with the original, uncompressed signal. The compressed signal brings up the quiet details and adds thickness, while the original track keeps the transients and dynamics intact.
On drums, parallel compression can make the kit sound huge and powerful without losing the snap of the snare or the thump of the kick. On vocals, it can add body and consistency, making every word audible without the natural dynamics completely disappearing. The key with parallel compression is balance – bring up the compressed channel until you hear the sound get fuller and more in-your-face, but back it off if you start losing the natural punch and movement. It’s like having the best of both worlds: controlled loudness and natural dynamics together.
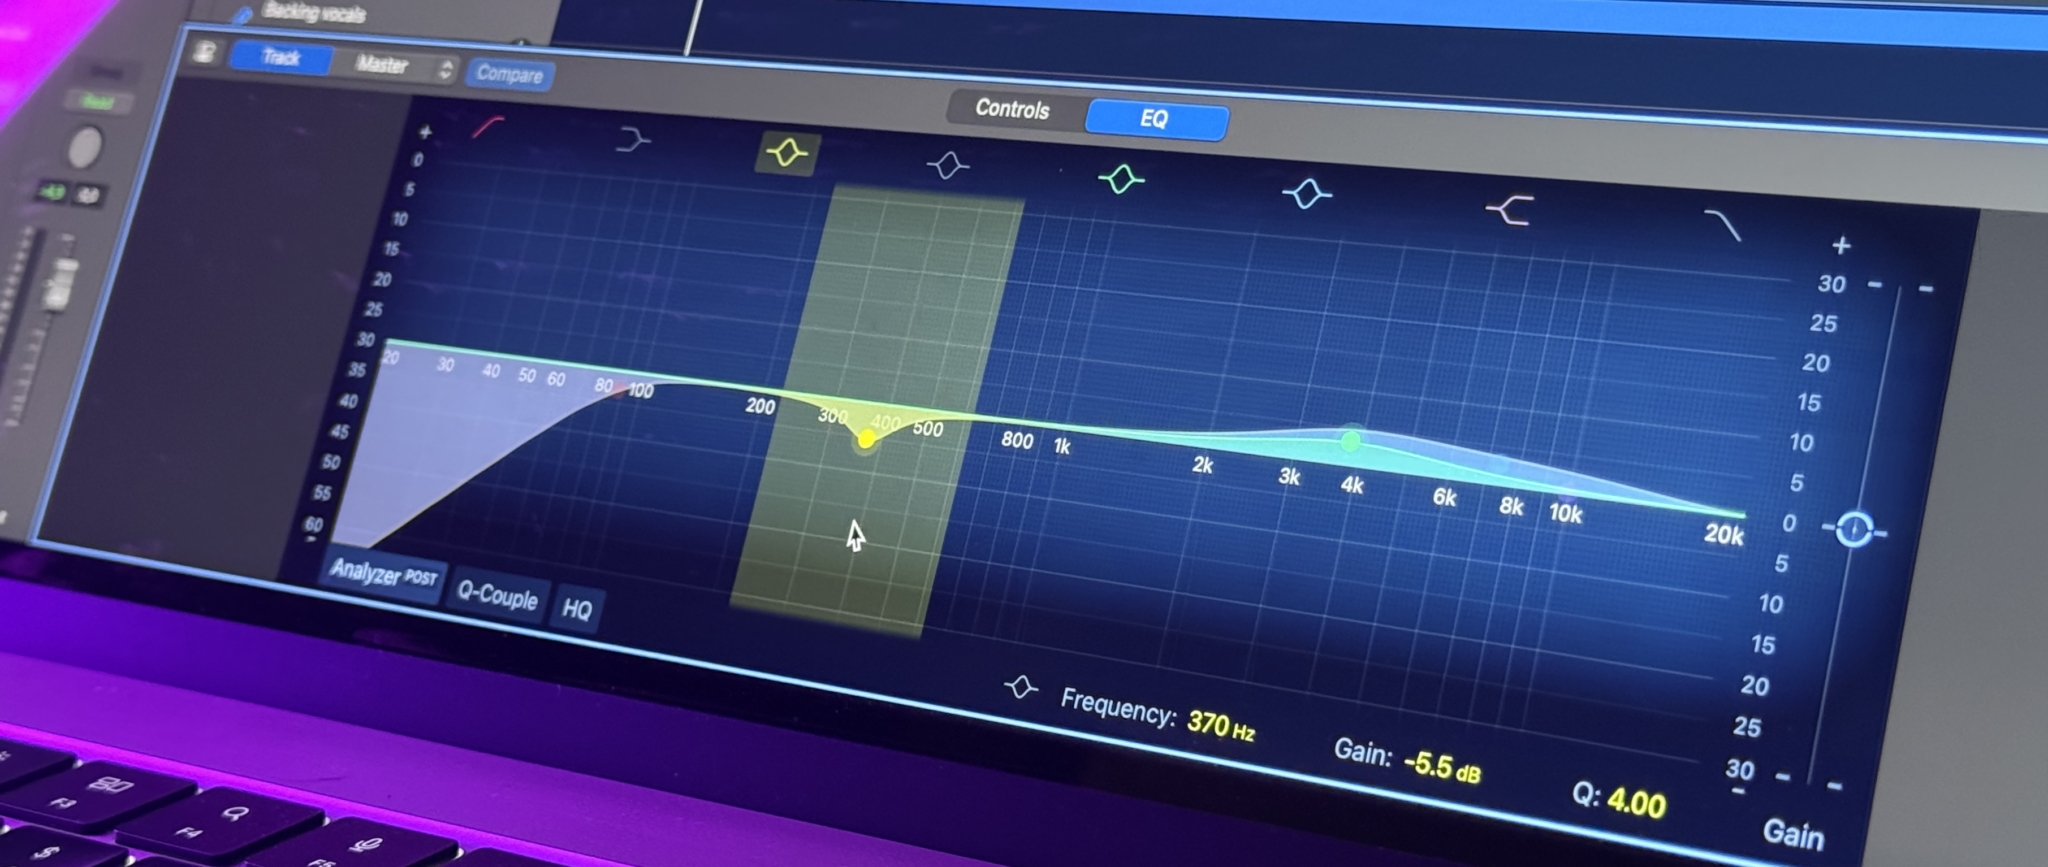
EQ for Clarity and Loudness
It might not be obvious at first, but EQ plays a big role in perceived loudness and in how much you need to compress things. A muddy mix (too much buildup in certain frequency areas, like a boomy low-mid range) might force you to push levels or use more compression to get clarity, which can eat into headroom.
By contrast, a clear mix where each element sits in its own frequency space often sounds punchier and louder without needing to be pushed as hard. So, use EQ to carve out space and reduce unnecessary energy in the mix:
- High-pass filter unnecessary sub-bass on tracks that don’t need it (for example, guitars or vocals) to free up headroom for the bass and kick. This keeps the low end tight and prevents rumble from triggering compressors or limiters.
- Cut conflicting frequencies: If two instruments clash in the mix (say, guitars and vocals both fighting in the mid-range), consider cutting a bit in one to allow the other to shine. For example, carving a small notch in guitar around the vocal’s fundamental frequencies can make room for the vocal to be heard clearly without raising its volume.
- Add presence carefully: Sometimes a gentle boost in the high frequencies or a little saturation/excitation on a track (like the vocal or snare) can increase clarity and perceived loudness. A brighter track often cuts through the mix better, meaning you don’t have to crank it as much.
- Tackle the mud: Watch out for the low-mid “mud” (around 200-500 Hz). A buildup in this region can make a mix sound muffled or boxy. Cutting a bit of mud (either on individual tracks that are heavy in that range, or a small cut on the overall mix EQ) can clean up the sound significantly. A cleaner mix can get louder before sounding bad.
The idea is that by using EQ to balance frequencies, you make the mix naturally clearer and more efficient loudness-wise. With less frequency clutter, you won’t need to over-compress or push levels to make things audible; everything will have its place, and the mix can breathe even as it hits a solid loudness.
Using Saturation to Enhance Perceived Loudness
Apart from compression and limiting, saturation is another technique to increase perceived loudness without relying on pure volume. Saturation (like overdriving analog tape or tubes) adds harmonic content to the signal, making sounds richer and more present. Our ears often perceive that added warmth or brightness as an increase in loudness, even if the peaks don’t change much.
For example, adding a little saturation on the drum buss can glue the drums together and even tame peaks in a musical way. The key with saturation is moderation – you want to enhance the sound, not introduce obvious distortion (unless that’s a creative choice). Too much can reduce clarity, so find the sweet spot where things sound fuller and louder but still clean. A touch of saturation on the whole mix or on individual elements can increase perceived volume, making the track sound louder and more energetic without simply cranking up the peak level.
Mastering for Loudness Without Killing Dynamics
After the mix comes mastering – the stage where you finalize the track’s overall sound and loudness. Here, the goal often includes making the track as loud as is appropriate for the genre and distribution, but doing so transparently so you don’t destroy all the good dynamics and clarity you’ve worked hard to create. Mastering is a bit of a tightrope walk in this regard. Let’s talk about a few strategies and tools for getting loudness while keeping the music punchy:
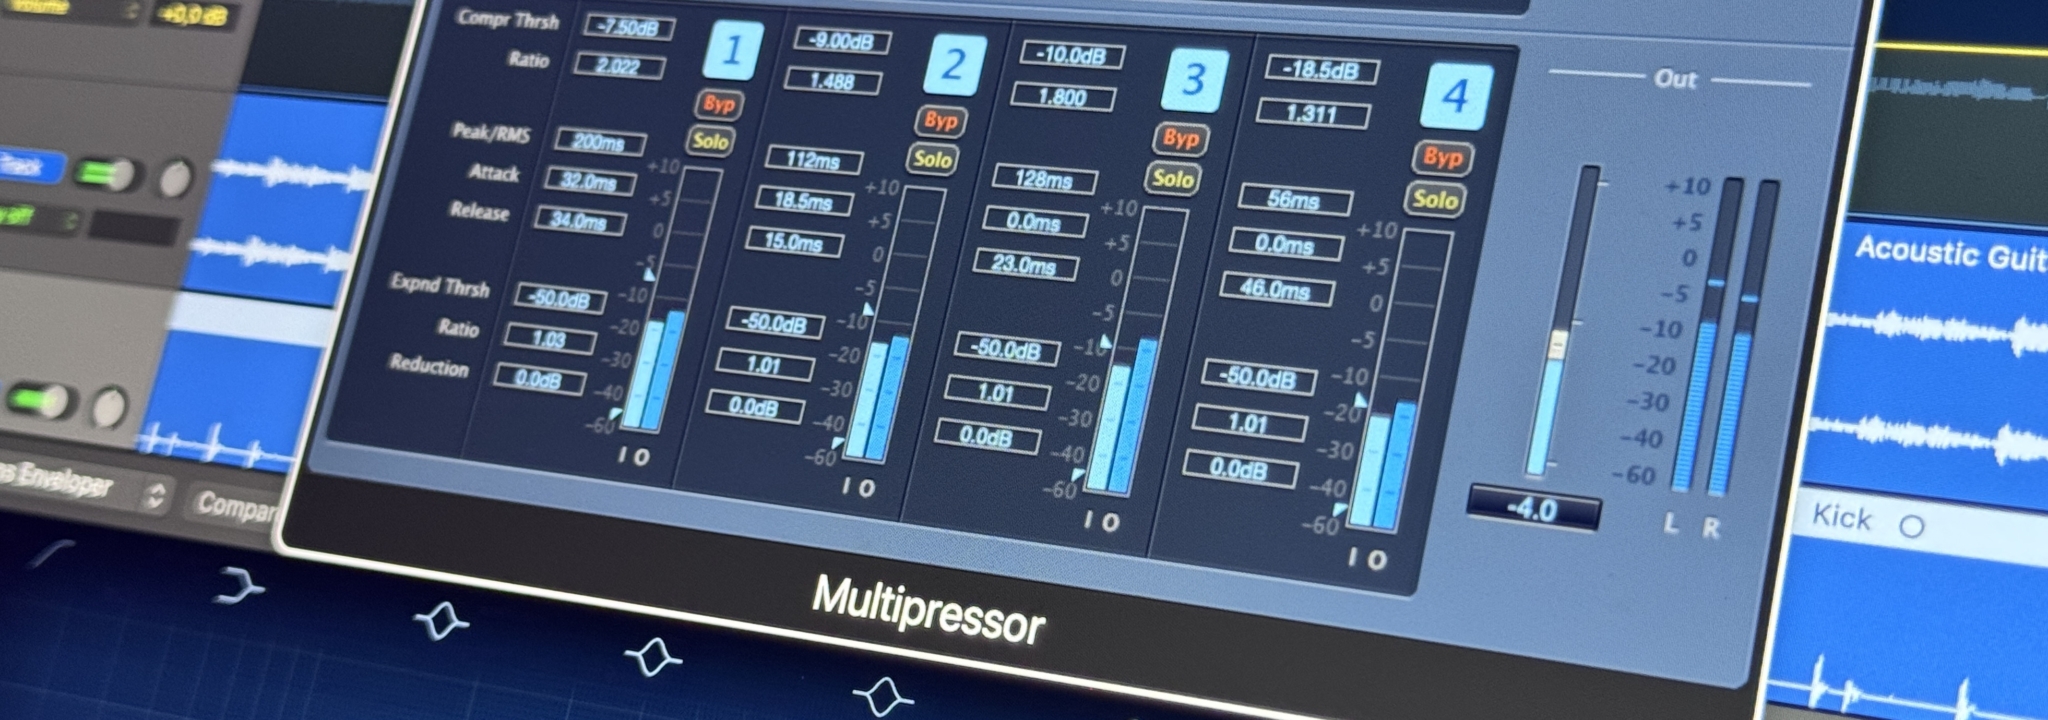
Multiband vs. Single-Band Compression
Single-band compression on the master affects the entire mix together whenever something loud triggers it. This can glue a track together but might cause pumping; for example, a big bass hit could make the whole mix duck momentarily. Multiband compression, by contrast, splits the mix into frequency ranges and compresses each range separately. It can be great for taming a boomy low-end or harsh highs without smothering other frequencies, thus keeping clarity. However, multiband compression should be used carefully – if overdone, it can mess up the balance of your mix. If your mix already sounds good, often a light touch of compression (or even none at all) is needed in mastering.
Limiting Strategies to Keep Punchiness
A limiter is essentially a very fast, high-ratio compressor used at the end of the chain to catch peaks and raise the track’s overall level. Pushing a mix into a limiter is how you get that final competitive loudness. But to keep the music punchy, you have to be strategic in how you apply limiting. One good strategy is to use multiple lighter limiting stages instead of one heavy-handed pass.
For instance, instead of slamming a single limiter with 8 dB of gain reduction, you might use two stages (say 4 dB each), or a compressor followed by a limiter sharing the work. Each processor doing a little can sound more transparent than one doing it all. Also, keep an eye on how much reduction your limiter is doing overall – if it’s constantly knocking down more than around 3-6 dB on every hit, you are probably squashing the mix too much and losing punch. In that case, consider backing off or addressing the dynamics in the mix rather than pushing the limiter to do all the heavy lifting.
Best Practices for Different Genres
The ideal balance between dynamic range and loudness isn’t one-size-fits-all. Different genres have different expectations and aesthetics when it comes to dynamics and loudness. Here are some considerations for various styles:
Rock and Metal
Generally, these genres aim for an aggressive, in-your-face sound. Compression is used heavily on drums, guitars, and vocals to keep them upfront and consistent. Still, it’s wise to leave a bit of dynamic snap (especially in the drums) so the mix doesn’t become totally flat. A common approach is to use techniques like parallel compression on drums to get them loud and punchy. Rock and metal masters tend to be quite loud, but the best ones maintain a punch – the kick and snare should still hit hard, even if the overall track is very compressed. If there’s a breakdown or softer intro, that contrast will make the next heavy section feel even more impactful.

EDM and Pop
These styles often have a polished, loud production. It’s common to use sidechain compression (ducking the bass under the kick) to allow the kick drum to cut through and keep the low end tight. The loudness is usually high – drops and choruses hit hard – but there are still intentional dynamics in the arrangement (like a quiet breakdown before the big drop). Clarity is crucial since there are many layered elements, so producers will use EQ to separate sounds and careful limiting to avoid muddiness. Pop and EDM tracks are typically mastered to be very loud, but modern producers also consider streaming normalization; they push it to the edge, but try to avoid distortion or harshness by using multiband compression, transient shaping, and saturation to retain some depth and punch.
Hip-Hop
In hip-hop, the low-end is critical, and the kick and bass need to be robust yet controlled. Compression and limiting are often used to make the 808s and kicks punchy without overwhelming the mix. Sidechain compression can help keep the bass in check when the kick hits, ensuring clarity. Midrange elements like vocals and synth lines also need to stand out, so EQ carving and a moderate amount of compression help maintain presence. Parallel compression on vocals or drum loops can give the track weight while preserving dynamics. Hip-hop productions are generally loud but still benefit from a clear distinction between different sections, so small dynamic changes—like lowering the beat slightly during verses—can help the vocal take center stage, then ramp up again for the hook or drop.
Jazz and Classical
These genres prize wide dynamic range. In mixing, compression is used sparingly (if at all) because the natural soft-to-loud changes are essential to the music. Listeners expect that a classical piece or a jazz recording might be quieter on average, with plenty of headroom for big swells. In mastering, jazz and classical tracks are kept at a lower overall loudness compared to rock or pop releases. The focus is on clarity and preserving the performance’s dynamics, even if the track ends up much quieter than a pop song.

Remember that these are general guidelines – within any genre there can be variations. The main point is to be aware of genre conventions when deciding how much to compress or limit. If you’re mastering a track and you know in that style most songs are fairly dynamic, you wouldn’t squash it to death. Likewise, if you’re mixing a club EDM banger, you know it needs to hit hard, so you might allow less dynamic range on the final drop than you would in a folk ballad.
Conclusion
In the end, balancing dynamic range and loudness is about making the music feel punchy and clear without over-squashing it. There’s no one-size-fits-all rule, but remember that dynamic range adds excitement and emotion, while loudness adds power and consistency. The best approach is to use your tools (compression, limiting, EQ, etc.) in moderation and often in stages, rather than all at once.
Keep an ear on your transients – if the snare and kick still snap, you’ve likely preserved the impact. It’s always helpful to compare your mix with reference tracks in a similar genre (at matched volume) to gauge if you’re hitting the right balance. Finally, trust your ears and instincts. If your mix sounds clear, powerful, and engaging to you, then you’ve likely found the sweet spot between dynamic range and loudness.
About the Author

Dídac
CEO & Founder of MasteringBOXDídac is a professional audio engineer, music producer and software engineer. He is the founder of MasteringBOX and the author of many of the articles on the blog.
Leave a comment
Log in to comment