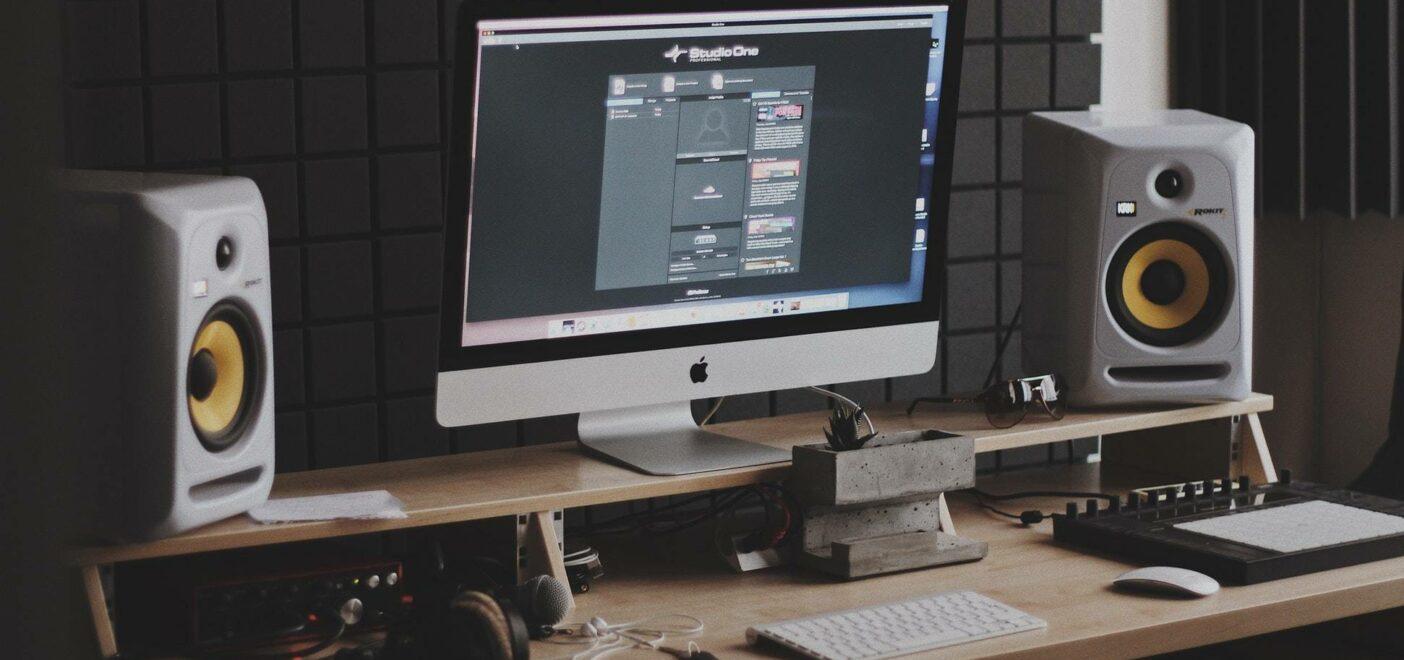
Being able to achieve a flat frequency response while working on music is probably the most important aspect of the process. Without this neutral response, we can’t truly understand how our mixes sound. If the way we perceive the playback is even slightly skewed, it means that our productions could lack significantly when played back elsewhere. When I had room correction applied to my home studio, I discovered that my room alone was adding close to 12dB at 77Hz. Without first knowing this, I would have ended up creating mixes that sounded powerful and warm in my studio but were missing a significant amount of low end when played back elsewhere. It’s instances like this that prove just how important room correction is.
Now, I know what you’re thinking. Firstly, you don’t have the space to place bass traps all over the room. Secondly, you simply aren’t in a situation where you can install absorbers and diffusers everywhere. Perhaps the property owner dislikes the idea, or maybe you can’t afford it. Acoustic room treatment is cumbersome and expensive, even at the best of times. However, what if I told you that you could achieve a pretty impressive sound from your current space without needing any of that equipment? Today, I want to point you to a few impressive products that are nowhere near as expensive as full acoustic treatment. I also want to show you a free tool that can help improve things without spending a penny.
Optimal Monitor Positioning for Your Current Studio
The first and probably most important thing for us to consider is the optimal setup for your space. More often than not, rearranging your room and paying closer attention to specific measurements can make a significant difference. Room correction largely depends on proximity to surfaces and speaker positioning. Thankfully, the wonderful people over at no Audiophile have provided a very simple monitor positioning calculator.

First, enter the length of your main wall (the wall at the rear of your monitors). Next, enter the length of a side wall (the wall perpendicular to your main wall). Now hit calculate, and you will be presented with an array of different optimal setups. No single option is better than another. Multiple configurations are provided in case certain specific options do not suit your room. Getting as close to the measurements as possible will largely resolve many of the inherent issues of your room. Give it a try and see if you can improve the balance of your room just by moving a few things around!
Room Correction Software
Now we get to the real game-changers. Room calibration software has existed for quite a while, but recently, the capabilities of this type of equipment have become remarkable. Two perfect examples of room correction software are ARC System 2.5 by IK Multimedia and Reference 4 by Sonarworks. Both of these systems work wonders in your home studio after just 15 (or so) minutes of work on your part. By using impulse responses and precisely calibrated microphones, this room analysis software can determine where your room is adding or removing frequencies. By comparing the measured response with the flat response of the microphone, an EQ chart can be generated to correct your room.
Going with Reference
My personal preference has always been Sonarworks software. Both options are phenomenal, but there are three main reasons why I prefer Reference over ARC System. Firstly, the user interface of Reference is simply more appealing. This really is a personal preference, but if you value aesthetics, this could be a significant factor. Now for the important reasons. Reference provides two key features that ARC System does not: system-wide support and headphone support.

System-wide support allows the generated correction curve to be applied not just inside your DAW for mixing and , mastering](https://www.masteringbox.com/learn/mastering-and-mixing-difference) but also to all audio output from your machine. This allows you to listen to your favorite music the way it was meant to be heard. It also creates a better environment when comparing your mixes to other tracks.
Headphone support has also been included, featuring pre-modeled EQ curves to provide a flatter response. This system doesn’t provide an actual analysis of your personal headphones but instead uses data collected from many sets of the same model of studio headphones. From a simple drop-down menu, you can select your headphones and hear how they should sound with a flat response! You can even try this on their website for free, so make sure you check it out and see how your headphones should sound!
Revealing the Key Areas
Now, this final point is not specifically about room correction. However, it’s one of the best studio tools on the market for revealing the key areas of importance in a mix. The aim of a tool like this is to isolate the critical areas in any mix, particularly the lower frequencies that can be affected by room reflections, and reveal any serious issues that may occur when the track is played back elsewhere. Much like mastering, we’re looking to ensure that there is as much continuity as possible. Soundways Core Production Bundle includes a plugin called Reveal. This wonderfully simple free VST plugin can be placed onto the master channel of any session. It will provide a series of listening modes to show how your music will sound on certain devices and in specific scenarios.
Multiple Setups, One Room
Settings such as critical listening allow isolation of the pivotal upper mid and high-frequency ranges. With this engaged, you can make precise level and EQ adjustments to ensure depth and clarity in your mix. If your mix sounds good like this, you can be confident it will sound good elsewhere. Other handy settings such as device mode and vehicle analysis help to demonstrate how your tracks will sound on more common listening setups. People largely listen to music on phones, laptops, and during their commutes these days. It makes sense to ensure your music sounds good in these scenarios.

As I mentioned, this isn’t a specific form of room correction. However, tools like this will help provide better listening modes. They’ll eliminate some of the areas most susceptible to room adjustment. Using calibrated tools to check mix translation in the key areas will lead to better overall mixes, even if they don’t sound as good in your own untreated room. The focus should always be on how others will hear your music.
TL;DR
Acoustic treatment can be very expensive and usually takes up too much space in home studios. If it’s just not an option for you, you might want to consider room correction instead. Start by ensuring that your room is set up as optimally as possible. You can use a handy online calculator to determine the best studio monitor setup concerning the proximity of walls. Next, look into some room correction software. Check out IK Multimedia ARC System or Sonarworks Reference 4. You’ll quickly see how your room should sound if you had a flat frequency response.
Finally, if you want a little more control over critical listening as well as listening modes, consider something like Soundways Reveal. This handy tool will help you focus on the key areas in any mix. Now you have the knowledge you need. Go and make the most of your space and hear your music improve exponentially!
I should mention this as a quick disclaimer. None of what I have discussed today is a true alternative to professionally installed acoustic treatment. Much of this software only helps to improve frequency response. It does not address issues like reflections or comb filtering. These tools are very powerful. Combine them with the appropriate acoustic treatment, and they can create a fantastic monitoring space.
About the Author

Tim Dunphy
Audio Engineer and Specialized Content WriterOver 10 years experience working in the audio business. Everything from coiling up XLRs to mastering albums. I'm a self-made man and I keep my assets in Bitcoin. What more is there to know!?
Leave a comment
Log in to comment


