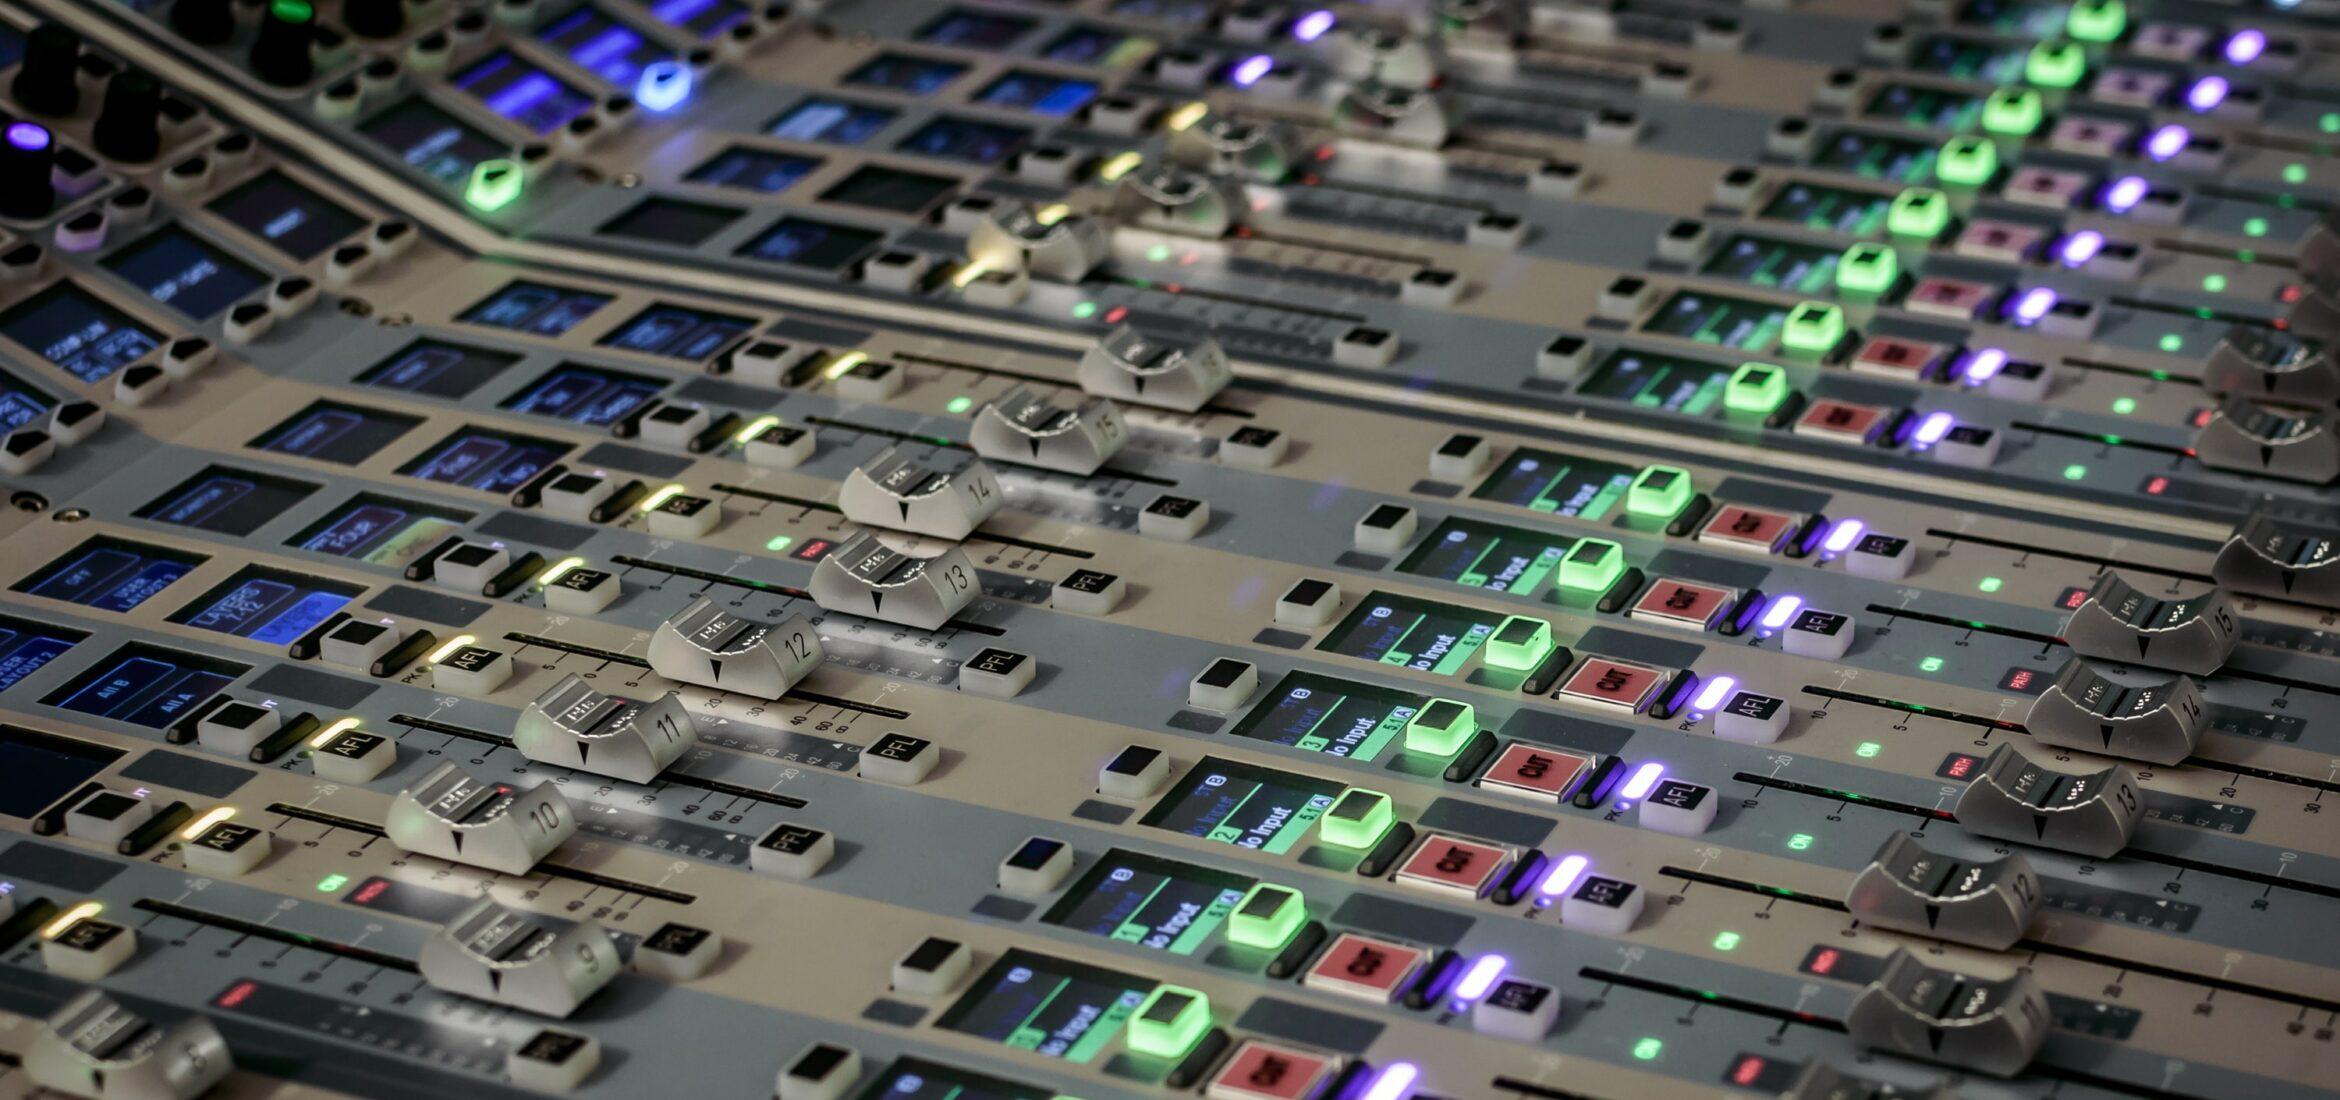
Mixing is the vital process in music production where recorded tracks—vocals, guitars, synths, drums, or any other instrument—are combined into a single, cohesive presentation. This stage shapes each element by adjusting its volume level, placing it in the stereo field, and applying audio processing such as equalization (EQ) or compression to enhance clarity and impact. While it may sound straightforward, the craft of mixing demands a delicate blend of technical knowledge and an artistic sensibility: subtle decisions in tone, dynamics, and space can make the difference between a flat, muddy result and a powerful, immersive experience.
A well-executed mix honors a song’s emotional core, ensuring the listener can hear the most important parts while still enjoying all the supporting textures. This can involve solving conflicting frequencies, reining in overly dynamic performances, or adding space and depth to transport listeners into the sonic world the artist envisions. The following guide explores the role of mixing in depth, highlights how it compares to mastering, recommends essential tools, provides a step-by-step workflow, and discusses best practices. By the end, you’ll understand how crucial mixing is to the entire music production process and gain actionable strategies for crafting high-quality results in any setting. So, what is mixing? let’s dive into it.
Table of Contents
- What Is Mixing?
- What is Mixing Compared to Mastering?
- Mixing Guideline
- Creating Space in the Mix
- Essential Tools for Mixing
- Common Mixing Mistakes
- Conclusion
What Is Mixing?
Mixing is the process of taking multiple individual tracks—such as vocals, guitars, drums, keyboards, or electronic instruments—and blending them into a single stereo track often called a “mixdown.” The goal is to present the song in the best possible light by balancing levels, shaping frequencies, managing dynamics, and adding effects that give depth and dimension. Unlike DJ mixing, which blends finished songs into a continuous set, studio mixing focuses on the elements of one song, ensuring they complement each other.

In a typical modern workflow, each track is recorded or imported into a Digital Audio Workstation (DAW). The mixing process begins once the raw recordings are in place. Engineers set initial volume balances, position tracks in the left-right stereo field, and address any sonic conflicts. They then refine each element’s tone (using equalizers), control performance dynamics (with compression), and add spatial effects like reverb or delay to create a sense of space. Throughout, they ensure each part is audible and that nothing overwhelms the listener. Well-executed mixing results in a cohesive track where the song’s core message or emotion shines.
What is Mixing Compared to Mastering?
In the music production timeline, mixing often leads directly into mastering. Though the words mixing and mastering are sometimes confused, each stage has distinct goals, tools, and outcomes.
What Happens During Mixing
During mixing, you work with all individual tracks or stems of a song. You carefully adjust volume levels, apply EQ, compression, and spatial effects, and ensure that each track—drums, vocals, guitars, keys, strings, and so forth—occupies its own place. By the end of mixing, you create a final stereo mix, also called a mixdown. This mixdown should already be cohesive, balanced, and emotionally engaging. If you listen to the mixdown on its own, it should sound like a finished piece of music from an artistic standpoint, albeit at a moderate overall volume.
What Happens During Mastering
Mastering focuses on the completed stereo mix. No longer are you dealing with separate instruments; everything is consolidated into a single two-track file (left and right channels). The mastering engineer polishes this final mix to ensure it translates well across all listening environments—from car stereos to earbuds to large club systems. Common mastering tasks include subtle EQ adjustments, slight compression or limiting for loudness, and stereo enhancement techniques to add shimmer or depth. This stage also includes preparing the track for distribution, ensuring it meets loudness targets and format requirements for streaming platforms, vinyl pressings, or broadcast radio.
Why Keep Them Separate
Even if the same person does both mixing and mastering, it’s beneficial to treat these processes as distinct stages. Mixing requires a micro-level perspective: balancing a snare hit against a hi-hat, automating the volume of a background vocal so it’s just audible. Mastering is a macro-level perspective: ensuring the entire stereo file has appropriate loudness and tonal balance overall. By separating these mindsets, you achieve a more objective view at each step, helping maintain the highest audio quality possible.
Mixing Guideline
Approaching a mix in a systematic way helps ensure you don’t overlook crucial steps and that you keep the creative process organized. While every engineer develops a personal workflow, the following outline is a common approach.
1. Organize and Prepare
Label each track clearly and group similar elements (for instance, all drum tracks into a drum bus). Clean up any extraneous noises, such as buzz in silent sections or bleed from a microphone. Set initial gain so that no track is peaking near 0 dBFS. This preparation might seem tedious, but it prevents confusion and wasted time later.
2. Initial Levels and Panning
Start with a static mix—no plugins, just levels and panning. Bring faders up to balance instruments by ear, typically beginning with critical elements like vocals or drums. Listen to how each element interacts. Move instruments away from the center if they clash with the vocal or other center-heavy tracks. This stage can drastically improve a mix before any advanced processing.
3. EQ for Clarity and Separation
Once the rough balance feels right, apply EQ (Equalization). Identify problematic frequencies and use subtractive EQ to remove muddiness, harshness, or rumble. Give each element its own frequency space by cutting overlaps if necessary. For example, if the kick drum and bass guitar clash, decide which part owns the very low frequency region, and carve out that area for clarity.
4. Compression and Dynamics
Introduce compression to manage volume spikes and shape the envelope of instruments. A vocal may need compression to keep its level consistent throughout the song, while a snare drum might need compression to accentuate its attack. Often you’ll adjust attack and release times to either emphasize or soften transients. Parallel compression (also called New York compression) is a great method for drums, adding punch while preserving dynamics. Avoid over-compressing, as it can suck the life and natural vibe out of your tracks.
5. Reverb and Delay
Adding reverb or delay creates a sense of space. A short plate reverb can add warmth to a vocal, while a long hall might give a dreamy quality to a synth. Delay can keep elements sounding upfront while still offering depth, especially if reverb starts to crowd the mix. Use these effects on aux/return channels so multiple tracks can share one reverb, unifying the overall sound and saving CPU. Be cautious with long decay times or very wet settings that can wash out detail.
6. Automation
A static mix might not do justice to the dynamic flow of the song. Automation allows you to adjust volume, panning, or effects parameters over time. For example, you might boost the vocal level during a particularly dense section or add a delay throw on the last word of a chorus line. This is where you finesse the emotional arc of the track—lifting a guitar solo, muting certain parts for dramatic effect, or riding a bass track so it is slightly more prominent during certain transitions.
7. Reference on Multiple Systems
Check your mix on headphones, different monitors, or even in a car. Each playback system will reveal different problems, such as an excessively loud bass that shakes a car subwoofer or a lost vocal in tiny laptop speakers. Adjust accordingly. Comparing your track to a favorite commercial mix in the same style is another tried-and-true strategy. Level-match the reference and your mix to avoid being tricked by louder volumes.

8. Finalize the Mix
Once you’re satisfied that each part is in balance and nothing is distorting, leave a reasonable headroom for mastering—often around -6 dBFS. Bypass any heavy master bus processing that was only for previewing loudness, unless you deliberately used a light bus compressor for “glue.” Export or bounce your mix in a high-resolution format such as 24-bit WAV. Now your mix is ready to go to mastering for final polish.
Creating Space in the Mix
Achieving a spacious, three-dimensional sound is a cornerstone of a great mix. Rather than piling all instruments down the center or keeping them at a single volume level, a well-designed mix will create the sense that each element occupies its own space. The following strategies help you position sounds so the listener perceives them at different depths, widths, and heights—making the overall production more immersive and engaging.
Height (Frequency)
Frequency content can be thought of as the “vertical” dimension of your mix. Lower frequencies (e.g., bass, kick drum) sit toward the bottom, midrange elements (vocals, guitars) occupy the center band, and higher frequencies (cymbals, air, sparkle) live in the top end. Sculpting each element’s tonal balance with EQ ensures they slot into distinct frequency ranges and remain clearly audible without stepping on one another. By giving each instrument a unique space on the frequency spectrum, you can achieve a sense of height that complements the depth and width of your mix.
Depth (Volume & Reverb/Delay)
Depth refers to how close or far a sound appears in the “front-to-back” plane of your mix. Controlling volume is the most direct way to alter depth; lower volume levels can make an element feel further away. Additionally, applying reverb or delay can enhance the sense of distance—longer decay times or more pronounced echoes will push a sound further back, while a drier signal remains up-front. Experiment with both subtle and more pronounced effects to find the right spatial relationship for each instrument.
Width (Stereo)
Width involves distributing sounds across the left-right stereo field. Panning instruments so they don’t all occupy the center creates a feeling of openness. Extreme panning can add contrast, while slight shifts left or right help avoid masking issues and maintain clarity. Tools like mid-side processing or stereo enhancers can further expand or narrow the stereo image, but use them cautiously to avoid phase problems or an unbalanced sound when summed to mono.
Essential Tools for Mixing
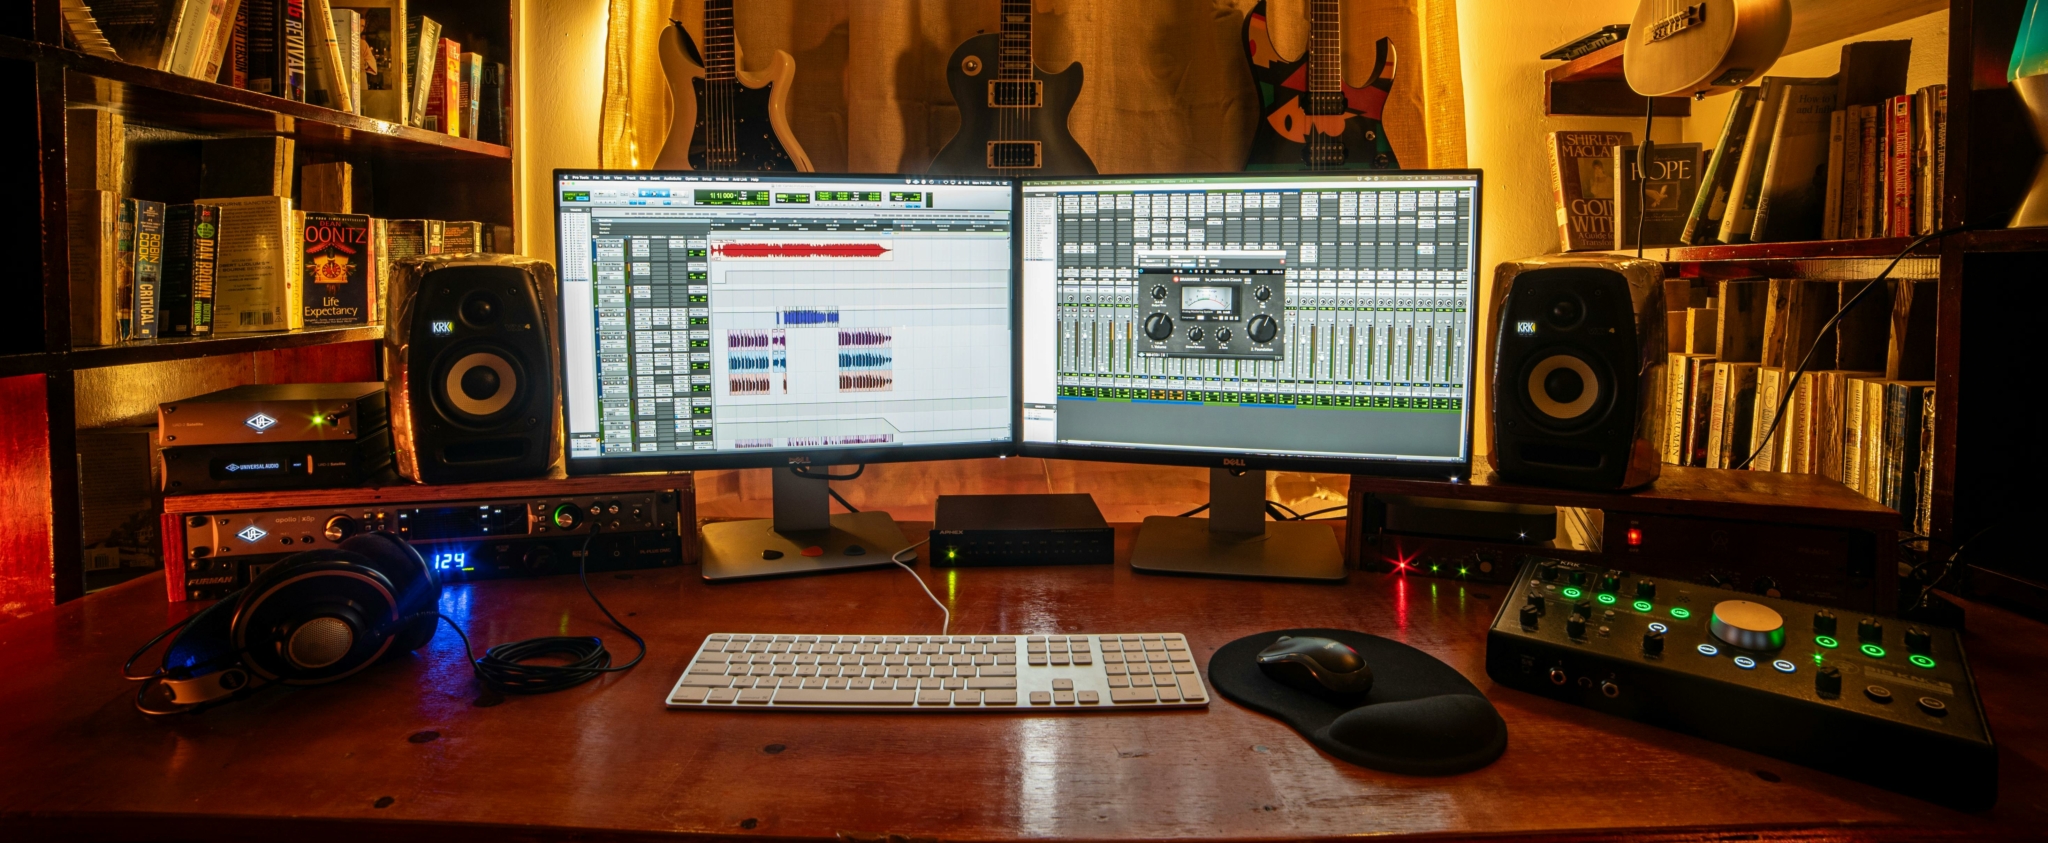
Modern music production offers an array of tools to help with mixing, and you don’t need a top-tier professional studio to begin learning. The most basic requirements are a computer, a Digital Audio Workstation (DAW), some monitoring equipment, and essential plugins or outboard gear.
DAW (Digital Audio Workstation)
The DAW is the software environment where you organize your tracks, apply effects, automate changes, and export the final mix. Popular DAWs include Logic Pro, Pro Tools, Ableton Live, FL Studio, and Reaper. Each has its own workflow and feature set, but all provide a timeline where you can layer and edit multiple audio tracks. They also supply a suite of stock plugins—EQs, compressors, delays, reverbs—that cover the fundamentals of mixing.
Mixing Console
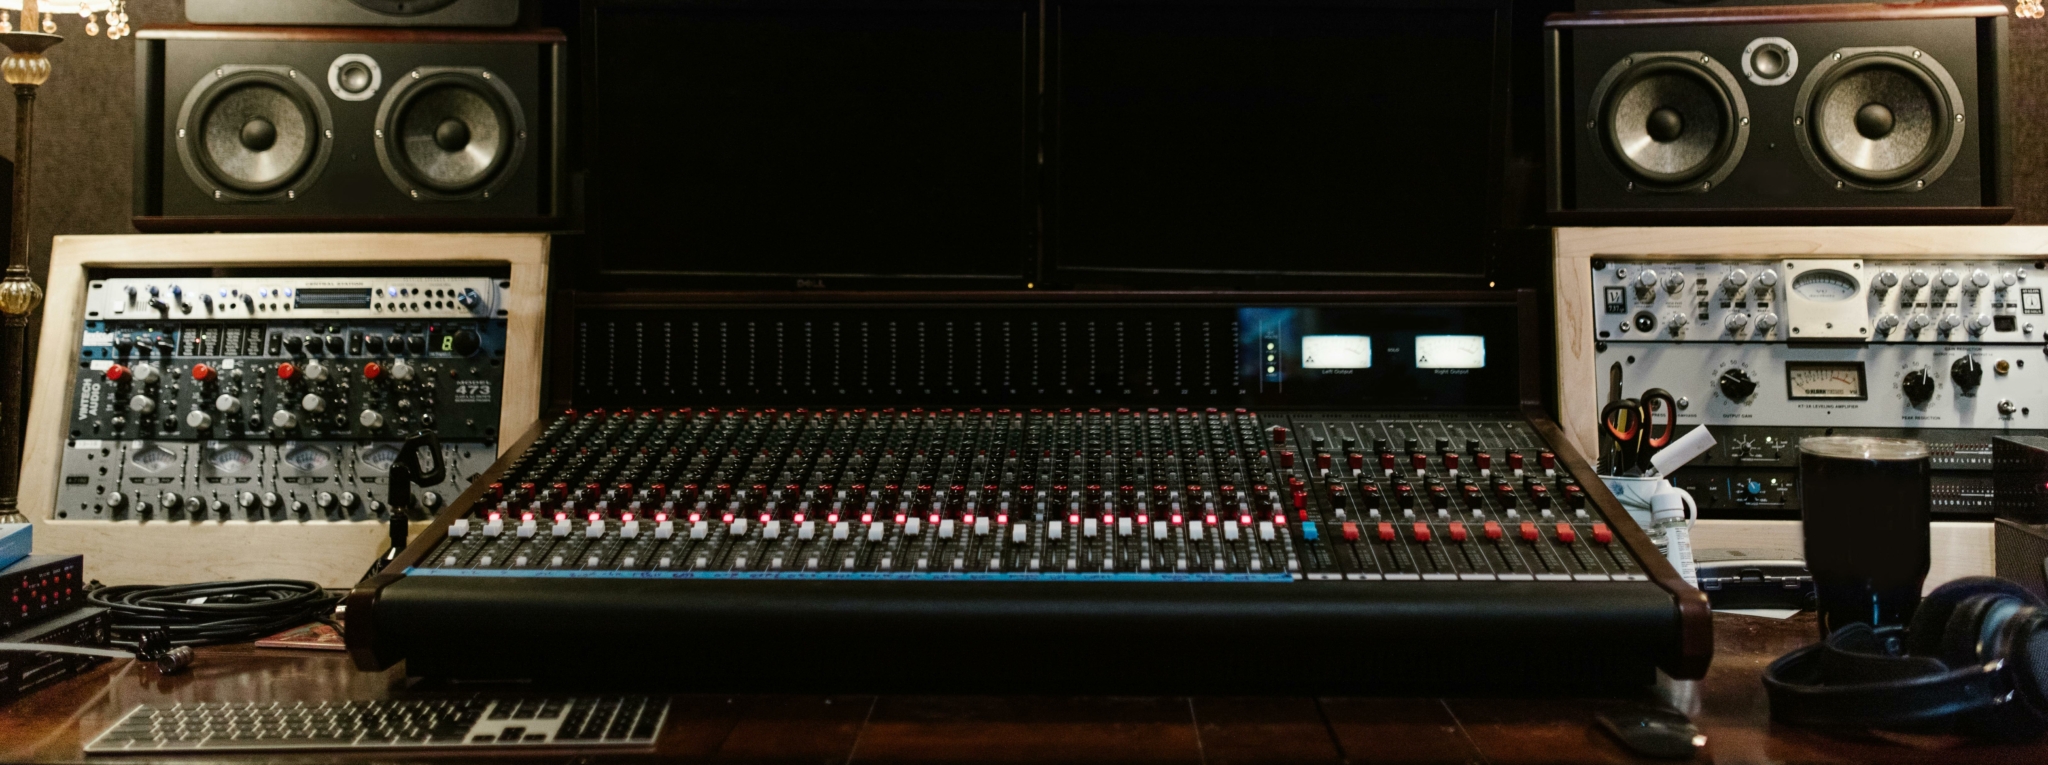
A mixing console is the hub of a studio or live sound environment, centrally managing audio signals. It features multiple channels for microphones, instruments, and effects, each with level, panning, and EQ controls. By adjusting gain, you preserve clarity and avoid distortion in every channel. This single workstation unifies all mix elements, simplifying organization. Many consoles also include built-in processing and flexible routing for external gear. The hands-on control fosters creativity and swift problem-solving. Whether you choose an analog desk or a digital control surface, a mixing console remains essential for achieving professional, polished audio in any production.
Audio Interface
An audio interface is the hardware device that converts analog audio signals (like from a microphone) to digital signals (for recording) and then back to analog (for playback). If you’re only mixing pre-recorded tracks and using your computer’s built-in sound card, you could proceed without a dedicated interface. However, a decent interface provides more accurate conversion and more reliable connectivity to studio monitors. This helps maintain consistent, high-quality playback essential for detailed mix decisions.
Monitoring Equipment
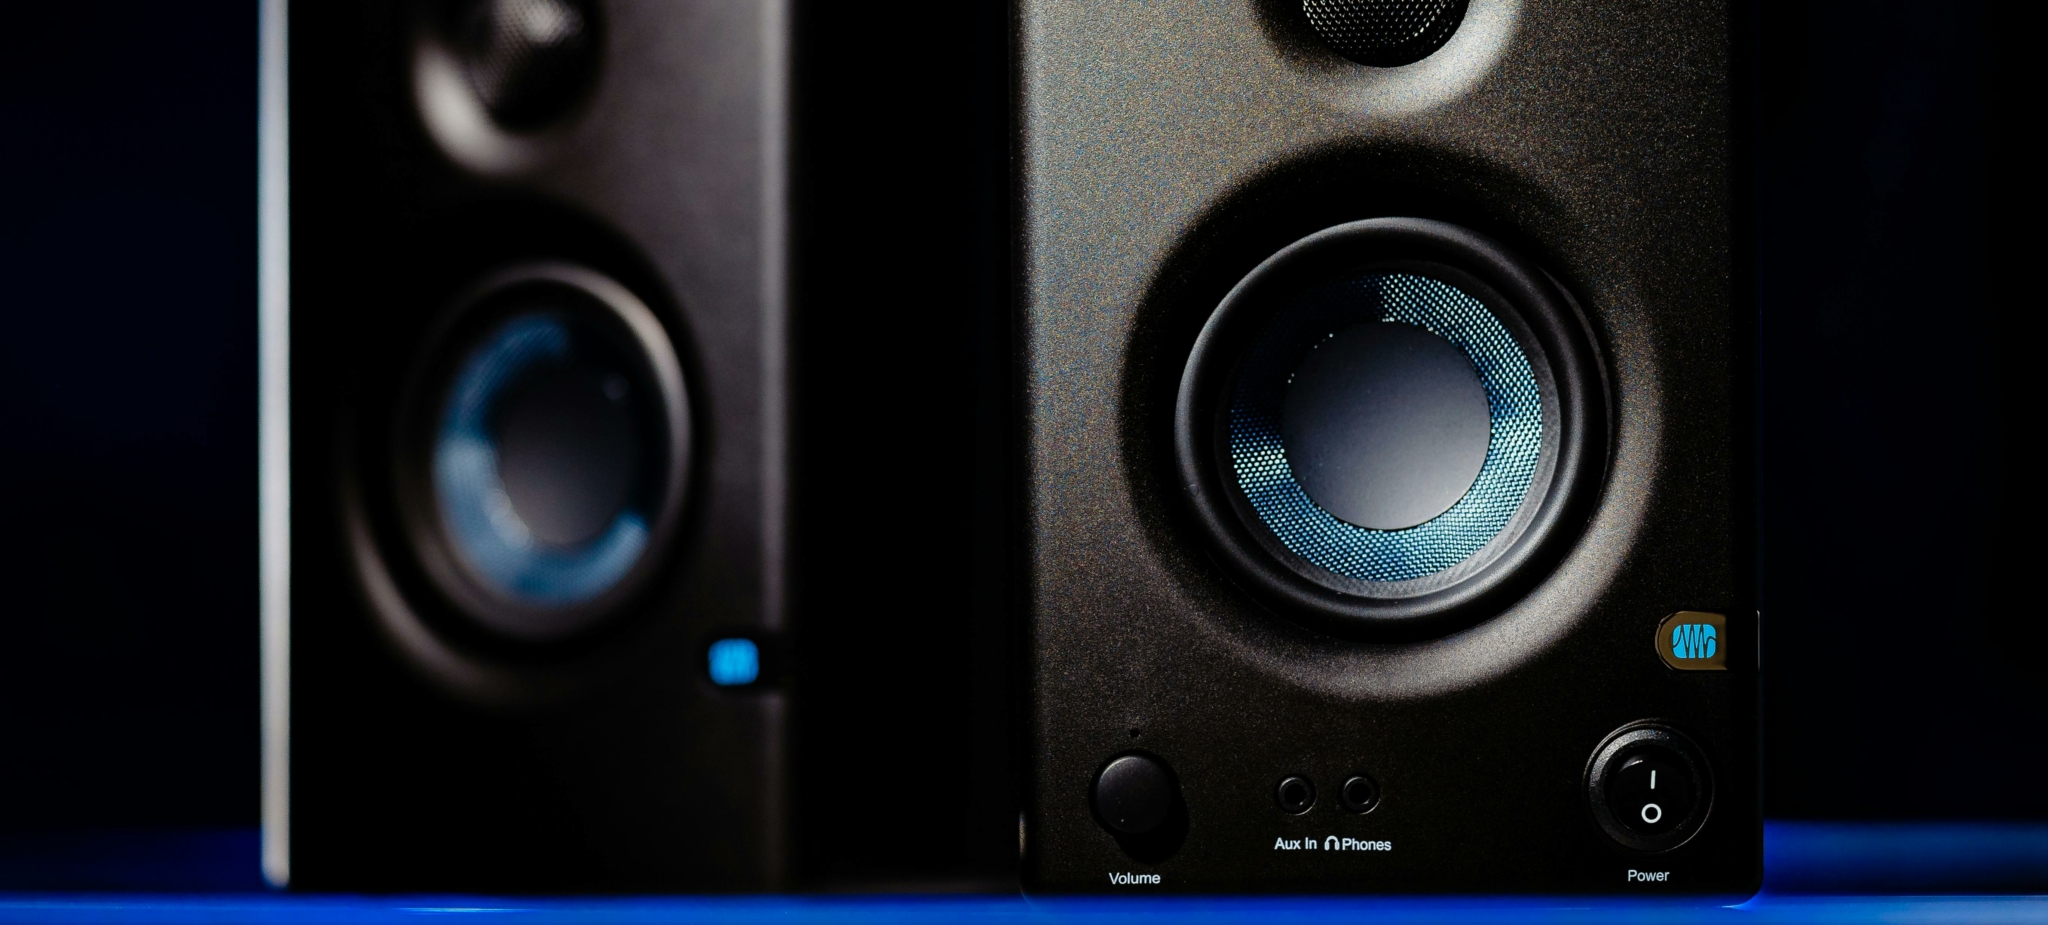
You can’t mix what you can’t accurately hear. Studio monitor speakers (nearfields) are designed for a relatively flat response, meaning they do not hype or color certain frequencies as consumer speakers might. This helps you judge the true balance of your mix. Many mixers also use studio headphones for detailed work, especially when room acoustics are poor. A good practice is to alternate between monitors and headphones to catch different issues. Even professional studios frequently cross-check on multiple monitor setups, from full-range mains to small reference speakers.
Plugins and Outboard Gear
Whether you rely on in-the-box plugins or external hardware processors, you’ll use similar categories of tools:
- EQ (Equalizer): Shapes frequency content.
- Compressor and Limiter: Manages dynamics.
- Reverb and Delay: Provides spatial effects.
- Saturation and Distortion: Adds harmonic richness or character.
- Modulation effects (Chorus, Flanger, Phaser): Offers creative textures.
Stock plugins in most DAWs are surprisingly powerful. As you grow comfortable and want more distinctive tones, you can explore third-party plugins modeled after classic hardware or offering modern specialized functions. Outboard gear—like analog compressors or EQ units—can impart distinctive coloration that some engineers prefer. Still, one can achieve professional results entirely in software, particularly with skillful use of the core tools.
Computer and Performance Needs
Mixing can become CPU-intensive, especially if you use many simultaneous plugins or virtual instruments. A computer with a fast processor, ample RAM, and sufficient storage will help avoid crashes or latency. You might also benefit from freezing or bouncing certain tracks to audio to reduce strain on the system. Ultimately, it’s possible to mix efficiently even on a modest setup if you optimize your workflow and avoid unnecessary plugin usage.
Common Mixing Mistakes
Even experienced engineers can stumble into pitfalls during a mix. Recognizing typical mistakes can help you avoid them early on.
Not Leaving Headroom
If your combined tracks push the master close to 0 dBFS, you leave no room for any additional processing in mastering. More dangerously, your mix can clip if any unexpected transient pushes past 0 dBFS. Gain-stage carefully so that the loudest peaks are well below the digital ceiling, typically aiming for around -6 dBFS.
Overuse of Reverb
While reverb adds depth and ambience, too much can blur transients, create muddiness, and reduce the clarity of critical elements like vocals and percussion. Work with reverb sends subtly. If you notice that turning off the reverb drastically improves clarity, it may be time to dial it down.
Frequency Masking
When two or more instruments occupy the same frequency range, they can mask each other, making it hard to distinguish the parts. A classic example is the kick drum and bass guitar in the low end. Solve this by carving out an EQ space for each instrument: let the kick drum have a dominant sub-bass region while the bass guitar emphasizes mid-bass, or vice versa. Similarly, give a lead vocal space in the midrange by reducing overlapping frequencies in guitars or keyboards.
Poor Gain Staging
If you record or import tracks at extremely high or low levels, you’ll strain your mix faders and possibly clip plugins. Keep signals near the sweet spot of around -18 dBFS average, which mimics the headroom of analog gear and avoids digital clipping. Make sure each plugin’s output is around the same level as its input to keep your gain structure consistent throughout the chain.
Excessive Soloing
Soloing a track helps identify problems or fine-tune a tone, but spending too long mixing in solo can cause you to lose context. An instrument may sound excellent in isolation but clash or vanish in the full mix. Keep checking how each edit affects the overall balance.
Mixing Too Loud
Monitoring at excessively high volumes may feel exciting, but it can lead to ear fatigue and skew your perspective of bass and treble. Our ears respond differently at high volumes, and we might inadvertently apply too much EQ or push certain instruments too far. A safer approach is to mix at moderate levels most of the time. Briefly check loud levels only to verify energy and low-end punch.

Phase Issues
Multiple microphones on the same source (e.g., drum overheads plus close mics) or certain stereo effects can introduce phase cancellation. This makes instruments sound thin or hollow when summed to mono. Use a phase (polarity) invert button or time-align tracks to reduce unwanted cancellations, and always do a quick check in mono to ensure vital elements remain present.
Not Checking Multiple Systems or References
Some mixers forget to test their mix in different listening environments or compare it to a reliable reference track. This can result in surprises once the mix leaves the studio, like a sub-heavy track that booms uncontrollably in the club, or a vocal that becomes obscured on earbuds. Always cross-check your work.
Conclusion
We hope this article has helped you understand what is mixing: is a meticulous and creative process that transforms raw recordings into a polished, emotionally gripping piece of music. By balancing frequencies, managing dynamics, placing sounds in the stereo field, and adding the right amount of ambience, a skilled mix engineer brings forth the full impact of a song. While mixing and mastering are distinct stages, they support each other: a well-balanced mix is easier to master, and a thoughtful master further refines an already strong mix.
Whether you’re mixing in a modest bedroom setup or a world-class studio, the essentials remain the same. Organize your tracks, start with balanced levels, employ EQ and compression for clarity and punch, then apply effects and automation for depth and movement. Always maintain headroom, monitor in multiple environments, and remain vigilant for common pitfalls like muddiness, phase issues, or overuse of reverb.
By understanding how to properly use the tools, respecting the value of headroom and proper gain staging, and treating each track’s role in service of the music’s bigger picture, you can sculpt engaging, professional-sounding mixes in nearly any environment. Embrace the iterative nature of learning to mix: every challenge is an opportunity to sharpen your ear and refine your process. Soon enough, you’ll find that your mixes are not only meeting technical standards—they’re also amplifying the heart and soul of the music itself.
About the Author

Dídac
CEO & Founder of MasteringBOXDídac is a professional audio engineer, music producer and software engineer. He is the founder of MasteringBOX and the author of many of the articles on the blog.
Comments
Tq Didac🙏
Leave a comment
Log in to comment
