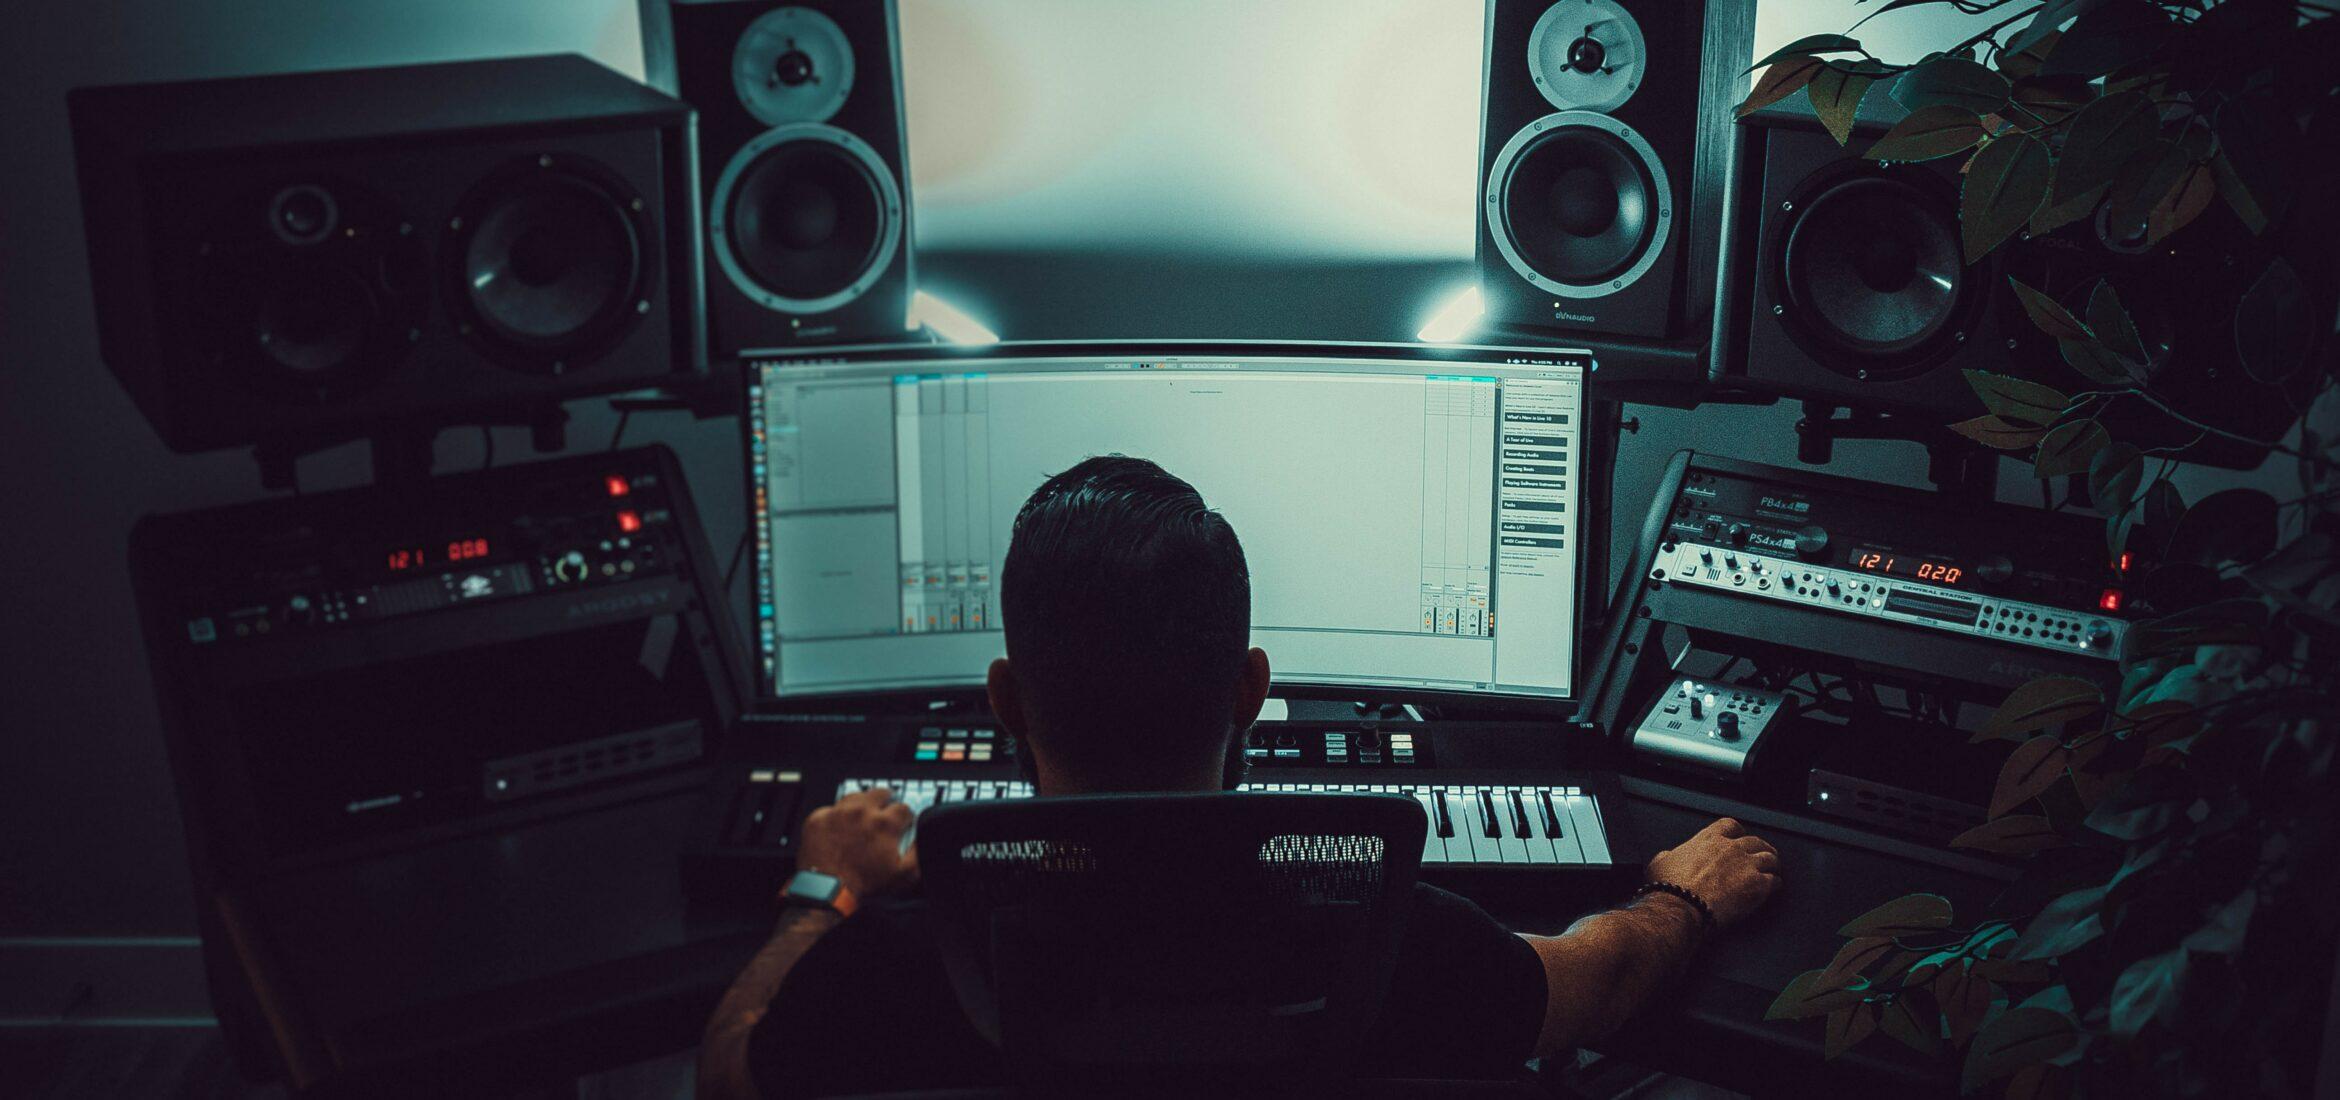
Mixing and mastering are two distinct stages of music production, each crucial for achieving professional sound quality. Many newcomers conflate these processes, but understanding their differences is essential. In this comprehensive guide, we’ll explore what mixing and mastering are, detail their processes step-by-step, compare them side-by-side, discuss time requirements, share best practices (do’s and don’ts), suggest useful tools, and conclude with why mastering the distinction between mixing and mastering truly matters.
What is Mastering?
Mastering is the final step of audio production. After all tracks have been recorded and blended into a stereo mix, the mastering engineer ensures that this final file is ready for distribution. The main objective is to adjust the overall tonal balance, loudness, clarity, and consistency of a track. Mastering adds subtle polish, helps the track translate across various playback systems, adheres to distribution standards, and serves as a final quality check. Even the best mix can lose impact if poorly mastered.
Why Mastering Matters
During mastering, the track receives a unifying “sheen” that can make it competitive with commercial releases. Ensuring consistency in overall tonal balance across an EP or album is also important, so each track feels like part of a cohesive project. Another critical component is quality control: minor issues that may have been missed in mixing are often identified and corrected. While mastering should enhance the mix, it is not a radical transformation; if a mix is heavily flawed, returning to the mixing phase is usually more effective than applying extreme corrective measures in mastering.

Key point: Mastering is not just making a track louder; it’s a nuanced process of fine-tuning a finished mix so that it sounds its best everywhere. A good master will make a great mix shine by achieving balanced frequency response, controlled dynamics, and appropriate loudness without unwanted distortion or coloration.
Mastering Process Overview
Mastering ensures that a final stereo mix is polished, consistent, and optimized for distribution. Below is a streamlined summary of the typical mastering workflow:
1. Preparation & Critical Listening
Start with a mix that has enough headroom (approximately -6 dB of peak) and no clipping. Listen to the song on various systems—studio monitors, headphones, even car speakers—and compare it with reference tracks in the same genre. Identify any issues that need addressing at the mastering stage or in the mix itself.
2. EQ (Equalization) Adjustments
Make subtle EQ changes to correct tonal imbalances, typically with linear-phase EQ for transparency. Focus on small, precise boosts or cuts to gently shape the overall frequency balance. Regular A/B comparisons help confirm that each adjustment improves the sound.
3. Dynamic Range Compression
Apply gentle compression to “glue” the mix together and tame peaks. Multiband compressors allow frequency-specific control, but keeping the ratio and gain reduction low prevents squashing the track. Proper attack and release settings preserve punch and avoid pumping.
4. Stereo Imaging & Enhancement (Optional)
Use mid/side processing or stereo imaging plugins cautiously. Keep low frequencies in mono to avoid phase issues, and apply subtle widening or saturation for warmth if it complements the musical style. Always check that enhancements do not introduce unwanted artifacts.
5. Limiting (Loudness Maximization)
Place a limiter last in the chain to raise the track’s overall level without clipping. Aim for a moderate amount of gain reduction, ensuring the master retains clarity and dynamics. Set the ceiling slightly below 0 dBFS (e.g., -0.3 dB) to avoid inter-sample peaks, and monitor loudness (LUFS, True Peak) to meet distribution targets.
6. Quality Checks & Final Touches
Reevaluate the master by listening critically and using metering tools. Smooth out any noisy intros or endings, check fades, and verify consistent stereo image and phase. For albums, sequence songs and adjust gaps so the entire project feels cohesive.
7. Dithering & Export
When reducing bit depth (e.g., from 24-bit to 16-bit), apply dither as the very last process to prevent artifacts. Export in the required format (often 16-bit/44.1 kHz for CDs, or higher resolutions for digital release) and perform one final quality check on each file.
What is Mixing?
Mixing is the stage where individual recorded tracks (vocals, drums, guitars, synths, etc.) are combined into a coherent whole. Each element’s volume, panning, and tonal characteristics are adjusted to create a clear, engaging balance. The goal of mixing is to ensure that no part masks another, and that the song’s emotional intent is communicated effectively.
Why Mixing Matters
Mixing shapes the listener’s experience by defining the blend of all elements. A well-balanced mix makes space for the vocal and primary instruments, while secondary parts are placed to add depth and interest without overshadowing the main focal points. The way instruments interact is crucial: if the low-end is muddy or the vocals are buried, even skilled mastering will not restore clarity. Mixing also allows for creative choices regarding ambience, effects, and automation, which drive the song’s dynamics and impact.

Mixing Process Overview
Starting with session preparation and logical track organization, you’ll ensure everything is clean and clearly labeled. Next, rough balancing and panning help establish an initial hierarchy and stereo field. EQ and dynamic processing refine each element’s character and stability. Adding effects like reverb and delay brings dimension, while automation creates dynamic movement. Finally, referencing against commercial tracks exposes any lingering issues, and exporting at the correct levels prepares your mix for mastering. Each stage is crucial for translating your creative vision into a polished final product.
1. Session Preparation
Label tracks and group them logically (e.g., drums, guitars, vocals). Trim unwanted noise and ensure proper gain staging by keeping peaks well below 0 dBFS, often around -12 to -18 dBFS. Check for phase alignment on multi-miked sources and use meters or a goniometer if needed.
2. Rough Balancing and Panning
Bring tracks in one by one, focusing first on rhythm sections (drums/bass). Adjust volume levels until no element is overpowering. Pan instruments for stereo width, with central placement for key elements (vocals, bass). Monitor at moderate volumes and periodically check in mono to catch phase or balance issues.
3. EQ and Frequency Management
Use subtractive EQ to remove unwanted frequencies, such as low-end rumble on instruments that don’t need deep bass. Apply additive EQ to enhance desirable tonal traits (e.g., adding brightness to a snare). Stay mindful of cumulative effects if many tracks are brightened.
4. Dynamic Control (Compression/Gating)
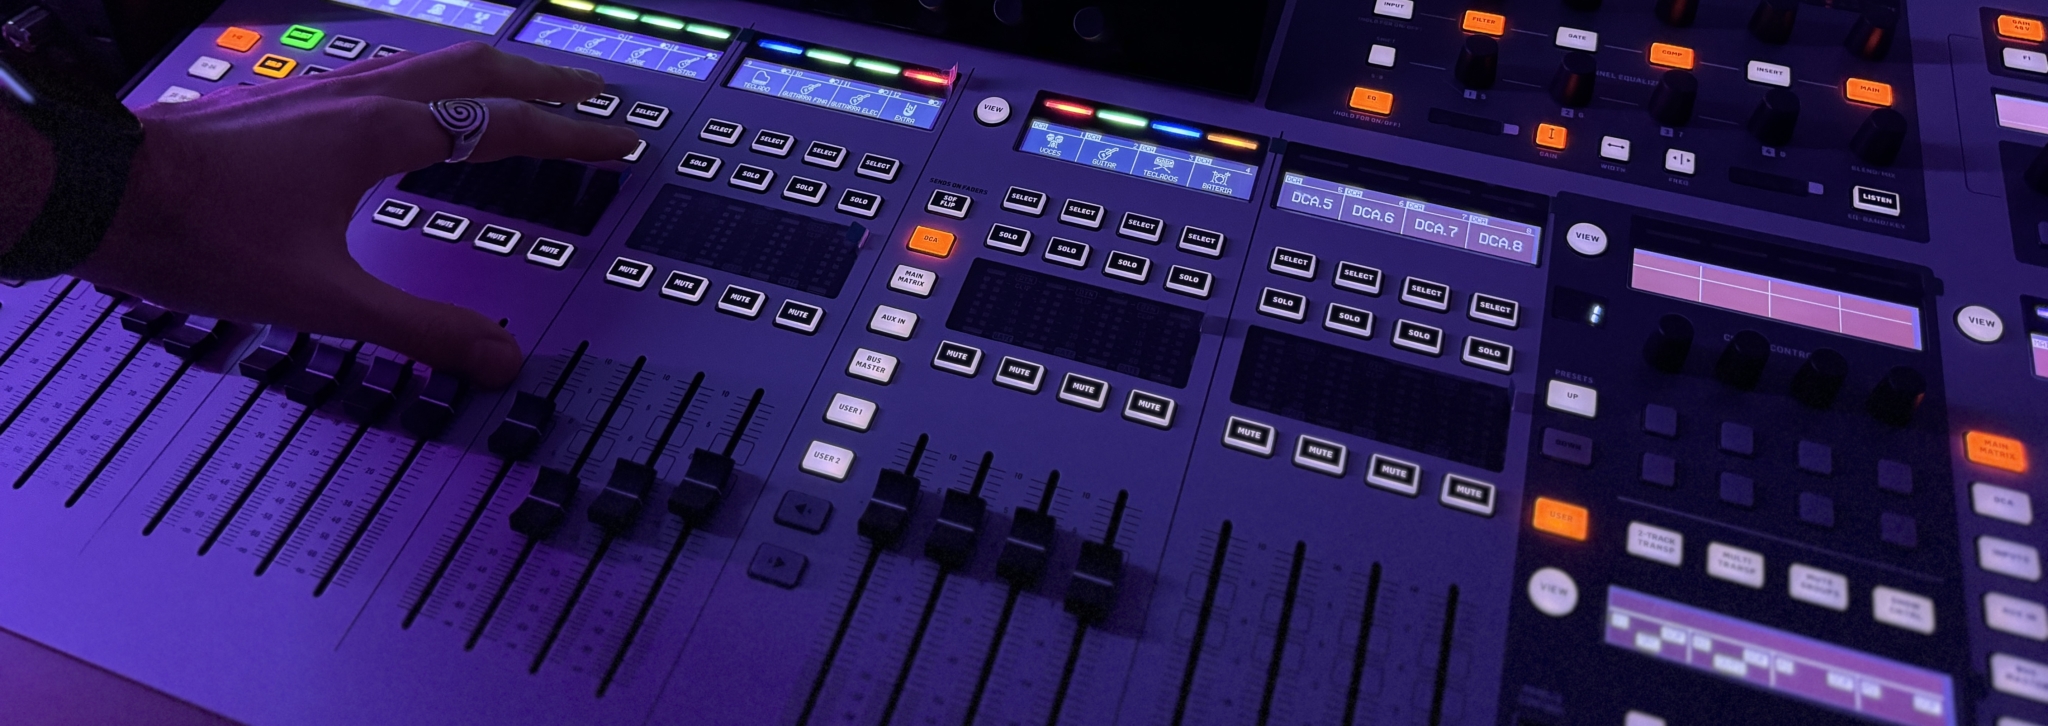
Add compression to even out vocals or add punch to drums. Set appropriate attack/release times so you don’t squash transients. Bus compression can glue groups (like all drum tracks) together. Gates can help reduce bleed in drum mics, but avoid over-compression to retain natural dynamics.
5. Adding Effects (Depth and Space)
Incorporate reverb and delay via send channels. Use short reverbs for tight ambiances, longer ones for dreamy textures. Delay can add rhythmic interest without flooding the mix. Watch for reverb buildup and EQ out unnecessary low frequencies in effects returns.
6. Automation and Final Detailing
Automate volume, panning, and effects to maintain interest and clarity. Perform strategic boosts for solos or filter sweeps for transitions. Balance the overall mix so no instrument becomes lost or overpowering in different song sections.
7. Reference and Adjust
Compare your mix to commercial tracks at matched loudness levels. Check how your mix translates on various speakers or headphones. Make incremental tweaks to address any frequency or balance inconsistencies discovered during referencing.
8. Finalize and Export (Premaster)
Remove heavy limiting and keep peak levels around -6 dBFS, or whatever the mastering engineer requests. Export at high quality (24-bit or 32-bit float). Listen to the exported file to ensure there are no glitches. Include any helpful notes for the mastering stage, then proceed or hand off the track.
Key Differences Between Mixing and Mastering
Mixing and mastering share the ultimate goal of refining a song, but they take place at different moments in the production process and involve distinct approaches. Mixing deals with all individual tracks, carefully adjusting volume, panning, and effects so that everything sounds cohesive. Mastering, which occurs after mixing, focuses on the finished stereo mix and aims to enhance overall tone, loudness, and consistency for distribution.
Stage in Production
Mixing happens once recording and production are complete. The engineer works with multiple tracks—vocals, instruments, and other elements—to blend them into a single mix. Mastering follows this step and serves as the final stage of production. At this point, the stereo mix (or sometimes a small set of submix stems) is processed to ensure readiness for release.
Input Material
In the mixing stage, dozens of individual tracks—drums, bass, guitars, vocals, and more—must be balanced against each other. By contrast, mastering usually deals with a single stereo file, rather than isolating each instrument. The mastering engineer performs macro-level adjustments to the track as a whole rather than editing individual parts.
Scope and Focus
Mixing is micro-oriented, concentrating on each track’s EQ, dynamics, and effects. The objective is to prevent instruments from clashing and to highlight crucial parts of the music. Mastering is macro-oriented, focusing on overall tonal balance, loudness, and sonic cohesion. Rather than diving into track-specific details, the mastering engineer shapes the global character of the final mix.
Primary Goals
Mixing strives to achieve an internal balance, ensuring clarity and emotional impact within the song. Every element should occupy a distinct space, and no single instrument should overwhelm another. Mastering, on the other hand, aims to produce a polished master that sounds consistent in any listening environment. It must also meet loudness standards and technical specifications (like file format), so the music translates well across platforms.
Typical Processes
During mixing, level balancing and panning are refined, EQ and compression are applied on each track, and effects such as reverb or delay are added. Automation may further enhance the song’s dynamic and flow. Mastering, however, centers on processing the entire stereo mix with tools like broad EQ, multiband compression, limiting, or stereo enhancement. These steps finalize the sound without reworking the original balance already established in the mix.
Involvement of Artist or Producer
Artists and producers are generally deeply involved in mixing, since it captures the artistic vision—determining, for example, how prominent the vocals should be or whether the guitars should sound aggressive or laid-back. Mastering often involves less direct input from the artist, although they may still provide references or feedback on overall loudness and tonal preferences.

Tools and Equipment
A multitrack DAW is integral to mixing, along with plugins for EQ, compression, saturation, and more. Hardware analog consoles and outboard gear can also play a role. By comparison, mastering typically relies on specialized software or hardware for high-grade EQ, dynamics processing, and loudness control. Some engineers use comprehensive mastering suites (such as iZotope Ozone) or individual plugins designed specifically for transparent final processing.
Level of Detail
Mixing is extremely detailed and can involve precisely adjusting the tone or volume of a single instrument or vocal phrase. The engineer may make significant creative decisions about each element’s level and effects. Mastering is broader and less invasive, focusing on fine-tuning the entire track rather than altering individual parts. Subtle boosts, cuts, or harmonic enhancements are applied to keep the overall feel intact.
Output
A completed mix (the premaster) is typically provided as a high-resolution stereo file—often 24-bit WAV or AIFF—that still needs mastering. The output of mastering is the final master, ready for distribution in the appropriate format, complete with correct loudness, metadata, and any necessary fades.
Time Requirements and Workflow Efficiency
Time requirements vary, depending on complexity and experience. Beginners can spend days mixing a single track, experimenting with EQ settings or compression techniques. Professionals, or those familiar with a specific genre, might complete a standard mix in hours. Mastering sessions are typically shorter, especially for single tracks, but may extend across a day or two for entire albums. Complex tasks like matching overall loudness and tonal balance across multiple songs often require additional time and care. Regardless of speed, quality ultimately depends on the engineer’s skill, monitoring environment, and ability to make purposeful decisions.
Conclusion
Mixing and mastering are essential stages for transforming raw multitrack recordings into polished music that resonates with listeners. Mixing shapes each track’s position, character, and dynamics, allowing the creative vision to shine through. Once a high-quality mix is achieved, mastering applies subtle refinements and unifies the overall sonic profile.
Although the two stages differ in focus—mixing addresses individual elements, mastering adjusts the final stereo file—both are integral to a professional result. By understanding the purpose and best practices of each, producers and artists can optimize their workflow, handle each stage more efficiently, and present music that stands confidently alongside commercial releases.
About the Author

Tim Dunphy
Audio Engineer and Specialized Content WriterOver 10 years experience working in the audio business. Everything from coiling up XLRs to mastering albums. I'm a self-made man and I keep my assets in Bitcoin. What more is there to know!?
Comments
I love your lecture it’s wonderful. Can you mix and master a song for one online?
Very helpful thank you.
Se agradecería una traducción al español si no fuera mucho problema
Gracias
Thank you HelpToMast. I’m glad that this was of help to you! :)
Appears to be a fine lecture.
Thanks, Sinred! I’m glad this was helpful to you.
Muy buen articulo,exeléntemente explicado, Gracias!!
Dear Mr TIM
do you recommend any high quality of plugins for symphony classical and New age music,
Best regards
My pleasure, I’m glad this article has been helpful!
Thank you for the knowledge.. Is appreciated enormously… Thank u.. Thank u.
Absolutely! Having a fresh pair of ears and a brand new perspective can be invaluable. Thank you for your kind words.
Great article! I think way too many people master their own tracks and don’t really understand that it’s ok to make your mix as finished as possible and the benefit of sending it to someone else is for that alternate perspective.
Leave a comment
Log in to comment


