Mixing and mastering represent two distinctly different disciplines. Even pro music creators and producers often send their mixed tracks to a mastering engineer for the final touch of wizardry, preparing the music properly for mass production and distribution. In short, mastering plays an important role in getting your mix ready for the desired medium. You can achieve different mastering for vinyl, CD, DVD, radio, TV, or master for streaming platforms while preserving the original sound.
In this article, we’ll go through what is mixing and the essential steps for mixing with mastering in mind in your digital audio workstation (DAW) to ensure it’s in good shape for the final cut. Do it right and you’ll avoid costly mastering mistakes.
Organize your Mix & Master Bus
Organization is key. When you enter that creative zone and work on the fly, you can quickly create a haphazard mess and lose yourself in a labyrinth of tracks and channels filled with a plethora of effects plugins, particularly when mixing while recording. Systematically label the tracks and group them into sections such as drums, guitar, bass, keys, and vocals. This way, you can easily identify and edit individual instruments as well as any effects plugins they pass through.
Each track or instrument channel in your mix must pass through a mix bus and then a master bus in your DAW. You can send as many channels as you like through a single bus to combine them into one output signal.
A good practice when mixing with mastering in mind is to route instruments such as drums, guitars, bass, keys, and vocal channels through designated buses. These buses (5 in this case) act as your ‘mix bus’ or ‘sub-mix buses’. After grouping similar sounding instruments, you can easily adjust their levels on the designated buses to enhance the overall sound of your mix.
Ultimately, all of those signals in the mix bus feed into a 2-track ‘master bus’, which is the combined signal you hear through your headphones or speakers.

Gain Stage your Tracks
Gain staging involves setting the volume levels of individual tracks low enough to prevent clipping or distortion when summing them together in the mix bus or master bus. Keeping the overall decibel levels of the mix well under 0dB provides the mastering engineer with headroom to work with and helps avoid clipping or distortion. To achieve this, set the decibel level range for individual tracks much lower, somewhere between -10dB and -18dB. Ultimately, aim for decibel levels in the master track to be -3dB or lower.
Including more tracks and plugins in your mix increases the likelihood of encountering distortion. Gain stage each track and plugin as you add them, because identifying troublesome tracks later can be challenging. If your mix becomes too quiet to hear, avoid using the master fader in your DAW to turn up the volume. Instead, adjust the knob on your speakers, headphones, or audio interface.
Add Silence
Leave silence at the beginning and end of the mix. Start your mix on bar 2 or 3 so that the first bar or two is completely silent. Do the same at the end of the mix. This gives you room to play with if you have to fix anything in the mix. You also leave room for the mastering engineer to fade tracks in and out. It’s important to be creative in the use of silence when mixing.
Fix Clicks and Pops
Listen to the entire mix on a good quality sound system to hear and fix recordings with clicks and pops. These sounds mostly occur on vocal tracks. If your mix bus is well organized, you can easily identify suspect tracks by isolating them in solo mode.
Check EQ and Compressors

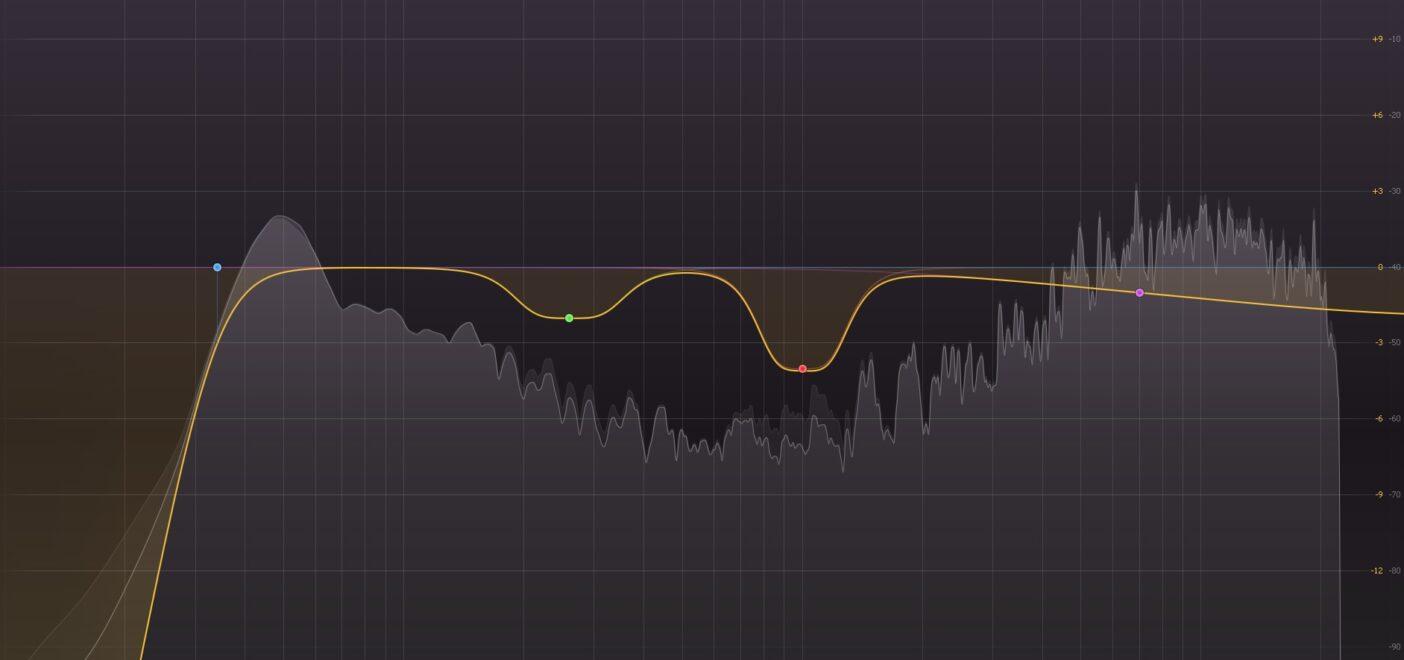
Using your digital mixer check any compressor and EQ plugins that you have used on tracks or on your stereo bus. A common audio mixing myth is to always EQ before compression, but it’s best to deactivate compressors on the master bus to give the mastering engineer more headroom for maneuvering. With EQ plugins, assess whether you should keep them on or turn them off.
For instance, when mixing vocals to an instrumental track you don’t want to adjust the instrumental’s EQ profile too much, you might instead want to use a transient designer plugin. This is a personal choice as you may want to preserve a specific sound that you’ve created with your EQ settings and if they don’t significantly impact the dB levels of the overall mix, you can leave them on.
Turn off Limiters
Audio limiters are one of the main tools used in the mastering process. Music creators often use limiter plugins when mixing with mastering in mind so they can hear how the song will sound after mastering. All good but just make sure you turn off any limiters before you finalize your mix for mastering. Otherwise, your song could be put out of whack when the mastering engineer adds more limiters and compression.
Give your Mastering Engineer a Reference
Mastering can often create various outcomes depending on the mastering styles, so it is recommended to send an example of music that you like the sound of to your mastering engineer so they have a reference. It’s also worth creating two versions of your mix; one with and one without EQ, limiters, and compressors on your bus so the mastering engineer can hear the sound you want but also has a clean version to work with
It’s also worth creating two versions of your mix: one with EQ, limiters, and compressors on your bus, and one without. This way, the mastering engineer can hear the sound you want while also having a clean version to work with.ion to work with.
Don’t Add Dithering
When you mix with mastering in mind, turn off dithering and leave these technical details to the mastering engineer. Audio dithering adds noise to prevent quantization errors when engineers process audio files to different playback formats.
Now Bounce your Mix for Mastering
Now you are ready for the final step: preparing your mix for export to a single file for your mastering engineer. This process is called ‘bouncing’ your mix. Mastering engineers prefer working with uncompressed audio files. The two most common uncompressed audio file types are Waveform Audio File Format (.wav) and Audio Interchange File Format (.aiff). Your DAW should provide these and other options. Avoid bouncing your mix in a ‘lossy’ format such as Mp3, which downgrades the quality of your mix before mastering.
Set the Sample Rate and Bit Depth

When you bounce your mix to .wav or .aiff, your DAW lets you select an audio sample rate and bit depth. The sample rate indicates how many samples your DAW captures per second, measured in kHz. The most common sample rate options include 96kHz, 44.1kHz, and 48 kHz. A higher sample rate produces higher audio file quality, but it also increases the file size.
Typically, you should bounce at the sample rate of your project. Avoid increasing it, as this may alter the sound and compromise the quality of your exported file.
The most common bit depth resolutions are 16-bit (fixed), 24-bit (fixed), and 32-bit floating-point. Most mastering engineers work on files with a bit depth of 32-bit floating, in this case, it is always recommended to export at 32bit float even if your project is at a lesser bit depth.
And there you have it. I hope these guidelines help make mixing with mastering in mind a little clearer.
Leave a comment
Log in to comment


