Clipping in audio is a form of sound wave destruction that happens when audio levels exceed the system’s maximum capacity. When that happens, the wave’s peaks get cut off (or “clipped”). This produces distortion and a harsh, uncomfortable sound. Clipping can happen in both the analog and digital domains. In analog, it often occurs if the voltage exceeds the circuit’s capacity. In digital, it usually happens when the signal goes above 0 dBFS. The result is the same: waveforms lose their natural shape and become distorted.
Table of Contents
- What is Clipping in Audio?
- Why Does Clipping Occur?
- How to Identify Clipping in Audio
- Consequences of Clipping
- How to Avoid Clipping in Audio
- Recovering from Clipping
- Practical Tips and Best Practices
- Limiting and Its Role
- Conclusion
What is Clipping in Audio?
Clipping in audio is the process in which an audio signal finds itself forced to exceed its maximum allowable volume. The waveform’s peaks are flattened, resulting in a harsh form of distortion. This distortion can appear in two major types: hard clipping and soft clipping. Both are forms of wave-shaping. Both also change the audio’s harmonic structure.
Hard Clipping
Hard clipping provides the most audible breakdown of the signal. It’s common in digital domains. You exceed 0 dBFS, and the DAW truncates the waveform. This is easy to recognize by flat peaks. It can add an aggressive tone to rock guitars or industrial vocals. Usually, it’s a problem unless used for a deliberate effect.
Soft Clipping
Soft clipping acts more like a gentle limiter. As you approach the threshold, the wave starts to saturate. This can be pleasant in analog tape machines or tube preamps. It’s also used in plugins to emulate vintage gear. Many producers like to add soft clipping on a drum bus or master to get a warmer, fuller tone. It can tame transients while adding pleasing harmonics.
Why Does Clipping Occur?
Clipping is often the result of improper gain staging. Each step of the signal chain can introduce clipping if levels are too high. Overdriving preamps, pushing interface inputs too hard, or boosting plugin outputs can force audio beyond its ceiling.
Signal Chain and Gain Staging
When recording, audio flows from the source to a microphone, then through a preamp and interface into the DAW. Each stage must handle the signal without exceeding its maximum level. If one stage is too loud, the next stage can clip. Proper gain staging keeps your peaks below the distortion point. In digital systems, be mindful of 0 dBFS. In analog systems, avoid pushing voltage past the safe limit.
How to Identify Clipping in Audio
It’s helpful to spot clipping quickly so you can fix it. Once audio is clipped, restoring it is very difficult. Early detection helps you correct levels or re-record a part before it’s too late.
Audible Distortion
Clipped audio sounds brittle, harsh, or fuzzy. You might notice the music breaks up at loud moments. This is a sign that the peaks are being chopped. It is usually heard on vocals or drums, where transients are clear.
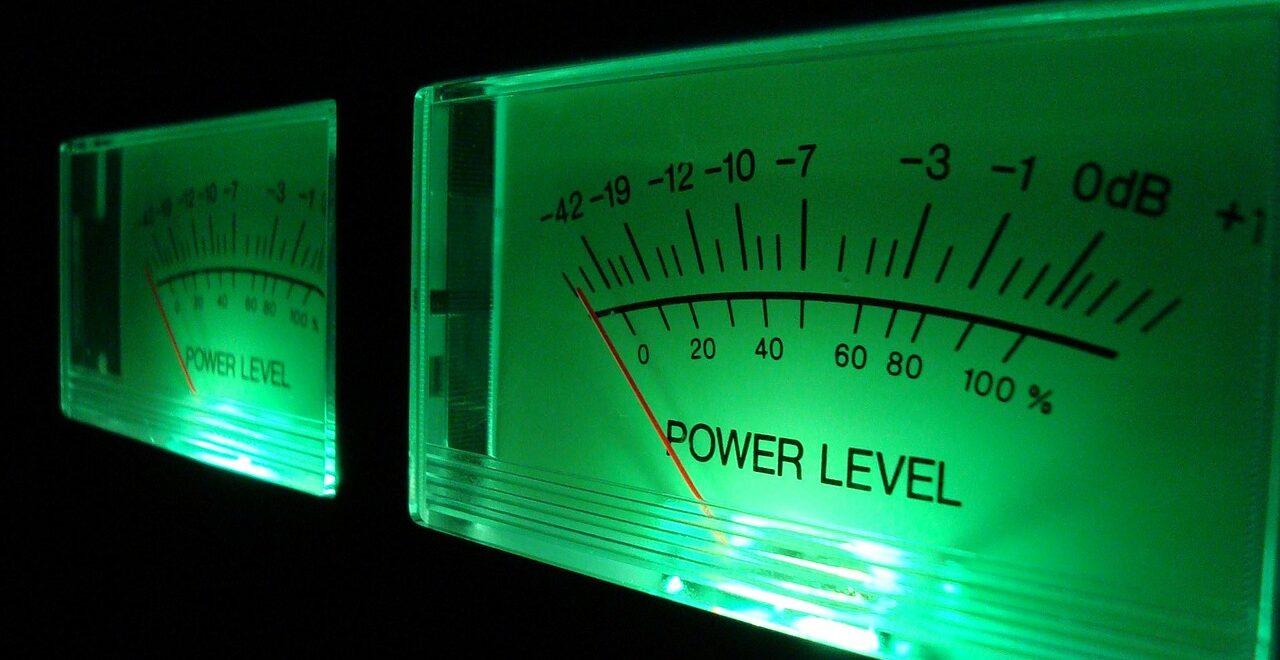
Meter Indications
Many interfaces or DAWs have a red light or peak indicator. If your meters max out and stay in the red, you are likely clipping. Most systems show a “clip” label or red bar for each instance of an overload. Reset these meters regularly and watch them during the loudest sections.
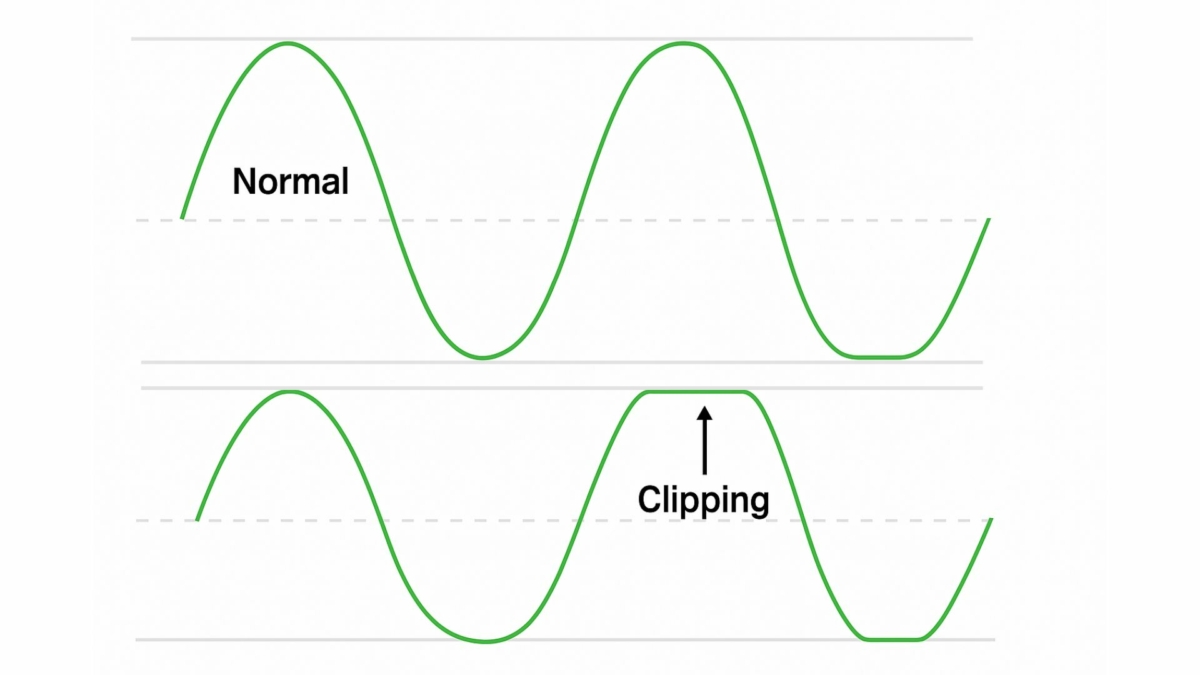
Flat-Topped Waveforms
In your DAW, zoom in on the waveform. If the peaks look chopped off with no natural rounding, that’s a clear sign of clipping. Instead of a curved peak, you see a straight horizontal line at the top. This indicates the signal exceeded the maximum level.
Consequences of Clipping
Clipping can be destructive and irrevocable. Those flattened peaks remove the natural dynamics. This distortion can ruin recordings and mixes, causing listener fatigue. It can also damage equipment in severe cases, such as overdriven speakers.
Impact on Audio Quality
When you lose the nuance of transients, the overall clarity suffers. The audio can feel gritty. Strident frequencies can become overwhelming.
In quieter sections, you may not notice a problem, but the moment the sound becomes loud, the clipped tone becomes obvious. Once clipped, the original signal can’t be fully recovered.
Equipment Damage
In some analog situations, overly hot signals can strain circuits or speakers. Although professional gear often has headroom, forcing the system too far may cause wear or damage. Avoid excessive volume levels and rely on safe margins during both recording and playback.
How to Avoid Clipping in Audio
Avoiding clipping starts with level management. Gain staging is the most crucial step. The next is mindful monitoring of meters and headroom. It’s always best to prevent clipping at the source.
Setting Proper Levels
During recording, aim for safe levels. In digital systems, many engineers aim for around -18 dBFS as an average. Peaks can go higher but stay away from 0 dBFS. This leaves room for unexpected spikes or dynamic performances.
Headroom
Headroom is the margin between the highest possible level and your recording level. Leaving some headroom makes your recording resilient to sudden loud moments. You don’t lose quality by recording a bit lower. Modern 24-bit depth allows plenty of range, so you won’t hurt the signal-to-noise ratio by staying conservative.
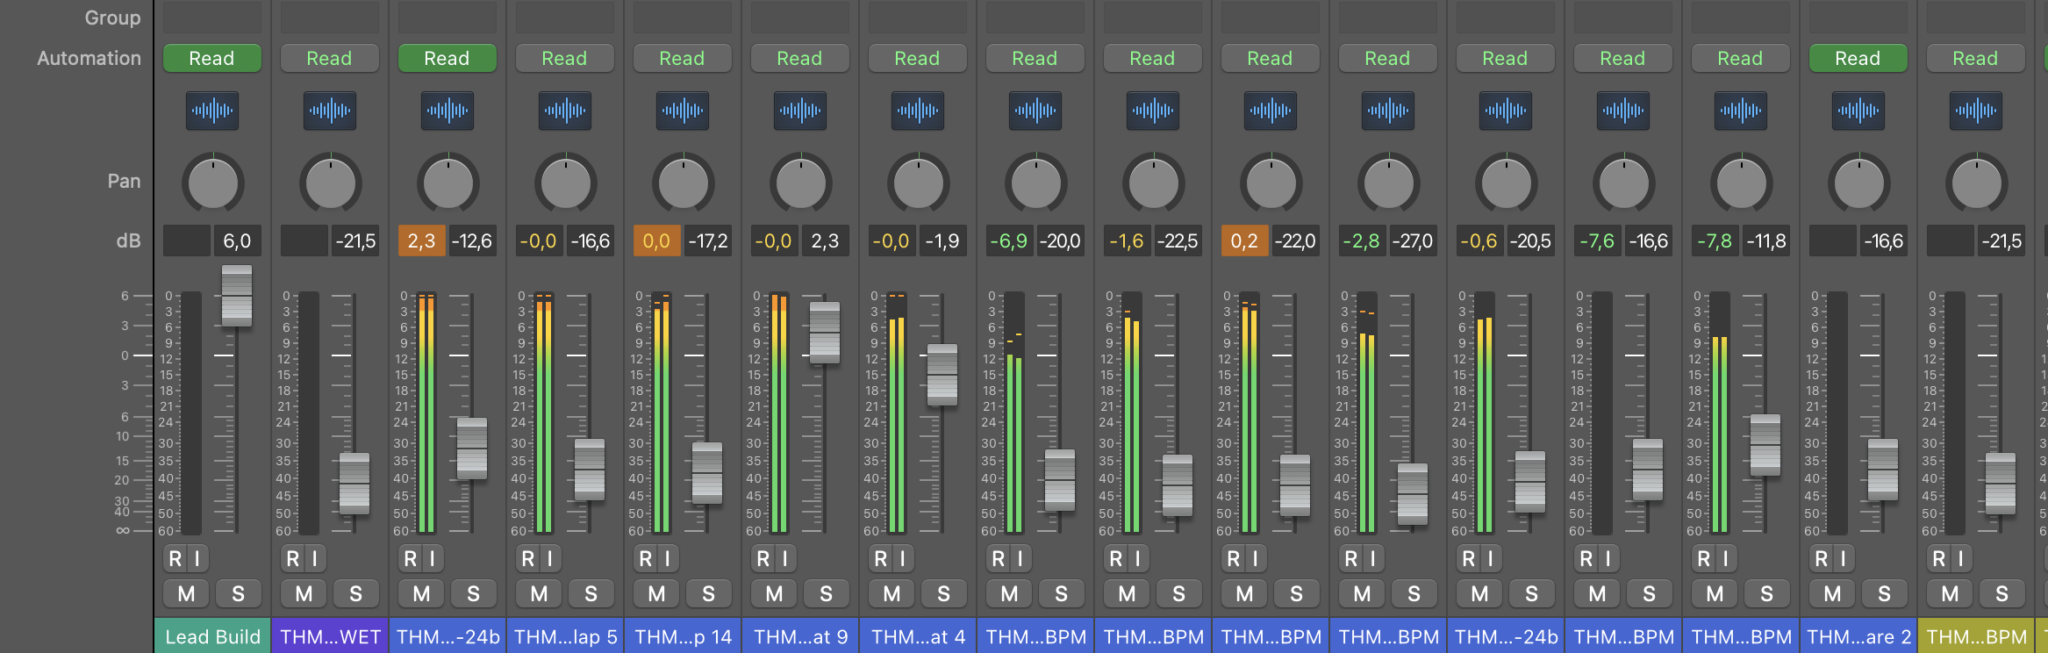
Metering
Always watch the meters in your interface and your DAW. Turn down gains if you see any clipping indicators. Also watch for output clipping on plugins. If an EQ or compressor boosts levels too high, that can cause internal clipping.
Limiting
Limiting is a voltage threshold management process. A limiter allows you to push the signal while preventing it from surpassing the set ceiling. This helps avoid clipping but can reduce dynamic range. Limiters can protect a master bus from occasional peaks. Use them sparingly, and don’t rely on them to fix bad gain staging. Being sensible with your LUFS metering will lead to appropriate usage of limiters.
Recovering from Clipping
Once audio has clipped, there is permanent distortion. However, there are a few steps to reduce the impact. These can help in emergency situations where re-recording is impossible.
Re-Recording
The best fix for clipped audio is to record a clean take. If you discover a track has clipped after the session, see if you can redo it. This is always preferable to trying to fix distorted audio later.
Restoration Plugins
If re-recording is not possible, you can try clip repair or de-clipping tools. These plugins attempt to reconstruct the missing peaks. They can improve mildly clipped audio. However, heavily clipped material may never sound perfect again. Use these tools as a last resort.
EQ and Masking
Some engineers soften the roughness of clipping by cutting with EQ in the area where distortion is most noticeable. A slight reduction in the problematic frequency can help. Adding mild saturation can help disguise the crackle. These approaches are only temporary fixes; they won’t remove the fundamental distortion, but they might make it less noticeable.
Practical Tips and Best Practices
Whether you’re recording, mixing, or mastering, these tips will help you stay free of unwanted clipping.
Recording Stage
- Keep peaks moderate: Aim for a comfortable level, not the loudest.
- Test loud sections: Do a test recording of the loudest passage. Check for peaks.
- Use a pad switch: Engage the microphone or preamp pad when recording loud sources like drums or guitar amps.
Mixing Stage
- Mind plugin outputs: When mixing with EQ or compression, be mindful of the output gain.
- Group bus levels: Check any group or bus faders. A chain of slight b oosts can add up.
- Leave margin for mastering: Don’t push the master bus to 0 dBFS. A few dB of margin keep the mix clean.
Mastering Stage
- Use limiters carefully: A limiter can tame peaks if used gently.
- Pay attention to loudness levels: modern loudness standards can tempt you to push levels too far. Keep track of your dynamic range.
- Check for overs: When mastering, watch true peak meters. Some encoders may cause inter-sample peaks that clip.
Limiting and Its Role
Limiting is not officially a form of clipping in audio, but it is still a type of threshold management. It prevents peaks from going above a certain level. This helps avoid both hard and soft clipping in many scenarios. It’s best used to create a clean, louder signal. But too much limiting can distort transients and reduce dynamic range.
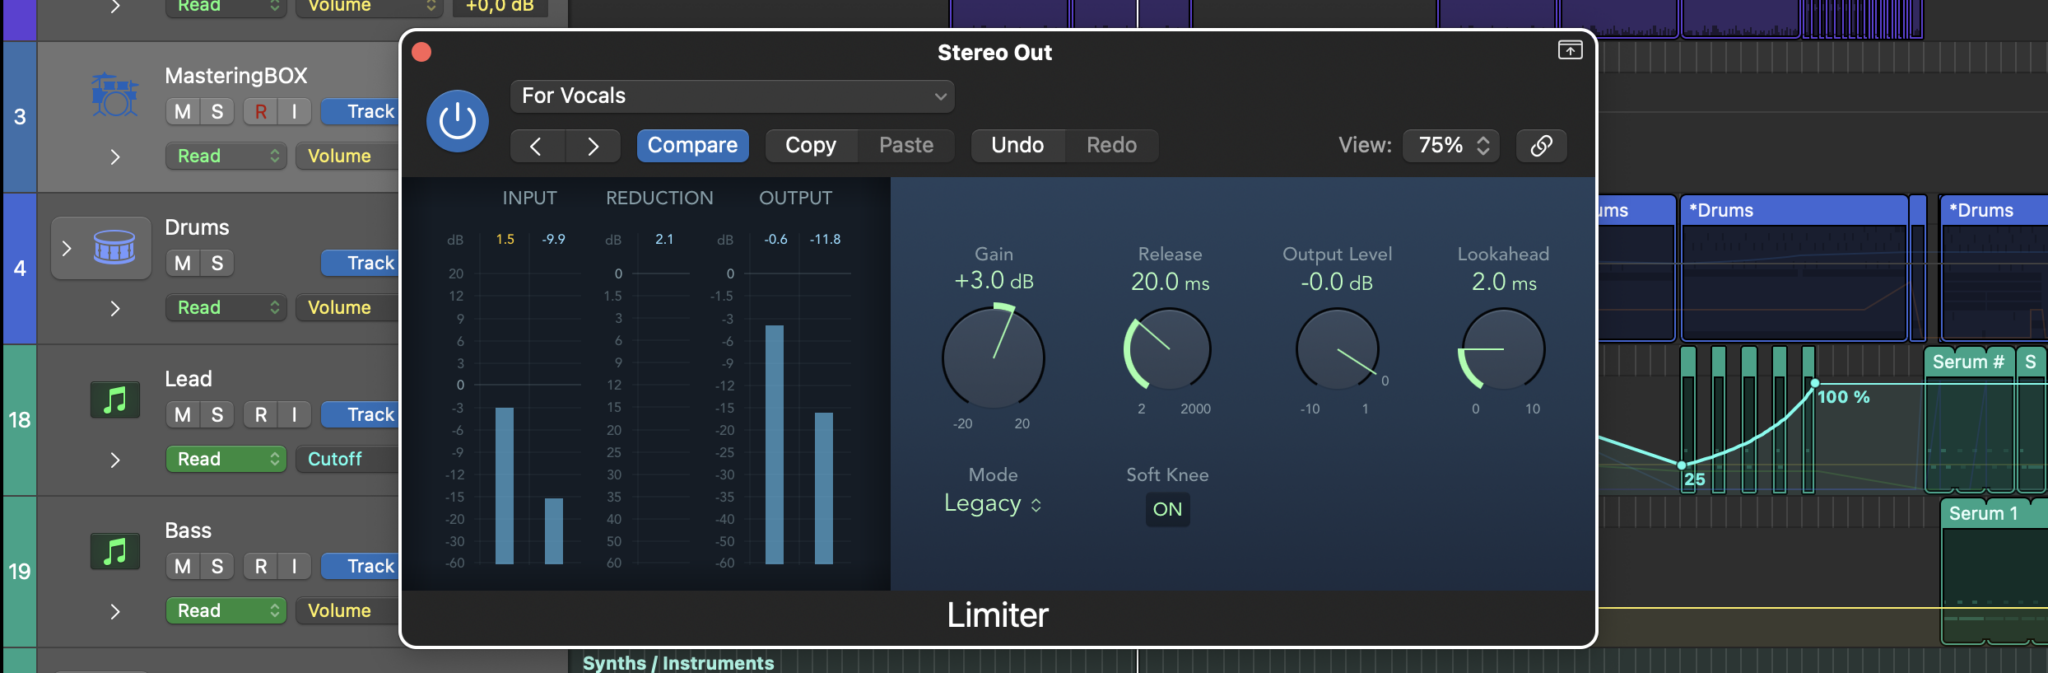
Limiters in Practice
When using a limiter, set a ceiling slightly below 0 dBFS. For instance, -0.3 dBFS leaves a bit of safety. Adjust the threshold so gain reduction only happens on the loudest peaks. This preserves the song’s dynamics. If the limiter is constantly working, you may be pushing your mix
Conclusion
Clipping in audio happens when audio levels exceed a system’s maximum capacity. The wave peaks get flattened, creating distortion. Hard clipping is severe and harsh. Soft clipping is more gradual and can sound warmer. Proper gain staging, metering, and leaving headroom help avoid clipping. If clipping happens, re-recording is the best fix. Restoration tools exist, but heavily clipped audio is often irreversible. Always keep an eye on your meters and leave space for transients. This ensures a clean, distortion-free recording and mix.
Clipping can be a frustrating problem for beginner and intermediate engineers. The key to preventing it is awareness and preparation. Use moderate levels, watch your meters, and ensure your signal chain has headroom. If you do notice clipping, tackle it right away. Lower the gain or correct the recording setup. That way, you’ll preserve the dynamic range and clarity of your sound. With these strategies, you’ll keep your audio pristine and distortion-free.
About the Author

Tim Dunphy
Audio Engineer and Specialized Content WriterOver 10 years experience working in the audio business. Everything from coiling up XLRs to mastering albums. I'm a self-made man and I keep my assets in Bitcoin. What more is there to know!?
Leave a comment
Log in to comment