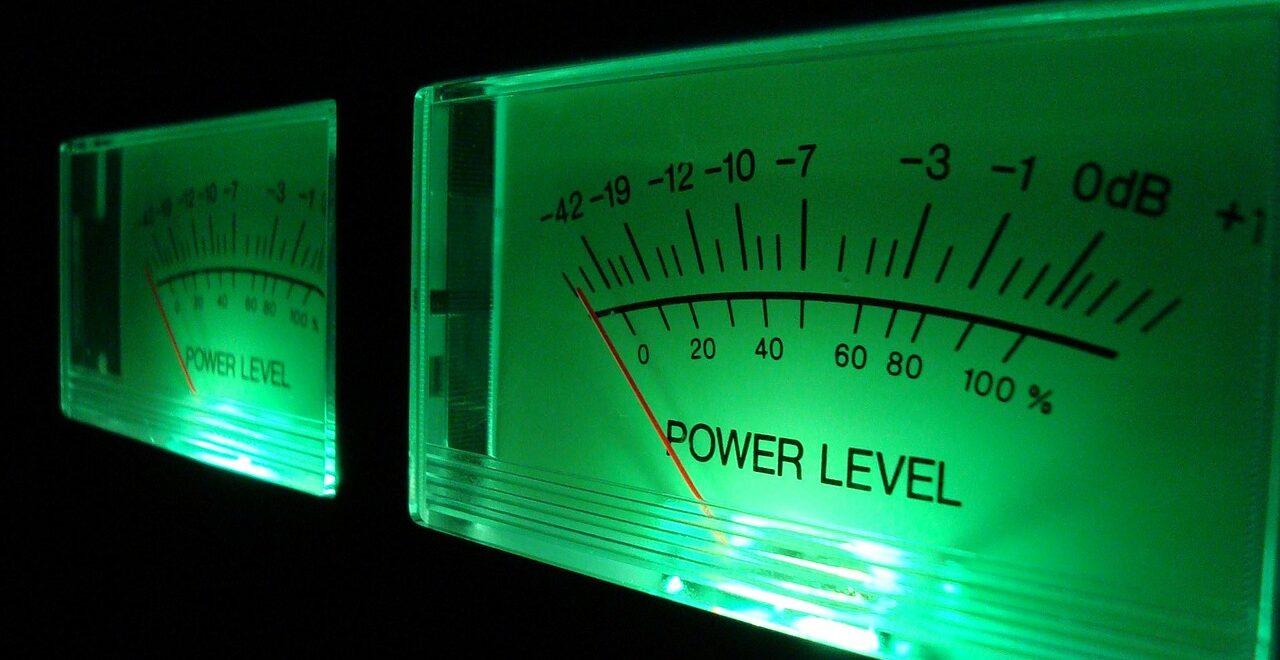
While recording, there are several factors to consider and get right. But what about before recording? Preparing yourself to record is just as important as the recording itself (if not more). This means, in part, proper studio soundproofing, good mic placement, clean signals, and, last but not least, optimal recording levels.
Setting recording levels is an art in and of itself, and much is learned from experience. To help you get started, here are three tips for setting recording levels.
1. Give Yourself Room
A common practice among novice engineers when testing levels is finding where the track is clipping and slowly lowering the level until it no longer exceeds the peak range. While this isn’t a bad place to start, it’s often inefficient for a few reasons. One reason is that most musicians tend to play harder than they do during level testing, meaning clipping might occur anyway.
Another reason is that, with digital sound, it’s not necessary to get as close to peaking as possible to achieve a good dynamic range. In other words, a digital recording will still capture the full sound you’re looking for, even if levels aren’t peaking. These levels can always be brought up after the instrument is tracked. Of course, increasing the gain on a track might reveal unwanted sounds and background noise. This is why it’s important to take care of those other steps mentioned earlier. So, you don’t want your levels to be set too low either. Finding the happy medium is key.

2. Know Why Clipping Occurs
It’s one thing to want to prevent your audio from clipping, but it’s another to understand why it’s clipping. Clipping describes distortion that occurs when the output voltage exceeds what the audio channel can handle. In other words, any event that causes this output to surpass this threshold will result in clipping. It follows, then, that clipping can occur due to several factors.
If an amplifier you’re using isn’t powerful enough to handle the signal passing through it, clipping will result. Likewise, the signal going through a microphone might be too strong for it. Microphones with built-in attenuation can help resolve this issue, as attenuation essentially reduces the volume of the signal. Using compression after the signal has been recorded can produce a similar outcome.
3. Mic Placement Changes Recording Levels
While most of the level-setting process takes place within the DAW and mixer, optimal levels are achieved by other means as well. As mentioned earlier, microphone placement matters quite a bit when preparing to record. When recording with a mic (or several mics), the levels will change significantly based on the placement, direction, and type of mic in use. You might find yourself going back and forth between the control room and mic room to achieve the right level and the right sound. This also applies to those starting a podcast.
You’ll need to consider factors like the proximity effect, overloading, polar pattern, and, once again, attenuation, before setting up mics for certain instruments. Once you have the proper mics, they need to be placed in the «sweet spot» to capture the richest, purest sound. This takes some experimentation and maneuvering, but it’s well worth the time if you’re aiming for the best recording possible.

Conclusion
Getting those levels just right isn’t easy, and it will take some time to get the hang of it. But with enough practice, setting recording levels can become like flexing a muscle, allowing most of your energy to be focused on the recording itself!
Sobre el autor

Ethan Keeley
Escritor, locutor, músico y editor de audioEthan Keeley es músico, locutor y escritor de Rochester, Nueva York. Cuando no está de gira con su grupo Unwill, trabaja en nuevas canciones e historias.
Deja un comentario
Inicia sesión para comentar


