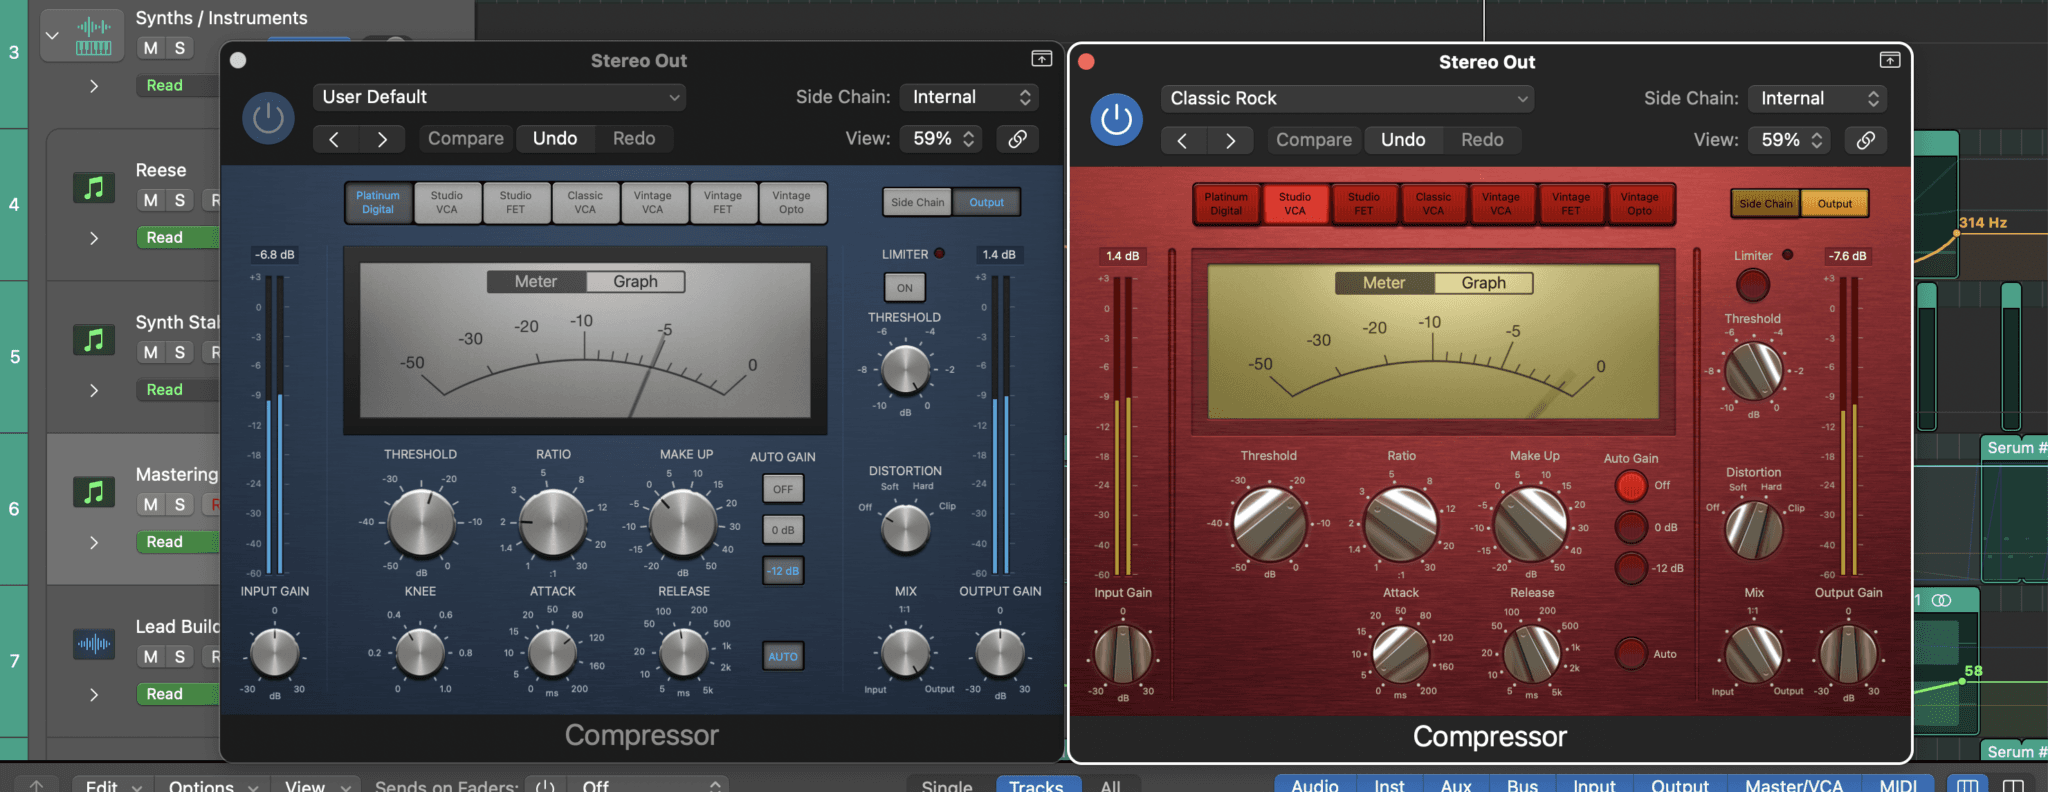
In our previous discussion about mixing vocals, we mentioned that vocals, in most cases, are the most important aspect of a song. Because of this, we outlined four key aspects of mixing vocals effectively. The first of these concepts was vocal compression. However, we only briefly covered this technique. To truly grasp the importance of vocal compression requires further elaboration. Here, we’ll dig deeper into the what, why, and how of vocal compression.
What Is Vocal Compression?
Compression acts as a controlling device for the various dynamics of an instrument. Using a compressor, you can set a threshold for the peak height of a signal’s amplitude. This means that any signal extending beyond that threshold will be squashed down. Engineers and producers commonly use compressors on drums, for instance, due to their wide dynamic range or potential loudness. Vocal compression simply refers to the compression used on a vocal track.
Why Is Vocal Compression So Important?
Like any other instrument, vocals can range from very soft to extremely loud. Some songs require a broader range of quiet and loud parts, while others have more subtle differences. No matter the case, no vocalist can sing every note at exactly the same level. This wouldn’t be desirable either, as it would likely sound robotic. However, some consistency in vocals is required for a song to be listenable and for the lyrics to be fully heard.

Compression, while not the only factor, plays a significant role in achieving this consistency, both in loudness and tone. Just as no human can sing at a perfectly consistent volume, no one sings every note with the same harshness or gentleness. The attack of a vocal makes a big difference in the mix. The faster the attack time set on the compressor, the quicker it clamps down on the vocal track, meaning fewer transients (natural vocal noises and breaths) get through, and vice versa.
So, vocal compression makes a difference in both gain and tone. It’s not enough to just know why vocal compression matters; one must also know how to properly use compression on vocals in every situation.
How Does One Achieve Vocal Compression?
Much of understanding compression involves experimenting with different compressors and vocal plugins until it all clicks. Still, it helps to have some guidance before tinkering your way into oblivion. Take the following tips as a beginner’s guide for using compression on vocals.
1. Know What You Want to Accomplish First
Depending on the genre you’re working with, different types of compression might work better than others. Pop music, for instance, often relies on heavier vocal compression with shorter attack times to keep the vocals upfront. The same goes for recording rap vocals, with added compression to maintain an aggressive sound. Rock is a bit more flexible in terms of vocal compression. While the vocals should still sit upfront, they don’t have to overpower the rest of the mix like they would in a pop song.
It might help to lay out some general ground rules for where ratios, attack, and release times should sit for different levels of vocal aggression. As we discussed already, attack refers to how quickly the compressor activates, while the release is the opposite—how quickly the compressor lets go of the signal. You can think of the ratio as a measurement of how lenient or strict the compressor is in terms of keeping audio below the threshold. The lower the ratio, the more leeway there is, and audio that goes above the threshold will slowly come down below it. The higher the ratio, the more limiting the compressor becomes. In fact, audio limiters are essentially compressors with very high ratios and attack times, preventing any audio from surpassing a given threshold.
Aggressive/Punchy Vocals
When it comes to vocal compression, these three key parameters make a big difference in making a vocal aggressive or «punchy.» In short, the most aggressive vocals are treated with compression that has a faster attack/release time and a higher ratio, usually somewhere between 4:1 and 6:1. This allows the compressor to mute unwanted transients and maintain the vocals at the front of the mix. For smoother, more legato vocals, try the opposite: slower attack/release times and lower ratios (2:1 and lower). This will preserve more of the transients and allow vocal breaths and notes to linger a bit longer.
Of course, even within genres, every song requires different settings. So, know your song and what you want to achieve before diving too deep into compression. Consider whether you want the vocals to be punchy, natural-sounding, or further back in the mix.

2. Use Gain Automation Before Compression
There are tasks to complete before even opening a compressor plugin in your DAW. While compression certainly helps to regulate the various loudness levels of different vocal notes, it can only do so much on its own. Fortunately, the playing field can be leveled beforehand using mix automation; gain automation, in particular.
With gain automation, waveforms or groups of waveforms (vocal phrases) can be raised or lowered, depending on what’s desired for the vocal mix. If, for instance, a phrase is a bit too loud, gain automation can easily lower it to a level more congruent with the rest of the vocal track. Not every phrase has to rest at exactly the same level, but keeping things more even will allow the compressor to do its job better and more easily. One more note: Gain automation is similar to volume automation, except that the former comes in front of the signal chain while the latter comes at the end.
3. Start Heavy, Then Slowly Back Off
After getting the vocals where you want them in terms of gain, it’s time to finally start compressing. If you’re new to compression, minor differences in the threshold, attack/release time, ratios, knees, and other variables can be hard to discern. There are also several types of audio compressors at your disposal, each built for different scenarios. Because of this, it’s not a bad idea to first play the track dry, listen, then turn the knobs way up on the compressor.
This extreme compression will let you hear what the tool actually does. From there, you can start lowering levels and continue comparing the dry and wet signals until you find the sound you desire. If you know what you want out of the compressed vocal already, this sort of subtractive compression can help you achieve your goal more quickly.
4. Consider More Than One Compressor
In mixing, oftentimes less is more. However, when it comes to vocal compression, using more than one compressor can be beneficial. If you only use one compressor for vocals, you risk over-compressing the signal. With multiple compressors, the first can handle most of the initial gain reduction, while another can further refine attack/release times. To use a violin as an analogy, think of the first compressor at the tuning pegs and the second (or third, fourth…) as the fine tuners.

Parallel compression can also be used for vocals. This is the process where a track is duplicated, compressed, and then blended with the original dry or lightly compressed track. This blending of dry and compressed vocals can make a significant impact on the overall mix.
Conclusion
Compression can be a tricky tool to master, but it’s essential for producing professional-sounding songs. Because vocals are so crucial, vocal compression matters even more. These words are meant as a guide for those just beginning to experiment with vocal compression, but experience ultimately counts the most. So load up your latest track and start tinkering!
Sobre el autor

Ethan Keeley
Escritor, locutor, músico y editor de audioEthan Keeley es músico, locutor y escritor de Rochester, Nueva York. Cuando no está de gira con su grupo Unwill, trabaja en nuevas canciones e historias.
Deja un comentario
Inicia sesión para comentar


