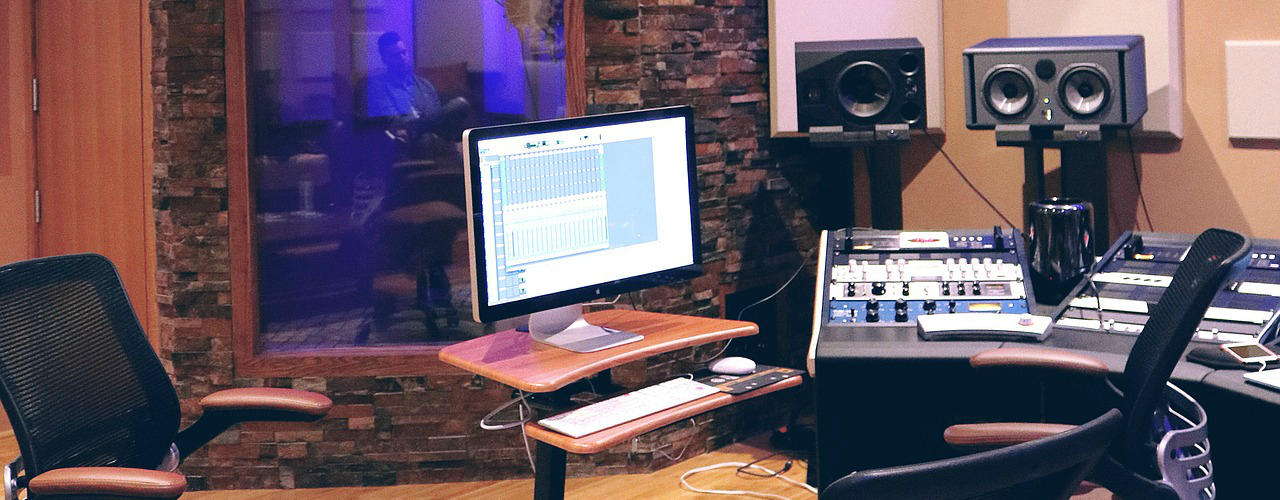
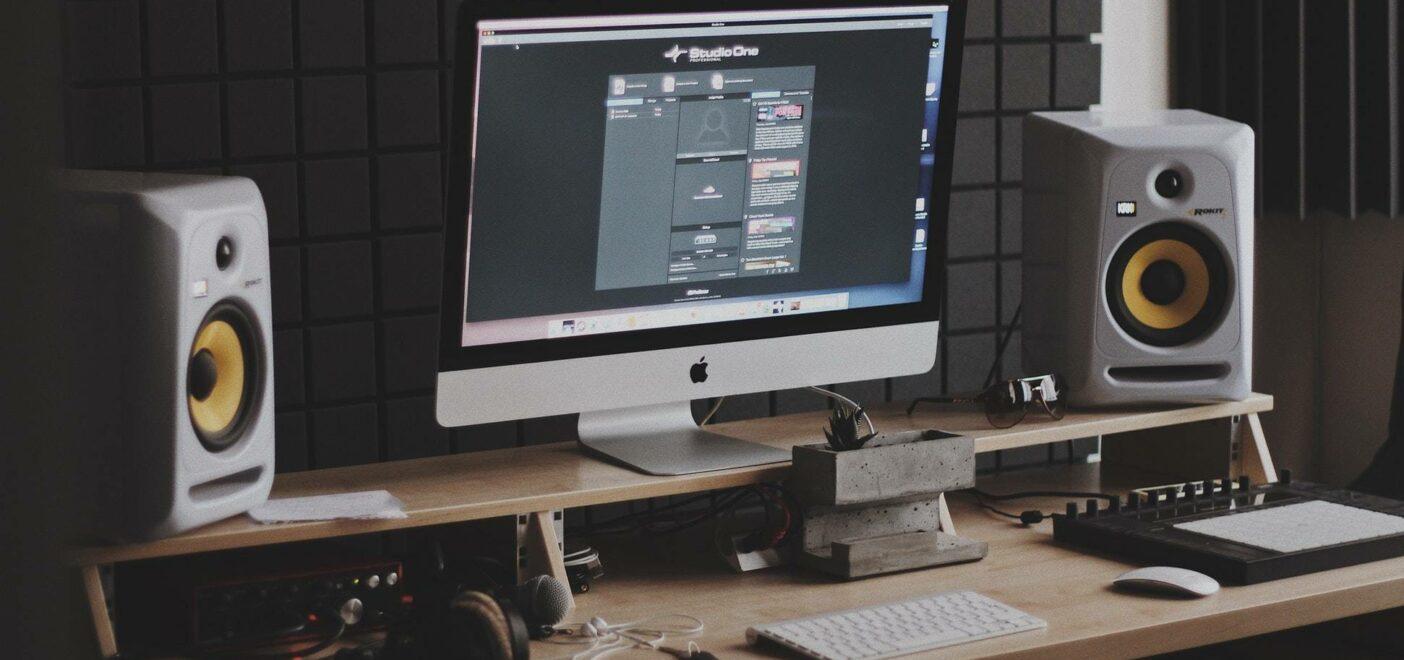
So you’ve got your home studio all set up and you’re ready to start making some magic. You pour all your time and effort into the best mix you’ve ever done, take it over to a friend to show them, and suddenly it doesn’t sound so great. This typically baffles most people, and they assume it’s got something to do with the music being unmastered. Unfortunately, it’s most commonly due to bad (or a lack of) acoustic room treatment. However, this article aims to help you understand and decide on the best and most appropriate treatments for your space.
Understanding Your Space
The first and most crucial decision you’ll need to make is deciding what your aim is for your space. If you’re trying to create a truly live recording space, you’ll need to worry about acoustic room treatment far less, as you’ll only need to deal with any unpleasant frequency build-ups or strange reflections. However, if you’re trying to create a control room intended for mixing or mastering, there will be a lot more to think about. For the sake of this article, I will discuss acoustic room treatment for a mixing space. This will provide the most detail.

With a mixing room, the idea is to create a space with a flat frequency response. This will provide you with a true representation of what is coming out of your monitors. It will also give you much better control when mixing with EQ. In order to do this, we must identify the problem areas in terms of modal response and reverberation time of the room and provide a solution. Please be aware here that we are talking solely about acoustic room treatment and not soundproofing. However, I’m sure that is something I will cover in a later article.
Reverberation Times
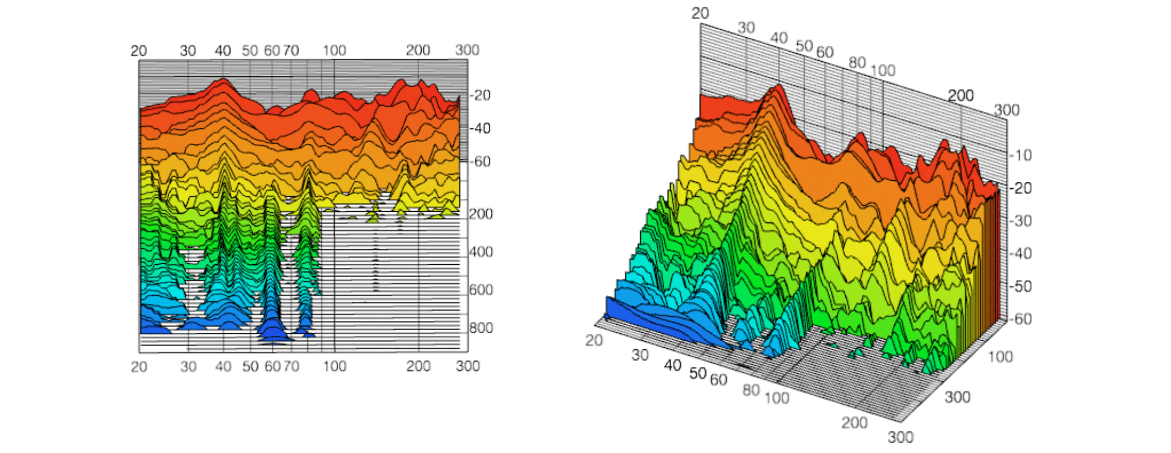
The first thing we need to understand is reverberation times. Reverberation measured within a space is often calculated using a waterfall response chart to generate an RT60. Without going into too much detail, the RT60 is the time it takes for any sound source to reduce by 60dB. From now on, I will refer to reverberation as RT60. Given that we are aiming to create a balanced mix environment, we would be looking to achieve an RT60 of between 0.3 and 0.5 seconds. Any more than this will be too ambient and create a blurry sound field. Any less than this will be too unnatural and likely to not reproduce very well in the average listening environment. By carefully managing reverberation types and times, you can create a more accurate and pleasant mixing space.
Now that we understand what we need in terms of RT60, we can go about working out how to create these perfect settings. The simplest way to measure and analyze a room is to use software such as FuzzMeasure in order to get accurate readings of the RT60 of a room across frequency bands. This will require some audio equipment. You’ll need the software, a measurement microphone, and your monitors set up in their intended position. After measuring the room, you will be presented with a series of charts that display the RT60 of all eight main frequency bands within the room. You can use this data to find out which frequency bands you will need to treat.

In our hypothetical room, let’s say our measurement results show an RT60 of 0.8 seconds in the lowest band. This would be considered too long for a control space. As such, we would need to suppress it. Equally, if our 100-200Hz band was reading 0.2 seconds, we would consider this to be too short. To deal with this, we should consider removing some of the absorbent materials in the room.
Acoustic Room Treatment
There are two main things you will need for acoustic room treatment: forms of absorption and forms of diffusion. We use absorption when our RT60 is above the desired range in order to minimize reflections within that frequency band. When we achieve too great a level of absorption and our RT60 slips below the desired threshold, we must look to remove absorbent materials and replace them with diffusers.
Absorption/Acoustic Panels
Absorption commonly appears in the form of various-sized foam panels hung on the walls and ceilings of a room. Their thickness allows them to target more specific frequency ranges. Thicker absorption panels will absorb more low and mid-range frequencies, while thinner panels will tackle higher frequencies alone. The effectiveness of absorption panels can also be greatly increased by hanging them slightly off the wall. This small space between the panel and the wall allows the remaining sound energy to bounce around and dissipate.
In terms of placement, the best place to start when it comes to absorption is your first reflection points. This will be the spot on the walls to the side of your listening position. Position the panels halfway between your monitors and your ears. The absorbent material can also cover the same spot on the ceiling. If you still need more absorption, you may want to consider placing some on the wall directly behind your listening position, as well as on the wall directly behind your monitors.

Diffusion/Diffusers
Diffusion panels appear in many forms. Their basic principle is to scatter as much sound at as many different frequencies as possible. By doing so, the energy of the waves dissipates before it can reflect back into your ears. These panels can be engineered for specific spaces. As they are often quite large, they tend to be hung on rear walls or ceilings. Consider diffusers if your home space is already quite absorbent. If you’re in your bedroom, chances are your bed is doing a good job of absorbing sound already. Just make sure it isn’t doing too good of a job!
Modal Response in Acoustic Room Treatment
Now that we have examined the RT60 of your room, we need to address the modal response. Standing waves can pose a significant problem in small home studio spaces because they create dips and boosts in the low end. If you don’t tackle this issue, your mixes could end up sounding massively underwhelming in other environments. A standing wave occurs when a frequency’s wavelength exactly matches one of your room’s dimensions. For instance, a room with a width of 3.43M would have a standing wave at 100Hz. To calculate your basic standing waves, divide the speed of sound (343M/s) by the dimension of your room in meters. Using our previous example, dividing 343 by a room dimension of 3.43 yields 100Hz.
Calculating and addressing these specific frequencies is one of the best actions you can take. A common method for managing standing waves is to implement a Helmholtz resonator. These devices trap and absorb particular problematic frequencies within a listening space. By designing a resonator to capture a specific frequency and placing it along that axis of your room, you should correct any major issues.
TL;DR
You must address acoustic room treatment, as it is very important. Taking some measurements and dealing with the biggest offenders could drastically improve the quality of your mixes. Isolate standing waves and balance the RT60 of your room. Now, prepare to make some of the best work you’ve ever heard!
About the Author

Tim Dunphy
Audio Engineer and Specialized Content WriterOver 10 years experience working in the audio business. Everything from coiling up XLRs to mastering albums. I'm a self-made man and I keep my assets in Bitcoin. What more is there to know!?
Leave a comment
Log in to comment


