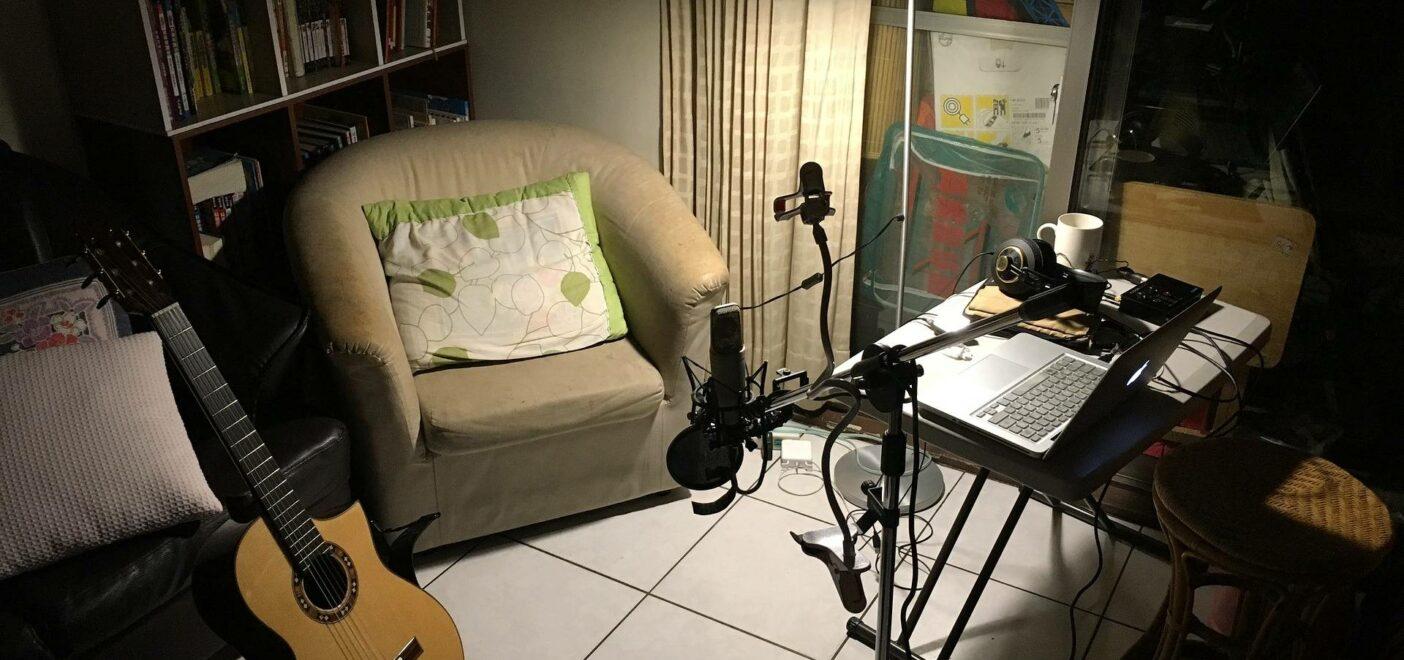
Not too long ago, high-quality recordings weren’t something musicians could just produce on their own. You’d have to save up or find label support to shell out for studio time in New York or some other major city. There were always exceptions, of course, but for a long time, it was unheard of that you could produce great sounding music on your own.
Home studio equipment simply wasn’t affordable or widely available. That all has changed now. While major recording studios still thrive, the amount of home studios today vastly outnumbers these pillars of a younger industry. From production to distribution, many musicians are handling every aspect of their business on their own, saving time and money, and learning useful transferable skills along the way.
Need help understanding this article? Check our Audio Recording Terminology article.
Table of Contents
- Home Studio Setup Break Down
- Computer
- DAW
- Interface
- Preamp
- Microphones
- Monitors
- Headphones
- MIDI keyboard/Controller
- Cables
- Home Studio Equipment: Conclusion
Home Studio Setup Break Down
You might feel it’s time to start investing in your own home recording studio. Before taking the leap, however, you should know what you’ll need, and why. So let’s take a look at the essential home studio equipment you’ll want to purchase as you begin putting together your own home recording studio. You might already own some of the gear listed here, which means you’re already on your way.

Computer
Since digital recording became the industry standard, computers have been used to record music, process, save, and store data, and share audio files with other producers, musicians, and audiences. Fortunately, if you’re reading this, you might already own a computer. Most new computers can handle basic recording functions. However, some computers serve these purposes better than others. We’ve already gone over the debate surrounding Mac vs PC for music production, but the operating system you use is only half of the equation. Both laptops and desktops present viable options. While some argue that desktops are more reliable, one can’t deny the convenient portability of a laptop.
More than anything, you should pay attention to processing power (CPU), RAM (random access memory), and hard drive space. Your CPU and RAM will need to handle the software you plan on using for your home studio, and your hard drive will need to be able to store all your files. As a rule of thumb, you’ll want at least 16GB of RAM. As for your processor, this gets a bit more subjective, though anything up to par with the Intel i7 will work great. With hard drives, you can use either solid-state (SSD) or hard disk (HDD). Both have their advantages and disadvantages. Per gigabyte, HDDs are cheaper than SSDs and can store more data overall, though SSDs draw far less power and open files a bit faster.
DAW
Good hardware doesn’t matter much without good software. The digital audio workstation, or DAW, has become the modern audio producer’s workbench. Even those who love their vintage analog recording devices can’t deny the freedom, flexibility, ease of use, and power of this key digital home studio equipment. Your preamp and/or interface will allow you to record into the DAW and send audio from the DAW back into your monitors. Inside of a DAW, you’ll have access to multi-track recording and mixing, audio editing, effects processing, a free VST plugin, looping, controls for EQ, compression, and so much more. There’s simply no way to produce modern music without a competent DAW. And you have lots of options.
For starters, read up on this list of free DAWs for the beginner audio producer. If you’re opening your home recording studio but have little experience with DAWs, any of these free programs can get your foot in the door at no cost to you. Then, you can continue using any of these programs or decide to invest in Pro Tools, Logic Pro, Cubase, or anything else once you’re confident in your understanding. When choosing your DAW, you’ll have to consider the hardware you use. Certain programs like Logic Pro (made by Apple) only run on Mac OS, while Sonar only runs on Windows. Many DAWs support both major operating systems, however, making it easier to decide.
Interface
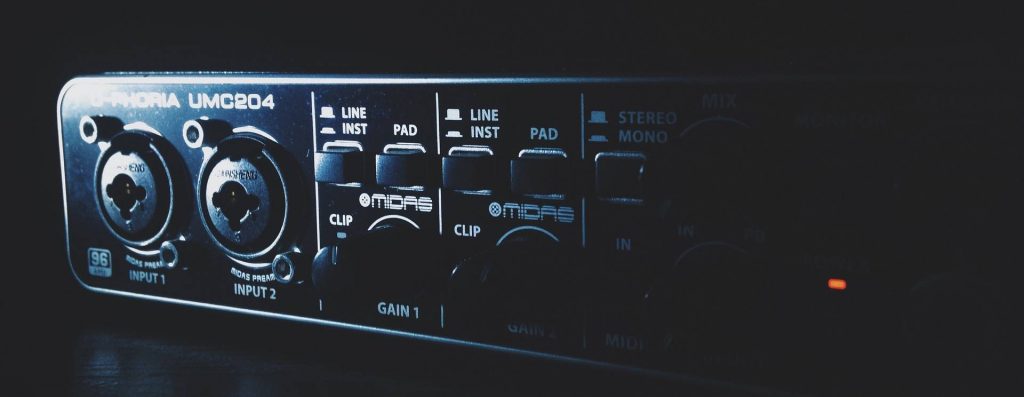
Once you have a solid desktop or laptop with a proper DAW, you need a way to connect it to the rest of your gear (microphones, instruments, etc.). Otherwise, the rest of your home studio equipment won’t be very useful. You need an audio interface. Some of them even come packed with a DAW. Audio interfaces come in two basic flavors: internal or external.
Internal
Internal audio interfaces (or PCIe), as they sound, live right inside your desktop computer. Once installed on the motherboard, this interface works faster than external interfaces. Because it’s directly connected to the computer, it doesn’t need to spend time or energy to convert data the way external interfaces do. These interfaces also typically offer more input and output (I/O) options than external ones. This convenience comes at a cost, however, and PCIe interfaces will run you more than external options. One of the more popular internal interface options, the Focusrite RedNet PCIeR Card costs about one thousand dollars, USD.
External
External audio interfaces are a more widely used piece of home studio equipment. While these units can vary in several ways, most of them connect to the computer via USB input. However, for added speed and reliability, some interfaces use Thunderbolt or FireWire connections instead.
Once you know how the interface will connect to your computer, you should pay attention to the types and number of inputs and outputs on the unit itself. Smaller, cheaper interfaces usually only come with a couple of inputs. To record guitar or bass via direct input, your interface needs at least one hi-Z input (for instrument cables). XLR inputs are necessary for microphones, and line inputs/outputs are primarily used for headphone and studio monitor channels. Many external interfaces also include at least one MIDI port. It’s useful to know if you’ll need an interface with phantom power. This will be necessary for certain types of microphones, such as condenser mics.
If you’re not entirely sure which interface to start with, the Focusrite Scarlett 2i2 interface is a versatile and affordable option for your home recording studio.
Preamp
The purpose of a preamp is to amplify weaker digital audio signals to reach a standard «line level» for recording purposes. This helps keep your recording levels consistent, reduces noise, and prevents clipping and distortion when sending or playing back the signal. Just about any interface you purchase will include a preamp, but you can also purchase standalone preamps. Many of these preamps feature inputs as well, blurring the line between interfaces and preamps. But, in short, preamps create cleaner, stronger signals and provide additional control, especially for microphones. These devices can vary quite a bit in cost and complexity, but on average, you can find competent preamps between $300 and $700 USD. Some great affordable options include the Focusrite OctoPre MKII, PreSonus BlueTube DP V2, and Solid State Logic Alpha VHD](https://www.solidstatelogic.com/studio/vhd-pre).
Microphones
When we think of home studio equipment, an image of a microphone probably pops into our heads. Granted, these days you can get a lot out of synthesized instruments, plugins, realistic MIDI sounds, direct input instrument recordings, and samples. But if you plan on recording vocals, drums, reamped guitars, or anything else, you’ll need a good microphone–probably several.
To start with though, you can record many things well with a **big condenser microphone. Without getting technical, condenser mics capture sound more accurately than other types of microphones, offering higher quality recordings. As your ear hears it, a good condenser mic will hear it, if not better. These mics feature internal electronic components, so they need phantom power from your preamp to operate.
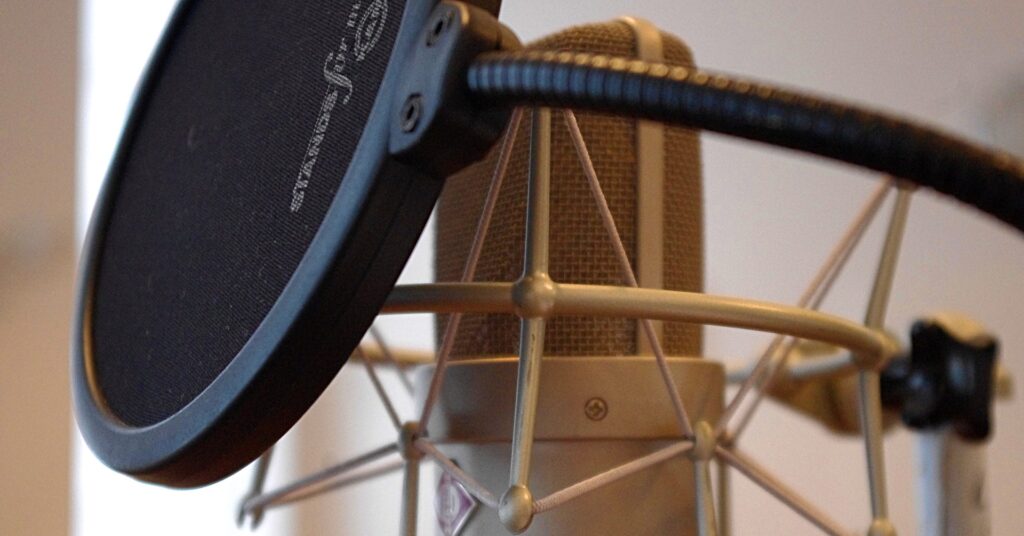
One mic can get you started, but more mics will open the door for more options. For instance, vocals can be recorded with two or three mics at once, offering different perspectives on a single take or allowing for simple stereo recording. If you plan on recording drums, you’ll need even more mics. Condenser mics can work on drums, though most drummers use dynamic microphones for each drum component. These mics do a better job of capturing the mid-range, which is important for recording and mixing drums. Condenser mics are becoming more popular for overhead and room drum recording, however, capturing the shimmer of the cymbals and the entirety of the kit. If you need help sifting through all the mic options out there, try reading how to choose your first studio microphone for some assistance.
Monitors
You won’t get very far if you can’t properly hear the music you’re creating. No home recording studio is complete without some great studio monitors. As with all of this home studio equipment, you have several options here. The biggest distinction for studio monitors is whether they’re active or passive. Active monitors are already powered for amplification, whereas passive monitors are not. Passive monitors need external amplification. Either type of monitor will work for your home studio, as long as they’re near-field monitors. After all, you’ll want to be fairly close to the sound as you record and mix.
The key to choosing monitors is that they accurately depict the audio so you know exactly what you’re doing during production. The quality of the speakers themselves makes up part of this equation, but so do factors like room treatment and shape, and positioning. Read our post on studio monitor setup for a more detailed look into these variables. Yamaha, KRK, and JBL all make popular, high-quality studio monitors (both active and passive). For starters, these monitors will cost around $200-$300 USD_.
Headphones
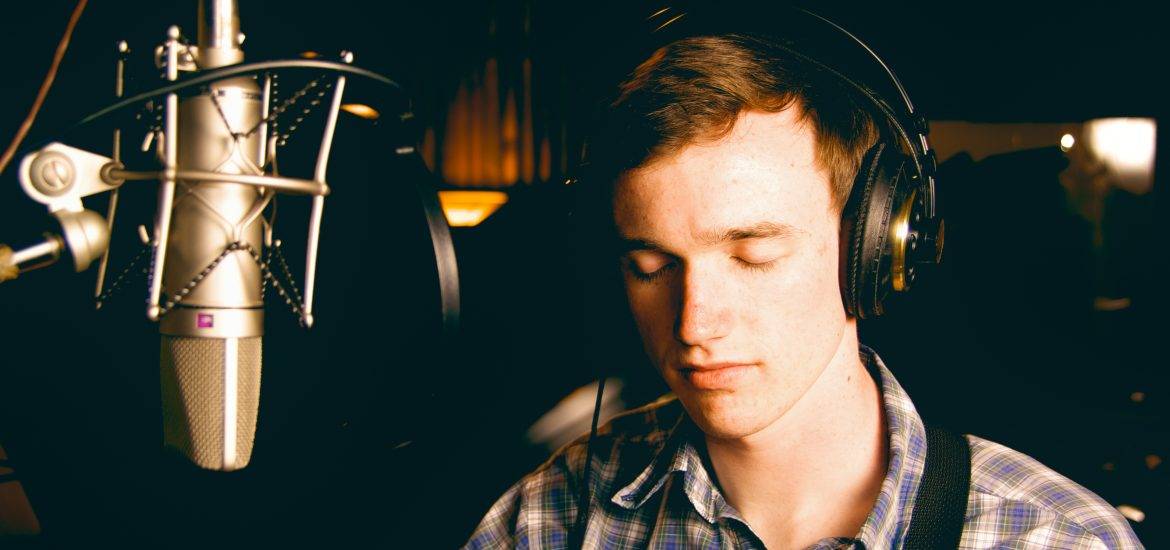
In your studio, you may do most of your listening through studio monitors. However, you’ll likely run into several scenarios in which you’ll need a more intimate approach. These times call for studio headphones. You may need to listen to your mix without disturbing anyone else in the house during a late-night session. Listening through good headphones can also reveal certain aspects of a mix that even great monitors might miss. Headphones are also essential for recording instruments and especially for vocals. Proper monitoring will affect the artist’s performance, as discussed in headphone tips. For beginners, you can find good quality headphones anywhere between $80-$200 USD. Some popular products are the Audio-Technica ATH-M50x and the Sennheiser HD 280 Pro.
MIDI keyboard/Controller
An optional piece of home studio equipment is a MIDI keyboard and MIDI Controllers. MIDI keyboards combine the tactile nature of a real instrument with the flexibility of digital audio. These physical keyboards connect to your computer and DAW, allowing you to send information from the unit to the software. While MIDI notes can be manually drawn in the DAW’s piano roll or played on the QWERTY keyboard, using a MIDI keyboard allows you more control and simpler real-time recording. Most MIDI keyboards also do much more than just let you input MIDI notes. Some feature pads for drum sequencing, sliders for pitch bending and modulation, knobs for EQ, and much more. While not necessary for everyone’s home recording studio, a MIDI keyboard can really complete the picture for its versatility alone.
Cables
Audio cables may be the most obvious yet overlooked components of essential home studio equipment. They connect specific types of instruments or equipment to your interface, amplifier, and/or monitors. These cables come in all kinds of shapes and lengths. Looking at the inputs and outputs of your interface will give you a clue as to which types of cables you’ll need. XLR cables for microphones feature large circular heads with three prongs inside. Instrument cables and speaker cables look almost identical, although the latter features less shielding. MIDI cables have large round heads like XLRs but have five prongs on the bottom and one on top. You may or may not need every type of cable out there, but it’s good to know which ones you will need. It’s also important to invest in several backup cables for each type so if one gets damaged, you can still record without needing to order more on the fly.

Home Studio Equipment: Conclusion
Yes, you’ll need quite a few things to set up your home recording studio. Fortunately, you probably already have at least some of the items listed here. If not, look for items that fit into your budget. While we all want the very best gear, some of it is simply not realistic. But there’s no shortage of great products at reasonable prices. Beginners should focus on doing the most with what they currently have before leaping into more expensive, more complex options. Those starting out can also take a look at music production tips for beginners for more advice. The best part of all of this is that creating great-sounding productions on your own is no longer a pipe dream. With the right home studio equipment, a good amount of trial and error, and a serious willingness to learn and improve, you can make music ready for the world stage in the comfort of your home.
If you enjoyed this article and have started to put together your home studio, you should now check out the Best Ways to Promote Your Studio to start building your customer base!
Sobre el autor

Ethan Keeley
Escritor, locutor, músico y editor de audioEthan Keeley es músico, locutor y escritor de Rochester, Nueva York. Cuando no está de gira con su grupo Unwill, trabaja en nuevas canciones e historias.
Deja un comentario
Inicia sesión para comentar
